


General News
How to Wire a 12v Fuse Box

Jun
How to Wire a 12v Fuse Box?
Introduction:
Working with a 12v electrical system, it is very important to use a fuse box that is properly wired, which helps to protect your circuits from potential electrical damage & overloading.
Well, wiring a 12 fuse box is not difficult as we think about it. If we have the correct knowledge & required tools then trust me it’s very easy to do
Today, we will talk about a step-by-step guide to do it properly & efficiently!
1. Required Tools
The first thing you need to wire a fuse box is the right tools to do it properly
Below is the list, take a look at this
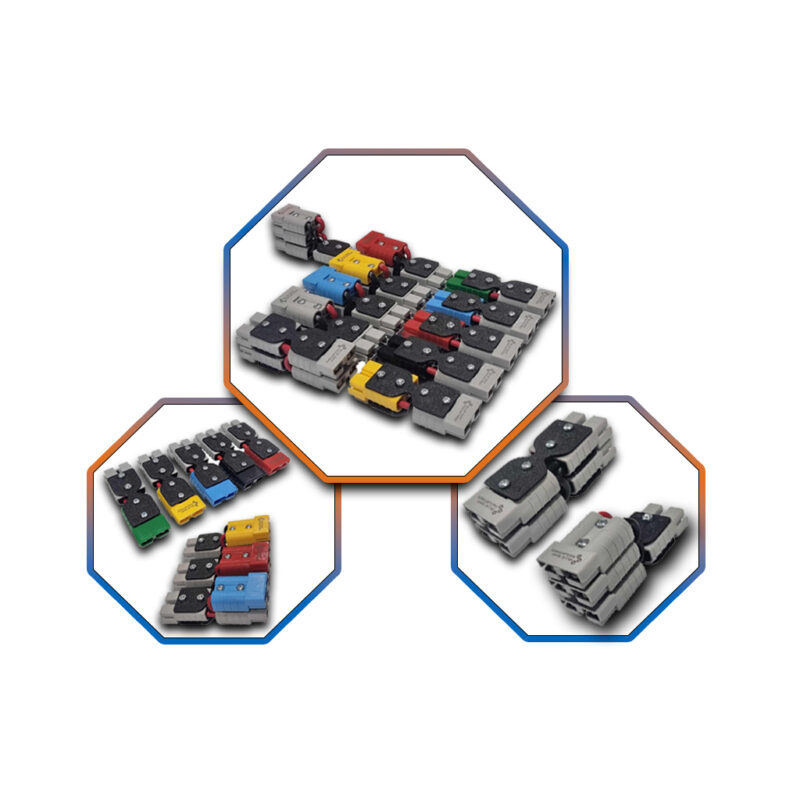
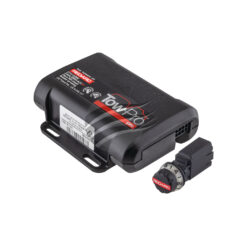
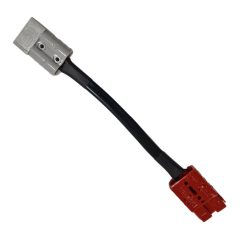
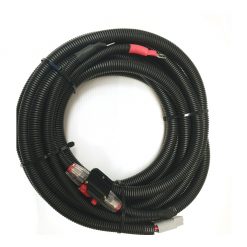
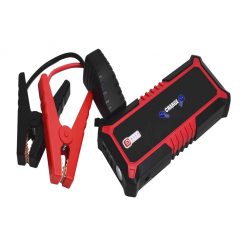
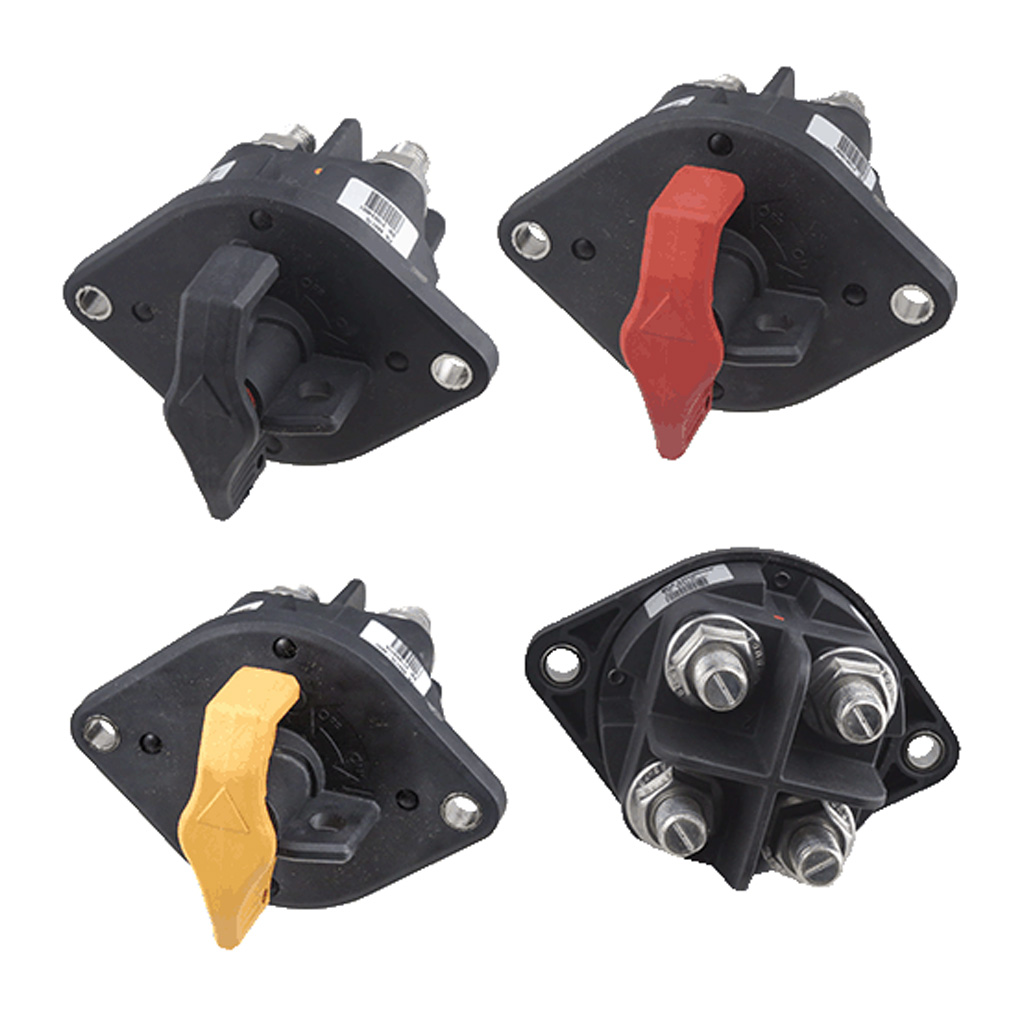
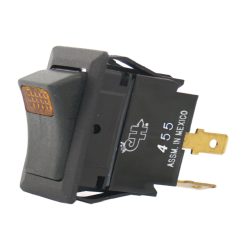
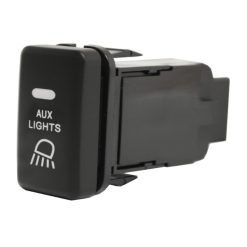
- 12V fuse box
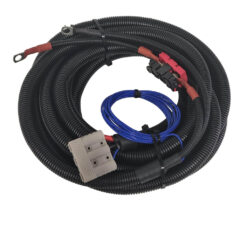
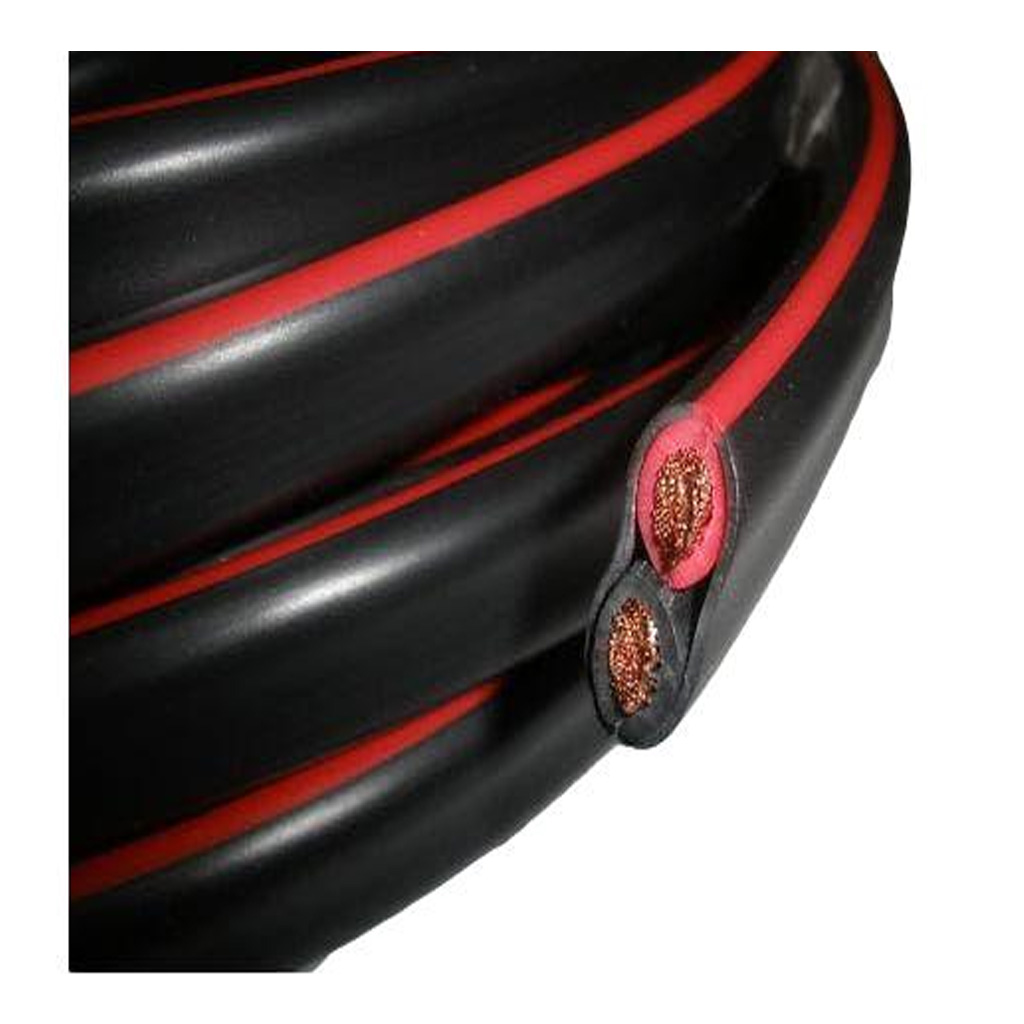
- Appropriate gauge wires
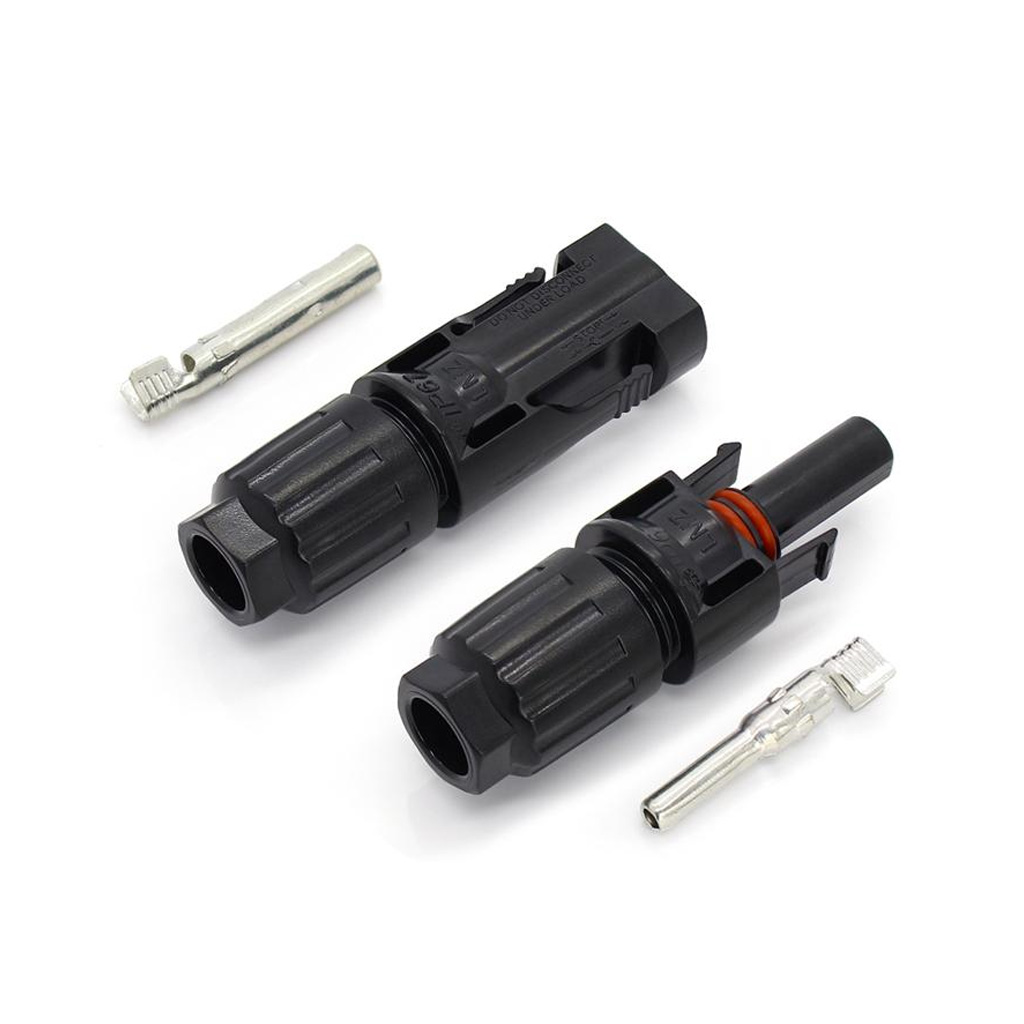
- Wire cutters/strippers
- Crimping tool
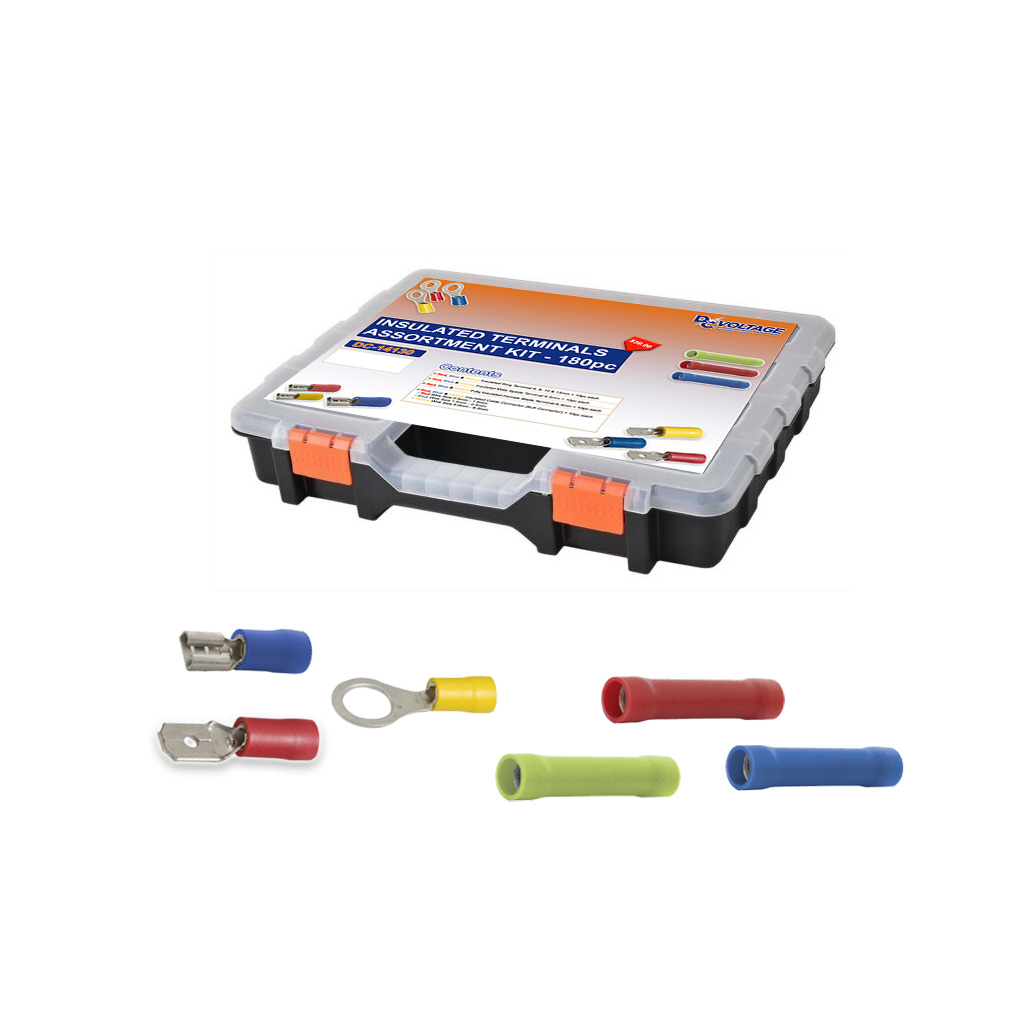
- Terminal connectors
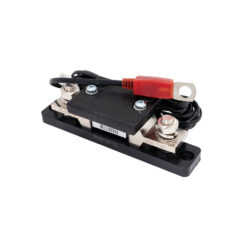
- Fuses
- Electrical tape
- Screwdriver
- Drill (if needed for mounting the fuse box)
If you have these all tools then the wiring process will be smooth & hassle-free
2. Fuse Box Placement:
It is very crucial for selecting the right location for your fuse box, Consider the proximity to the power source and the equipment you’ll be connecting to it. You have to make sure that it is easily accessible in case of any future maintenance. After that, you also have to look after the fitting to avoid any unwanted movements.
3. Necessary Components:
Just before you start wiring, you must have to gather all the necessary components. It includes
- Gauge Wires
- Connectors for terminals
- Fuses
And any other accessories specific to your installation. Choose the components that are compatible with your 12V systems and meet the required safety standards.
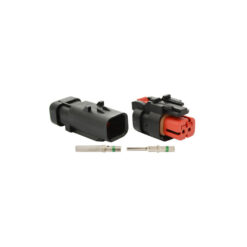
4. Wiring Preparation:
To start with the wiring process, prepare the wires by stripping the insulation from the ends. Use wire cutters or strippers to remove approximately 1/2 inch of insulation from each wire.
Ensure that the exposed wire is clean and free from any fraying or damage. Once the wires are stripped, attach terminal connectors to each end, crimp them securely, and repeat the process for all the wires.
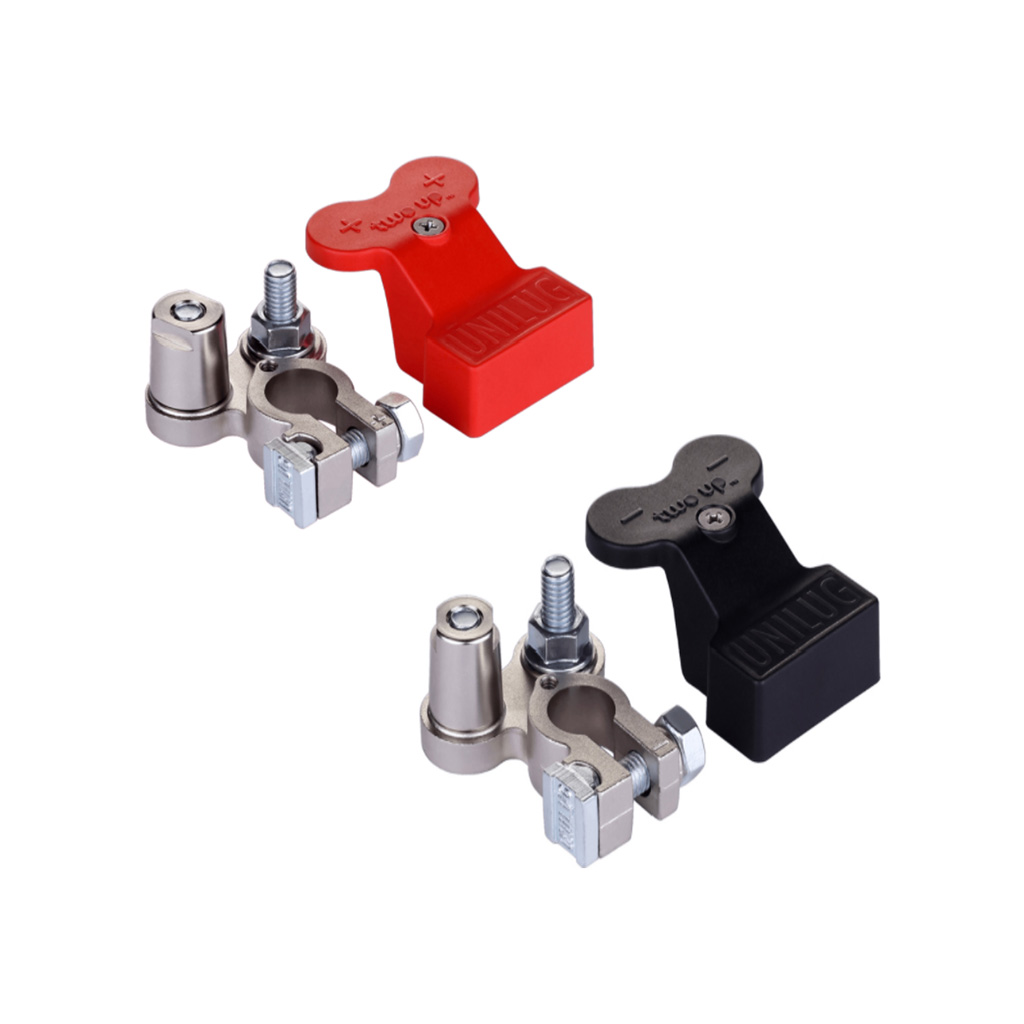
5. Power Source Connection:
Identify the power source. It could be anything like a battery, distribution panel of power, or any other stuff like a suitable power supply. Connect the positive wire from the power source to the positive terminal of the fuse box, and securely fasten the connection. Likewise, attach the negative wire from the power source to the negative terminal of the fuse box, ensuring a tight and secure connection.
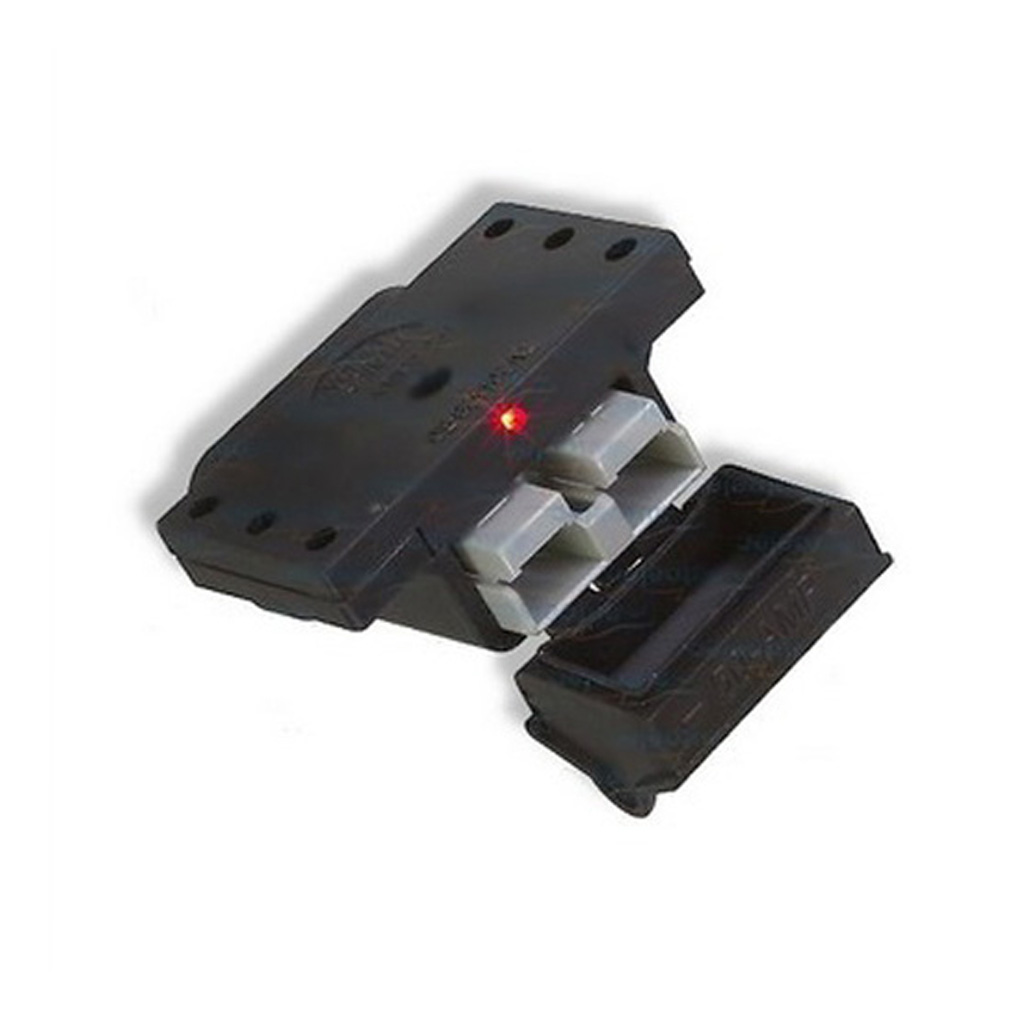
6. Fuses Installation
Once the power source is connected, it’s time to install the fuses in the fuse box. Before inserting the fuses, determine the appropriate fuse rating for each circuit. This information can usually be found in the equipment’s manual or specifications. Install the fuses securely into their designated slots, ensuring that each fuse corresponds to the correct circuit.
7. Circuit Testing
With the wiring and fuse installation complete, it’s crucial to test the circuit to ensure everything is functioning correctly. Turn on the power supply and check each circuit for proper functionality. Verify that the fuses are not blowing unnecessarily and that the connected equipment is receiving power as expected. If any issues arise during the testing process, double-check your connections and consult the equipment’s manual for troubleshooting guidance.
Conclusion
Well all the above said, The process of wiring can be done easily if you have the right tools, materials & knowledge. With the steps that are mentioned above in this article, you can ensure the safety of your 12V electrical system. Always remember to give priority to the safety process & must consult with a professional if you have any doubts about any aspect of the wiring.