


 Cable Automotive / Marine




 Cable Lugs
 Cable Lug Assortment Kits
 Cable Lugs Straight Wall Closed
 Cable Glands
 Convoluted Split Tubing
 12/24v Products & Access




 Electrical Connectors





 Solar Powered Products



 LED Lights







 Tools










 Auto Parts & Categories



 Fittings








 Cleaning & Misc





 Clearance & Promotion
Latest News
Waterproof Connector Options for Boat Electronics
Sep
A connector that works perfectly on a bench can become the weak point of a boat’s 12V system after one wet run, a wash-down or a season of salt air. Choosing the right waterproof connector options for boat electronics is not just about keeping water out. It is about maintaining reliable power, avoiding voltage drop and making future repairs possible without cutting back half the loom.
On a trailer boat, connections may be exposed to spray, bilge moisture, vibration, UV and regular temperature changes. On larger vessels, the wiring might be better protected but often runs farther, supplies more equipment and is harder to access. The right connector depends on where it sits, the current it carries and whether it needs to be disconnected for servicing.
Waterproof connector options for boat electronics
There is no single waterproof plug that suits every marine electrical job. A small low-current connection to a switch panel needs something different from a high-current feed to a fridge, winch, deck wash pump or battery charger. Start by separating permanent cable joins from serviceable plug-and-socket connections.
For a permanent join inside a dry, supported section of loom, a correctly crimped heat-shrink butt connector can be the cleanest option. For equipment that may need to be removed, such as a sounder, lighting bar, livewell pump or transducer module, use a sealed connector designed for repeated mating and unmating.
The enclosure matters as much as the connector itself. A high-quality sealed plug will not solve an installation where water tracks down an unsupported cable into the rear of the terminals. Good strain relief, cable routing and sealing at cable entries all work together.
Understand IP ratings, but do not rely on the number alone
IP ratings are useful for comparing protection against solids and water. An IP67 connector is generally protected against temporary immersion, while IP68 products are designed for more demanding immersion conditions specified by the manufacturer. For most above-deck 12V accessories, a genuine sealed automotive or marine connector with an appropriate IP rating is a sound starting point.
However, an IP rating only applies when the connector is assembled correctly, fitted with the right terminals and cable seals, and fully mated. A missing cavity plug, damaged seal or incorrect cable diameter can compromise the assembly. In saltwater use, corrosion resistance of terminals, locking design and service access can be just as relevant as the rating printed on the packet.
Match the connector to the circuit and location
Before selecting a plug, identify circuit current, cable size, number of conductors and mounting location. This prevents a common mistake: choosing a compact multi-pin connector for convenience, then running more current through it than the terminals are rated to handle.
A navigation light, NMEA connection or low-draw sensor may only need a small two-, three- or four-pin connector. A pump or compressor circuit may require larger terminals, heavier cable and a connector with a substantially higher continuous current rating. Always allow for the circuit’s expected load, not just the nominal rating of the device.
Also consider whether the connection will be under a console, inside a cabin locker, in an engine bay, beneath the deck, near the transom or exposed on a hardtop. The more direct spray, salt and movement it sees, the more worthwhile a properly sealed and positively locked system becomes.
Deutsch DT-style connectors for dependable low-voltage circuits
Deutsch DT-style connectors are a popular choice for marine, automotive, 4WD and industrial wiring because they combine positive locking, replaceable terminals and effective environmental sealing. They are well suited to low- and medium-current circuits where a durable multi-pin connector is required.
They make sense for deck lighting, pumps, accessory looms, sensors, switches and electronic modules, particularly where vibration is expected. Their wedgelock arrangement helps retain terminals, and the housings are easy to identify when planning a serviceable loom.
The trade-off is size and assembly time. You need the correct terminals, seals and crimping tool, and the connector is larger than a basic two-pin plug. That extra effort is generally worthwhile where reliability and future serviceability matter.
Superseal-style connectors for compact sealed connections
Superseal-style connectors are commonly used on 12V accessory wiring and are practical for compact, low-current circuits. Their integrated seals and locking arrangement make them useful in areas exposed to moisture, provided they are assembled with compatible cable and correctly crimped terminals.
They are often a good fit for LED lighting, small pumps, switches and auxiliary wiring where space is limited. Check the terminal and connector rating before using them on higher-draw loads. Compact does not automatically mean suitable for every circuit.
Circular connectors where repeated disconnection is expected
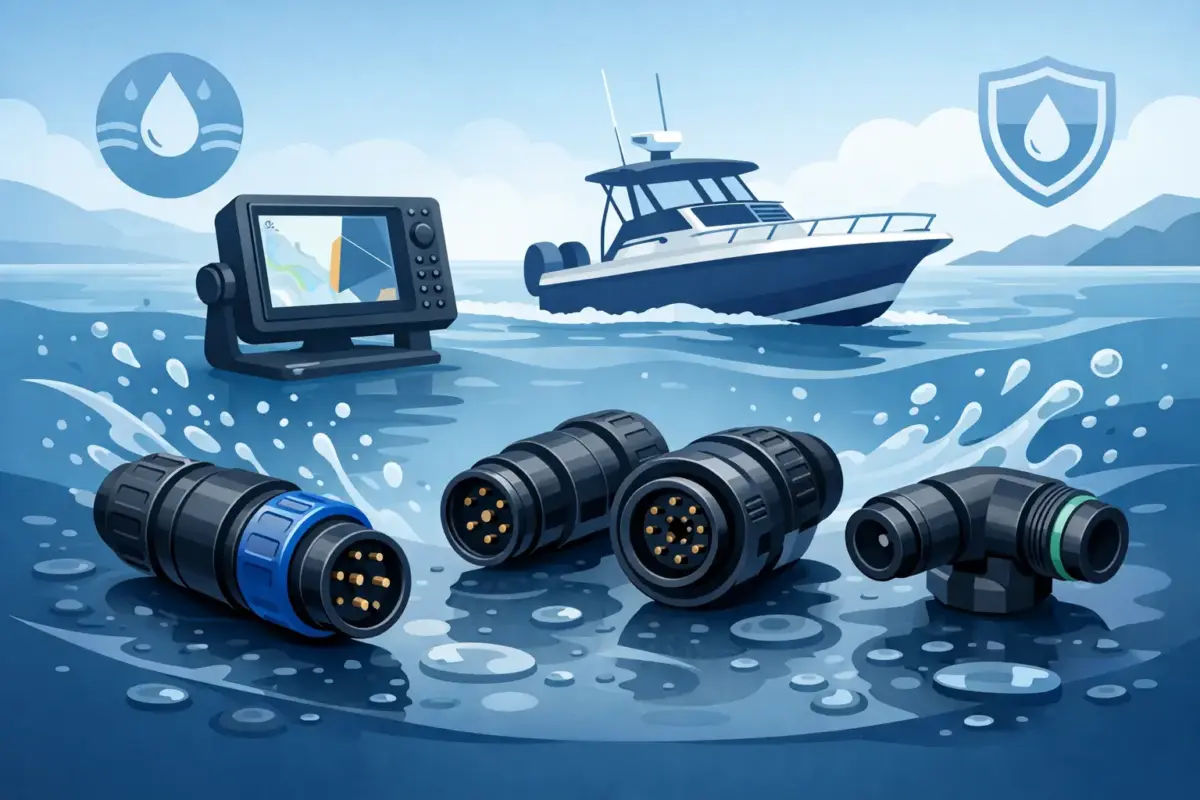
Circular waterproof connectors can be useful for external equipment, removable electronics and multi-core cable runs. Depending on the style, they may offer threaded coupling, bayonet locking or screw collars that resist vibration and accidental separation.
This type of connector is worth considering where a cable regularly passes through a console, canopy, electronics box or removable panel. A threaded coupling can be particularly helpful where a standard push-fit plug might be pulled or knocked loose. Ensure the mating pair is compatible and that caps are available for unused connectors exposed to weather.
Anderson-style connectors for higher-current removable power
For higher-current DC power feeds, Anderson-style connectors are widely used across camping, 4WD, caravan and marine applications. They are practical for removable battery boxes, portable fridges, auxiliary charging leads and larger 12V power connections.
Standard Anderson-style housings are not automatically waterproof. They need to be located under cover, protected by an enclosure or paired with weatherproof boots and covers where appropriate. They are excellent for current handling and easy disconnection, but they should not be treated like a sealed multi-pin plug on an exposed transom.
Heat-shrink joins for permanent wiring repairs
Adhesive-lined heat-shrink butt connectors remain one of the most useful options for permanent marine cable joins. When crimped with the correct tool and heated evenly, the adhesive flows around the cable insulation to help seal the join against moisture.
Use them where a plug is unnecessary and a permanent repair is preferred, such as extending a lighting cable inside a protected run. Do not use them merely because a proper connector is inconvenient. If a pump, lamp or electronic unit will eventually need replacing, a service connector may save considerable time later.
Installation details that decide whether a connector lasts
Waterproofing begins before the plug is fitted. Use cable sized for both current draw and cable run length, especially on 12V circuits where voltage drop can quickly affect pumps, lighting and electronics. Marine-grade tinned copper cable is a sensible choice in saltwater environments because it offers better resistance to corrosion than standard bare copper cable.
Strip only the amount of insulation required by the terminal. The conductor should sit fully in the crimp barrel without strands splayed outside it, and the insulation or cable seal must be supported in the designated part of the terminal. A crimping tool matched to the terminal type delivers a far more reliable result than flattening a terminal with general-purpose pliers.
After crimping, give each terminal a firm pull test before inserting it into the housing. Confirm it locks into place and that any secondary lock, wedge or retaining clip is fully installed. On multi-pin plugs, label wires before assembly and verify polarity with a multimeter before connecting equipment.
Avoid mounting connectors where water can pool around them. Where possible, position the cable entry downward and provide a drip loop so water does not run directly towards the rear seal. Secure the loom at sensible intervals to limit vibration, but do not cable-tie it so tightly that the cable insulation is damaged.
For through-bulkhead cable runs, use suitable cable glands rather than filling an oversized hole with sealant. A correctly sized gland grips the cable, helps keep water out and reduces movement at the entry point. It is a small component that often prevents a much larger wiring fault.
Common faults to prevent before launch day
Most boat connector failures are gradual. A light may flicker, a sounder may reboot when the bilge pump starts, or a pump may run slower than usual. These symptoms can point to voltage drop or resistance at a corroded connection rather than a failed device.
Green staining on copper, white residue around terminals, loose pins, cracked housings and swollen heat-shrink are all warning signs. Disconnect power before inspection, then check voltage on both sides of the connection while the circuit is under load. A connector can look clean but still create a measurable voltage loss when current flows.
Do not pack every connector with grease as a substitute for proper sealing. Dielectric grease can be useful on seals and external contact areas where appropriate, but it cannot repair poor terminal tension, a damaged housing or an incorrect crimp. Clean, tight terminals and a properly assembled sealed connector come first.
For boat electronics, the best connector is usually the one that suits the load, survives its location and can still be serviced at the ramp or in the shed. Build each connection as though you will need to diagnose it in two years’ time, because that is when good cable, correct terminals and proper sealing prove their value.











