


 Cable Automotive / Marine




 Cable Lugs
 Cable Lug Assortment Kits
 Cable Lugs Straight Wall Closed
 Cable Glands
 Convoluted Split Tubing
 12/24v Products & Access




 Electrical Connectors





 Solar Powered Products



 LED Lights







 Tools










 Auto Parts & Categories



 Fittings








 Cleaning & Misc





 Clearance & Promotion
Latest News
Soldering vs Crimping in Automotive Wiring
Aug
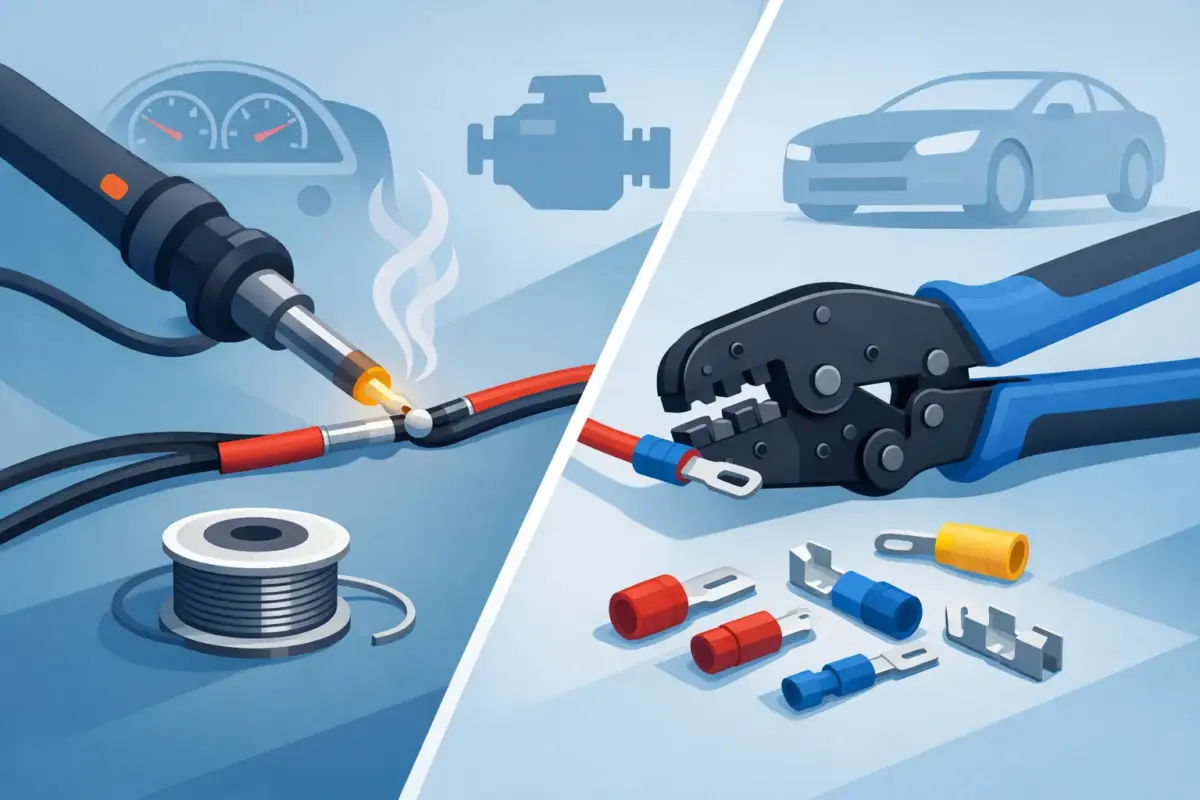
A failed join behind a dashboard or under a caravan chassis rarely gives much warning. One day the fridge cuts out, the driving lights flicker or the brake controller loses power. When weighing up soldering vs crimping automotive wiring, the right choice is not about which method looks tidier on the bench. It is about whether the connection will handle vibration, heat, moisture, current load and years of movement on the road.
For most vehicle, 4WD, caravan, marine and fleet wiring work, a correctly made crimp is the preferred connection. Solder still has a place, particularly for electronics and certain repairs, but it must be applied with a clear understanding of what vibration does to cable.
Why automotive connections fail
Automotive wiring lives a harder life than fixed household wiring. Cable flexes with engine movement, corrugated roads, door hinges, trailer articulation and suspension travel. It is exposed to heat cycling, dust, water, oil, salt air and, in many 12V and 24V systems, sustained high current.
A connection can test correctly with a multimeter when stationary and still fail in service. Poor strand compression, undersized terminals, incorrect stripping length, missing strain relief and poor sealing all create resistance or mechanical weakness. Resistance generates heat, and heat accelerates failure.
The aim is a low-resistance electrical joint with enough mechanical strength to prevent the conductor moving at the terminal. The joint also needs suitable insulation and environmental protection for its location.
Soldering vs crimping automotive wiring: the practical difference
Crimping joins a terminal or splice to the conductor by mechanically compressing the barrel around the wire strands. With the correct terminal, cable size and crimp die, the result is a gas-tight or near gas-tight connection that has low resistance and good pull strength.
Soldering uses molten solder to bond the wire strands and terminal. It can produce a neat, conductive connection, but solder wicks into the cable beyond the terminal. That section becomes stiffer than the flexible cable around it. If the wire is allowed to flex at the edge of the soldered area, work-hardening and fatigue can eventually break the conductor.
That distinction matters most in mobile installations. A crimped terminal retains more flexibility at the cable entry point, while a soldered joint can create a hard spot unless it is properly supported and strain-relieved.
Why quality crimps are standard in vehicle wiring
Vehicle manufacturers and professional harness builders rely heavily on crimp terminals for good reason. Crimps are repeatable, fast to produce and suitable for high-volume wiring looms. More importantly, a properly selected crimp tolerates vibration very well.
The word “properly” does the heavy lifting. A terminal crimped with pliers, a hammer tool or an incorrect die is not comparable with a correctly crimped connection. The barrel may be crushed unevenly, strands may be cut, or the cable may pull free under load.
For dependable results, match the terminal barrel to the cable cross-section, use a ratchet crimper or purpose-designed heavy-duty crimper, and inspect every joint. The crimp should be firm, centred and formed to the terminal manufacturer’s profile. Give it a controlled pull test before insulating or installing it.
On larger battery cables, solar leads and Anderson-style connector contacts, correct cable preparation and a suitably rated lug crimper are particularly important. A high-current connection with a poor crimp can run hot enough to damage insulation, housings and surrounding equipment.
Where soldering can make sense
Soldering remains useful for fine wire, circuit-board repairs, small electronic components and applications where the joint will not be subject to repeated movement. It may also be used to repair a conductor where there is no practical crimp splice available.
In those cases, use clean wire, controlled heat and quality electrical solder suited to electronic work. Avoid heating cable insulation until it recedes well back from the joint. Once soldered, the cable needs support so bending occurs away from the stiffened section.
A soldered splice should be covered with adhesive-lined heat shrink and secured so it cannot hang, vibrate or flex freely. Heat shrink is insulation and sealing, not a substitute for proper strain relief. Where a cable is likely to move, a crimp splice is generally the safer repair.
The connection method should match the job
There is no benefit in applying one rule to every circuit. Start with cable size, current draw, installation location and whether the cable will move.
For battery leads, winch wiring, DC-DC charger cables, inverter feeds, dual-battery systems and trailer power circuits, use correctly crimped lugs, terminals or connector contacts. These circuits carry significant current, and the terminals must be rated for the cable and load. Insulate exposed positive connections, support cable runs with appropriate clamps, and protect them from chafing with conduit, split tubing or cable protection.
For accessory wiring such as LED lights, UHF radios, compressors and fridge circuits, insulated crimp terminals or sealed heat-shrink crimp connectors are usually the practical option. In engine bays, underbody areas and boat installations, sealed connectors are worth the extra effort. Moisture entering an unsealed joint can corrode copper strands beneath the insulation where the problem is not immediately visible.
For dashboard electronics, switch panels and low-current control wiring, solder may be appropriate where a component requires it. Even then, avoid using solder as a way to compensate for loose terminal fitment or unsuitable connector selection.
Common mistakes that cause trouble later
The biggest mistake is choosing a terminal by appearance rather than specification. Red, blue and yellow insulated terminals are common, but colour coding is only a broad guide. Confirm the conductor range marked on the terminal and check that it suits the actual cable, including any insulation thickness.
Another common issue is tinning wire before crimping. It may seem like a way to keep strands together, but soldered strands can cold-flow or deform under a crimp over time. For standard crimp terminals, strip the wire cleanly and crimp bare copper strands as intended.
Do not twist two wires together and force them into a terminal designed for one conductor unless the terminal is specifically rated for that arrangement. It can leave one wire poorly captured and create a high-resistance path.
Avoid cheap terminals with thin barrels, weak insulation and inconsistent plating, especially on high-current or exposed circuits. The terminal is part of the electrical system, not an afterthought. A quality lug, connector or splice matched to the job costs far less than diagnosing an intermittent fault beside the track.
Tools matter as much as the technique
A good crimp begins with a clean, square strip. Use a cable stripper that does not nick strands, then use the crimp tool designed for the terminal type. Open-barrel terminals, insulated terminals, non-insulated lugs, solar connector contacts and large battery lugs all require different tooling and crimp profiles.
For insulated heat-shrink terminals, a ratchet crimper provides consistent compression. After crimping, apply heat evenly until the tubing shrinks and adhesive flows at the ends where applicable. Do not scorch the sleeve or insulation.
For heavy cable, select lugs with the correct stud size as well as cable size. A lug may fit the cable but still be wrong for the battery terminal, fuse block or busbar stud. Use a hex or indent crimping method specified for the lug, then cover the barrel with suitably sized adhesive-lined heat shrink.
Before energising the circuit, inspect the whole run. Check for sharp edges, inadequate support, cable tension, loose terminals and fuse protection located close to the power source. A perfect crimp will not save a cable that rubs through on a chassis edge.
A sensible rule for 12V and 24V work
Use crimping as the default for automotive wiring, particularly where vibration, current or weather exposure are involved. Use solder where it is genuinely suited to the component or repair, then manage the stiffness it creates with strain relief and proper sealing.
For trade work and serious touring setups, consistency is often the deciding factor. The right terminals, cable, heat shrink, connector housings and crimp tools make it easier to build connections that are repeatable rather than relying on a repair that merely looks acceptable.
When a connection is buried behind a fridge, under a canopy or inside a loom, build it as though you will not want to see it again for the life of the vehicle. That is usually the best test of whether the method, materials and workmanship are right.











