


 Cable Automotive / Marine




 Cable Lugs
 Cable Lug Assortment Kits
 Cable Lugs Straight Wall Closed
 Cable Glands
 Convoluted Split Tubing
 12/24v Products & Access




 Electrical Connectors





 Solar Powered Products



 LED Lights







 Tools










 Auto Parts & Categories



 Fittings








 Cleaning & Misc





 Clearance & Promotion
Latest News
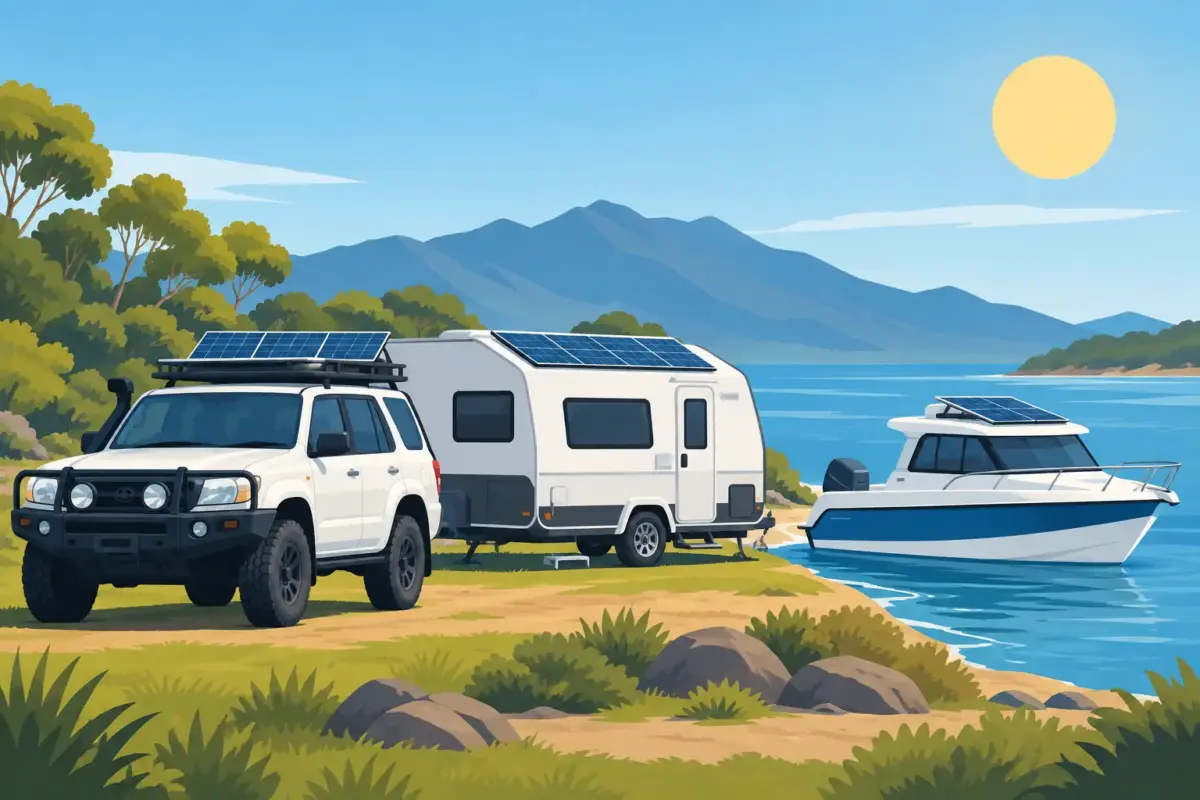
Solar Panels for 4WDs, Caravans and Boats
Nov
A flat battery at camp is rarely caused by one bad component. More often, the solar panels, regulator, battery, cable and connectors were never matched as a system. For 4WDs, caravans, camper trailers and boats, getting those basics right is what keeps the fridge cold, lights running and communications charged when there is no powered site nearby.
Fixed and portable solar both have a place. The right choice depends on where you travel, how long you stop, what you run each day and how your battery bank is set up. Panel wattage matters, but it is only one part of a reliable 12V or 24V charging system.
Start with the power you actually use
Before choosing a panel, work out your daily power consumption in amp-hours (Ah). This provides a far better starting point than simply fitting the biggest panel that will fit on the roof.
A compressor fridge is usually the main load in a touring setup, although its consumption changes with ambient temperature, ventilation, thermostat setting and how often the lid is opened. Add lighting, water pumps, fans, mobile charging, cameras, inverters and diesel heater controls. A weekend setup with a fridge and LED lighting may be modest; a caravan running multiple fridges, a coffee machine through an inverter or extended off-grid stays may need considerably more charging capacity.
As a practical guide, calculate each appliance’s current draw, multiply it by the hours used per day, then add the figures together. Build in a sensible margin for hot weather, overcast conditions and battery losses. Australian summer heat can increase fridge demand at the same time it reduces panel efficiency, so a system that only just works in mild weather can fall behind quickly.
Battery capacity also matters. Solar replaces energy used from the battery, but it cannot compensate for a battery bank that is too small for the overnight load. Deep-cycle AGM, lithium and other battery types have different charge requirements, usable capacity and voltage behaviour. Check that the regulator profile suits the battery chemistry.
Fixed solar panels versus portable solar panels
Fixed roof-mounted panels are the set-and-forget option. They charge whenever there is daylight, including while driving or stopped for lunch, and they do not take up storage space. They are well suited to caravans, canopies, motorhomes and boats where there is enough clear mounting area.
The trade-off is shading. A roof panel partly covered by a roof rack, aerial, tree branch or rolled-up awning can lose far more output than expected. It is also fixed at the vehicle’s angle, which is rarely ideal for the sun through the whole day.
Portable solar panels allow you to park the vehicle or caravan in shade while placing the panel in full sun. That can make a significant difference in hot conditions, particularly when protecting the fridge and occupants from direct heat. Portable panels can also be angled towards the sun and moved as conditions change.
Their downsides are straightforward: they require setup, packing away and secure placement. They need a suitably rated lead, weather-resistant connectors and protection from foot traffic, vehicles and curious wildlife. Do not run a lightweight lead across a track or leave exposed plugs sitting in dust or wet grass.
For many travellers, a combination works well: fixed solar for everyday maintenance charging and a portable panel for longer camp stays. It depends on roof space, storage room and whether your trips are mostly one-night stops or several days in one location.
Choose panel wattage with real conditions in mind
A panel’s advertised watt rating is measured under controlled test conditions. On the road, output varies with sunlight angle, cloud, heat, dust, shading, cable losses and regulator efficiency. A 200W panel will not provide 200W for every hour of daylight.
Rather than designing to the best-case figure, allow for variable weather and short winter days. If your daily consumption is close to the expected daily solar harvest, you have little reserve after a cloudy day. More panel capacity gives useful recovery ability, provided the regulator, cable and battery bank can accept it.
Physical size is often the first limitation on a 4WD roof or camper trailer. Measure the usable mounting area carefully, including clearance for roof hatches, roof racks, aerials and awnings. On marine installations, consider salt exposure, vibration, cable routing and the risk of shadowing from masts or rigging.
Match the regulator to the panels and battery
The solar regulator controls how power from the panel is delivered to the battery. It is not an optional extra. Without correct regulation, battery life and charging performance suffer.
PWM regulators are a cost-effective option for simple systems where panel voltage and battery voltage are closely matched. MPPT regulators are generally the better choice where maximising output matters, especially with higher-voltage panels, longer cable runs or changing light conditions. An MPPT unit converts excess panel voltage into usable charging current more effectively than a basic PWM regulator in many real-world setups.
Check three things before buying: the regulator’s maximum solar input voltage, its maximum charging current, and compatibility with your battery type. The panel’s open-circuit voltage must remain below the regulator’s input limit, including in cool bright conditions when voltage can rise. If panels are wired in series, their voltages add. If wired in parallel, current increases, so cable and fuse ratings become more critical.
Place the regulator as close to the battery as practical, particularly in 12V systems. The cable between panel and regulator can run at a higher voltage in some configurations, but the regulator-to-battery cable carries charging current at battery voltage. Long, undersized cable on that section creates voltage drop and can prevent the battery receiving the charge voltage it needs.
Cable, connectors and protection are part of the system
Good panels cannot overcome poor wiring. Cable size should be selected for current, run length, voltage drop, installation environment and future expansion. Automotive twin cable that is adequate for a short portable lead may be undersized for a long caravan roof run or a high-current 24V setup.
Use quality copper cable with insulation suited to UV, heat, vibration and moisture where required. Protect cables where they pass through a roof, canopy, bulkhead or metal bracket. Grommets, conduit, split tubing and proper cable glands help prevent insulation damage that can turn into a fault months later.
Connectors need to suit the job. Anderson-style connectors are common for portable solar leads and high-current DC connections because they are polarised, durable and easy to disconnect. Make sure the connector rating matches the current, terminals are correctly crimped, and positive and negative polarity is confirmed before connection. A reversed solar lead can damage equipment quickly.
Every conductor connected to a battery needs appropriate circuit protection close to the battery source. Fuse size should protect the cable, not merely stop a nuisance blow. Solar systems can have multiple protection points depending on their layout, including between panels and regulator and between regulator and battery. For complex systems, follow the equipment manufacturer’s requirements and use a qualified auto electrician or marine electrician where needed.
Installation details that prevent common failures
Panel mounting must handle vibration, wind load and corrugations. A panel that flexes excessively or is mounted with unsuitable fasteners can crack, loosen or damage the roof surface. Use mounting hardware suited to the panel frame and vehicle material, seal penetrations correctly, and leave airflow under fixed panels where the mounting method allows. Cooler panels generally perform better than panels trapped against a hot roof.
Keep the panel surface reasonably clean. Dust, salt spray, bird droppings and leaf matter reduce output. A soft cloth and clean water are usually sufficient. Avoid harsh solvents or abrasive pads that can scratch the surface.
Monitor the system rather than assuming it is charging. A regulator display, battery monitor or app-based monitor can show panel input, charge current, battery voltage and consumption. These figures make fault-finding much faster. If output drops unexpectedly, check for shade, dirty panels, loose connectors, damaged cable, blown fuses and incorrect regulator settings before blaming the battery.
For custom portable leads, extension cables, Anderson connectors, solar fittings and cable protection, Bluebar Industries supplies components suited to practical 12V and 24V installations. Selecting compatible parts from the start is cheaper than rebuilding a system after a preventable voltage-drop or connector problem.
Build for the trip, not the brochure
The best solar setup is not necessarily the one with the highest watt number. It is the one that reliably replaces your typical daily use, fits the available space, uses correctly rated components and gives you enough margin for the places you actually travel. A modest system with sound cable sizing, correct regulation and clean connections will usually outperform an oversized setup compromised by shade, voltage drop or poor installation.
Before the next long run, test your charging system at home with the fridge and usual loads operating. A few hours spent checking current, voltage and connections in the driveway can save a flat battery and a warm fridge well beyond the blacktop.











