


 Cable Automotive / Marine




 Cable Lugs
 Cable Lug Assortment Kits
 Cable Lugs Straight Wall Closed
 Cable Glands
 Convoluted Split Tubing
 12/24v Products & Access




 Electrical Connectors





 Solar Powered Products



 LED Lights







 Tools










 Auto Parts & Categories



 Fittings








 Cleaning & Misc





 Clearance & Promotion
Latest News
How to Extend 12V Wiring Without Voltage Drop
Aug
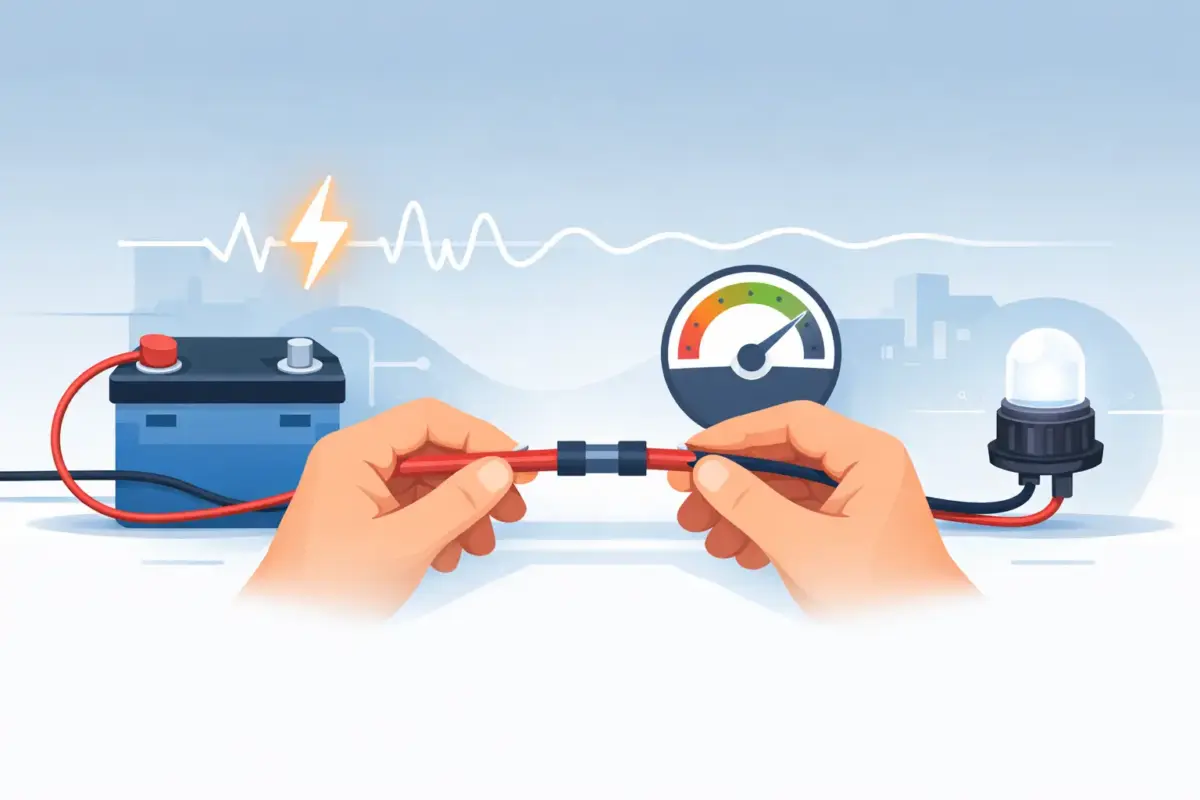
A fridge that cuts out when the compressor starts, dim work lights at the rear of a ute, or a solar panel that never delivers its expected output often comes back to one issue: an extension that is too light, poorly joined or exposed to the weather. Knowing how to extend 12V wiring properly is less about simply making a cable longer and more about protecting voltage, current capacity and connection reliability.
For a 4WD, caravan, boat or work vehicle, the right method depends on what the circuit supplies, how far it needs to run and where the cable will live. A short extension for a low-draw LED light is very different from adding cable to a fridge feed, inverter, winch control circuit or solar setup.
Start with the load and total cable run
Before cutting cable, identify the accessory’s maximum current draw in amps. Then measure the entire path from the power source to the accessory and back again. In a negative-earth vehicle, current travels out on the positive conductor and returns through either a negative cable or the vehicle chassis. Where a dedicated twin cable is used, both conductors count towards the total run length.
Voltage drop is the key consideration. Every metre of cable has resistance, and that resistance increases as the cable gets longer or smaller. At 12V, even a relatively small drop can affect equipment performance. A 0.5V drop may not concern an incandescent globe, but it can be enough to cause trouble for compressor fridges, pumps, DC-DC chargers and sensitive electronics.
As a working rule, choose cable based on current and run length, not just what matches the existing insulation diameter. Cable sizing is normally expressed in square millimetres or B&S gauge. The conductor size matters, not the outside diameter of the insulation. If an extension adds significant distance, stepping up to a larger cable is usually smarter than trying to make a marginal cable work.
For example, a short extension to a small LED circuit may suit lighter twin sheathed automotive cable. A longer feed to a fridge outlet, Anderson connector or battery box generally needs substantially heavier cable. High-current loads such as inverters, compressors and charging systems need their own calculated cable size and should not be extended by guesswork.
Choose the right way to extend 12V wiring
The best joining method is determined by whether the lead needs to be detachable, serviceable or permanently installed. For a removable camp lead or solar extension, a purpose-built extension lead with matching connectors is generally the cleanest option. It is easier to inspect, replace and pack away, and avoids a permanent joint in an exposed section of cable.
For a fixed installation, use a properly rated crimp join, terminal block or connector designed for automotive and marine conditions. The connector must be rated for the circuit current and accept the actual cable size. A large connector on undersized cable does not improve the circuit.
Anderson-style connectors suit higher-current detachable connections between a vehicle and camper, battery box, solar input or portable fridge setup. Cigarette-style plugs are convenient for low to moderate loads, but they are not the best choice for equipment that draws high current continuously. Their contact pressure and fuse ratings can become a limitation on rough tracks.
Deutsch-style connectors, weatherproof plugs and sealed multi-pin connectors are useful where multiple circuits run through a canopy, trailer connection or engine-bay area. For a single permanent cable extension, a quality butt splice with adhesive-lined heat shrink can be a sound solution when correctly crimped and protected.
Avoid twisting wires together, covering them with ordinary tape and hoping for the best. Those joins loosen with vibration, allow moisture in and create resistance. Resistance creates heat, and heat is a warning sign in any 12V connection.
Crimping versus soldering
A correctly crimped terminal made with the right terminal and ratchet crimper is the standard approach for most automotive wiring. It provides a mechanically secure, low-resistance connection without making the conductor excessively rigid.
Solder can be useful in controlled applications, but it should not be relied on as the only mechanical support in a vehicle. Solder can wick up the conductor, leaving a stiff section that may fatigue under vibration. If solder is used, the joint still needs strain relief and properly sealed heat shrink. For most field repairs and vehicle installations, quality crimps are more practical and repeatable.
Match the cable to the environment
A cable extension under a caravan, in a canopy or through an engine bay is exposed to far more than electrical load. It may see vibration, dust, salt spray, stone strike, heat, oil and UV. Use automotive-grade cable with insulation suited to the location rather than household flex or lightweight speaker wire.
Twin sheathed cable keeps positive and negative conductors together and is a tidy choice for many accessory runs. Split conduit, corrugated tubing or braided sleeve adds abrasion resistance where cable passes through chassis rails, drawers, body panels or tight spaces. In exposed areas, secure the cable at regular intervals with suitable clips, P-clamps or mounts. Cable ties alone can chafe insulation if pulled tight against a sharp edge.
Any cable passing through metal needs a grommet or protected bulkhead fitting. Do not route wiring near exhaust components, steering shafts, sharp brackets or moving suspension parts. Leave enough slack at hinges, trailer drawbars and suspension movement points, but not so much that the cable can rub or snag.
Where water or dust is likely, use sealed connectors and adhesive-lined heat shrink. Standard heat shrink provides insulation, but adhesive-lined heat shrink adds a moisture seal around the cable and terminal. This matters on boats, off-road trailers and rear vehicle installations that regularly see creek crossings or road spray.
Fuse the circuit at the power source
Extending a cable does not change the need for circuit protection. A fuse protects the cable from becoming the weakest link if it is damaged or shorted, so it should be fitted as close as practical to the battery or supply point on the positive cable.
Select the fuse for the cable capacity and expected load. It must be high enough to handle normal operation but low enough to protect the smallest cable in the circuit. If an existing accessory lead is extended using a lighter section of cable, the original fuse may no longer provide adequate protection for that extension.
A fuse at the far end can protect an accessory, but it does not protect the length of unfused cable between the battery and that fuse. For battery-fed circuits, source-end protection is the priority. Systems involving lithium batteries, DC-DC chargers, solar regulators or high-output auxiliary batteries can have substantial fault current, so correct fusing and isolation are not optional.
Make the joint, then test it under load
Disconnect the battery or isolate the circuit before working on wiring. Confirm polarity with a multimeter rather than assuming red is always positive, particularly on older vehicles, trailers or previously modified setups.
Strip only enough insulation for the terminal barrel, insert the conductor fully and crimp with a tool matched to the terminal style. Give the wire a firm pull test. Then seal the connection, support the cable on both sides of the join and make sure the finished section cannot flex repeatedly at the terminal.
Once power is restored, test more than continuity. Run the actual load and check voltage at the supply and at the accessory. The difference is your real-world voltage drop. Also feel the connectors and joins after several minutes of operation. They should not be hot. Warmth in a high-current connection can indicate undersized cable, a poor crimp, corrosion or a connector that is not rated for the job.
When replacing the full lead is the better option
Sometimes the neatest extension is no extension at all. If the original cable is too small, brittle, damaged, difficult to access or already has several joins, replacing it with one continuous correctly sized run is usually the more reliable repair. This is particularly worth considering for fridge feeds, battery-to-battery connections, trailer charging circuits and solar cabling where voltage drop has a direct effect on performance.
A single continuous cable also reduces potential failure points. It may take longer to install, but it is easier to diagnose later and more likely to stand up to corrugations, heat and regular touring use.
The job is finished only when the extension is sized for the load, fused at the source, protected from damage and tested while the accessory is working. Build it once with cable and connectors suited to the conditions, and it is far less likely to become the fault you are chasing at camp or on site.











