


 Cable Automotive / Marine




 Cable Lugs
 Cable Lug Assortment Kits
 Cable Lugs Straight Wall Closed
 Cable Glands
 Convoluted Split Tubing
 12/24v Products & Access




 Electrical Connectors





 Solar Powered Products



 LED Lights







 Tools










 Auto Parts & Categories



 Fittings








 Cleaning & Misc





 Clearance & Promotion
Latest News
How to Choose Solar Cable for 12V and 24V
Aug
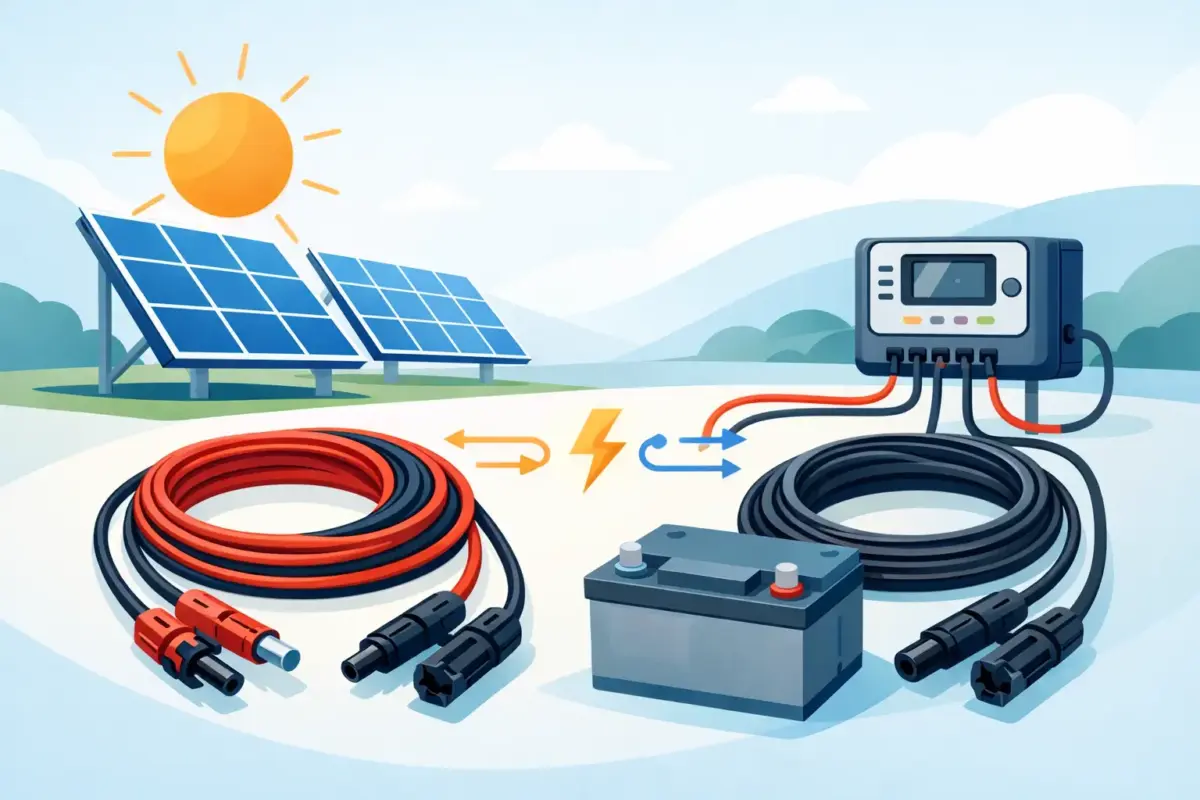
A solar panel can be producing power in full sun while the battery still receives less charge than it should. Often, the issue is not the panel or the regulator. It is undersized, unsuitable or poorly terminated cable. Knowing how to choose solar cable means matching the cable to the current, cable run, environment and connectors in the complete system – not simply buying the thickest lead on the shelf.
For a caravan roof panel, a portable folding panel beside the 4WD, or a marine battery bank, the right cable keeps voltage drop under control and stands up to heat, UV, vibration and regular setup. The wrong cable can run hot, create charging losses and fail where a repair is least convenient.
Start with the solar system layout
Before selecting cable, identify where it will run and what equipment it connects. A solar lead from a panel to an MPPT regulator has different demands from a short battery lead between the regulator and an auxiliary battery. Treat these as separate circuits.
A typical mobile solar system has three sections: panel to regulator, regulator to battery, and battery to loads. Panel cable may be exposed on a roof, along a drawbar or across the ground with a portable panel. Regulator-to-battery cable is normally shorter, but it can carry higher current at battery voltage. That short section deserves particular attention because voltage drop there affects the regulator’s ability to charge the battery properly.
Also check whether panels are wired in series or parallel. Series wiring increases voltage while keeping current roughly the same. Parallel wiring keeps voltage similar but adds current. Higher current requires a larger cable for the same run length, so a parallel array often needs heavier cable than a comparable series array.
Do not assume a ‘12V panel’ delivers 12V. Its operating voltage is commonly well above battery voltage, while its open-circuit voltage is higher again. Check the panel label for operating current, short-circuit current, operating voltage and open-circuit voltage, then make sure the regulator and cable arrangement suit those figures.
Choose solar cable rated for the environment
Purpose-made photovoltaic cable is the right choice for exposed panel wiring. Quality solar cable is generally fine-stranded, tinned copper with double insulation designed to tolerate sunlight, moisture, heat and outdoor use. It is flexible enough for vehicle and caravan installations, yet much more suited to roof and portable-panel exposure than ordinary automotive cable.
Standard automotive cable still has a place inside protected vehicle areas, particularly on the battery side of a regulator where it is installed in conduit, split tubing or other mechanical protection. However, automotive cable is not automatically suitable for permanent external solar runs. Insulation that looks acceptable in the shed can become brittle after prolonged sun and heat on a caravan roof.
When comparing products, look beyond the outside diameter. Confirm the conductor is copper, check the actual conductor size in mm², and confirm the insulation is rated for the intended temperature, voltage and UV exposure. Fine-stranded cable is usually easier to route through a canopy, roof gland or engine-bay-adjacent area, while tinned conductors provide useful protection where moisture and corrosion are factors.
Do not select cable by insulation colour alone
Red and black cable make polarity easier to follow, but colour does not tell you its current capacity or whether it is solar rated. In some solar installations, black twin solar cable is used with cores identified at each end. Whatever format you use, maintain clear positive and negative identification from panel to regulator and from regulator to battery. Label cables during installation, especially where multiple panels, battery banks or Anderson connections are involved.
Size cable for current and run length
Cable size is a balance between current capacity and voltage drop. A cable may be capable of carrying the current without immediate overheating but still be too small for efficient charging over a long run. That is why a 6 mm² cable is often a sensible upgrade over 4 mm² for longer panel leads, even when the panel current is modest.
Measure the complete circuit length, not just the distance from panel to regulator. Electricity travels out on the positive conductor and returns on the negative conductor. A 5-metre distance therefore means roughly 10 metres of circuit length for voltage-drop calculations.
For a single portable panel producing around 10A over a short lead, 4 mm² solar cable can be suitable. Move to 6 mm² where the run is longer, current is higher, or you want more charging performance in marginal conditions. Larger arrays, parallel panels and long runs from a caravan roof to a regulator may require 10 mm² or more. The correct answer depends on the actual current and run, not the nominal battery voltage.
Use the panel’s maximum current figure, allowing a margin for real operating conditions and future expansion. If you may add another portable panel later, installing cable that suits the expected combined current now can save redoing a difficult roof or wall run.
A simple voltage-drop check is worthwhile. As a practical target, keep drop on the panel-to-regulator run low, ideally around 3 per cent or less, and make the regulator-to-battery lead as short and heavy as practical. An MPPT regulator can work with higher panel voltage, but it cannot recover power lost as heat in undersized cable. On the battery side, even a small voltage loss can cause the regulator to see a higher battery voltage than the battery is actually receiving.
Match connectors to the cable and application
Connectors are part of the cable selection, not an afterthought. The most common connection at solar panels is the MC4-style solar connector. Choose connectors rated for the system voltage and current, with terminals that match the cable’s conductor size. A terminal designed for 4 mm² cable will not crimp correctly onto a larger conductor just because it can be forced into the housing.
Do not casually mix different brands or styles of MC4-type connectors. They may look alike but can have different contact geometry, sealing arrangements and locking details. For a dependable outdoor connection, use compatible matched components and a proper solar connector crimping tool.
Anderson-style connectors are commonly used for detachable portable solar leads, canopy inputs and battery connections. Select the connector rating to suit the circuit and use cable sized for both the current and the terminal. A large connector does not make a small cable suitable for a high-current run. Keep solar-panel connectors and battery-side connectors clearly separated where possible to avoid incorrect connections.
Where cable enters a caravan, canopy or boat, use a properly sealed cable gland or entry housing. A neat hole with silicone around it is not a long-term cable-management strategy. Movement, water ingress and sharp edges are common causes of faults.
Protect cable from heat, rubbing and movement
Australian touring conditions are hard on wiring. Roof cable sees UV and heat. Drawbar leads collect dust, water and stone damage. Engine-bay-adjacent runs face heat and vibration, while portable panel leads are dragged across gravel and packed away repeatedly.
Route cable away from exhaust components, sharp sheet metal, moving suspension parts and pinch points. Use grommets through panels, secure cable at regular intervals and add conduit, braided sleeve or split tubing where abrasion is possible. Avoid cable ties pulled so tight that they deform insulation. Leave enough service length at panels, regulators and connectors to prevent a constant pull on terminals, but not so much loose cable that it can chafe or snag.
For marine applications, give extra attention to tinned copper conductors, sealed terminations and strain relief. Salt moisture finds weak points quickly. In mining, fleet and industrial work, mechanical protection and secure mounting often matter just as much as conductor size.
Fit fusing and isolation in the right places
Cable protection is not only about its insulation. Fit correctly rated fuses or circuit protection where a conductor is connected to a battery or other source capable of supplying fault current. The regulator-to-battery positive cable is a key location because the battery can deliver very high current into a damaged lead.
Panel-side fusing requirements depend on the array configuration. Parallel strings can require string fuses because other panels may feed current back into a faulted string. A single panel may not need the same arrangement. Follow the panel and regulator manufacturer requirements, and make sure any isolator, fuse holder and connector are rated for the voltage and DC current involved. DC switching places different demands on equipment than ordinary household AC circuits.
Check the finished lead before relying on it
A good solar lead should have clean, correctly crimped terminals, no exposed conductor, secure seals and clear polarity. Test continuity and polarity with a multimeter before connecting to the regulator or battery. Then inspect the cable after its first trip or a few weeks on the roof. Look for loose mounts, rub marks, water entry and connectors that are difficult to lock.
For custom lengths, unusual connector combinations or a solar setup that needs to work with existing 12V or 24V gear, selecting the cable and terminations together avoids the usual compatibility problems. A properly sized, well-protected lead is a small part of the system, but it is what lets the solar gear keep doing its job long after the campsite has been packed down.











