


 Cable Automotive / Marine




 Cable Lugs
 Cable Lug Assortment Kits
 Cable Lugs Straight Wall Closed
 Cable Glands
 Convoluted Split Tubing
 12/24v Products & Access




 Electrical Connectors





 Solar Powered Products



 LED Lights







 Tools










 Auto Parts & Categories



 Fittings








 Cleaning & Misc





 Clearance & Promotion
Latest News
How to Wire a Caravan Battery Charger Safely
Jul
A charger that looks fine on the wall can still leave a caravan battery flat if the cable is undersized, the fuse is in the wrong place, or the charger is connected to the wrong battery bank. Knowing how to wire a caravan battery charger starts with separating the 240V supply side from the 12V battery side, then building each part to suit the charger, battery chemistry and expected load.
For most caravan owners, the practical job is wiring the charger’s DC output to the house battery. Fixed 240V wiring, including hard-wiring a charger into the caravan’s AC system, must be completed and tested by a licensed electrician in line with applicable Australian requirements. Do not treat 240V wiring like a 12V accessory installation.
Start by identifying the charger and battery system
Read the charger’s specifications before selecting cable or terminals. Confirm its output voltage, maximum charging current and compatible battery type. A charger set for AGM may not charge lithium correctly, while a lithium-compatible charger can be unsuitable for some older lead-acid batteries if it has no selectable profile.
Also establish whether it is a dedicated 240V AC-to-12V battery charger, a combined inverter charger, or a DC-DC charger. These units are wired differently. This article covers a typical caravan battery charger that takes 240V mains power and charges a 12V house battery bank.
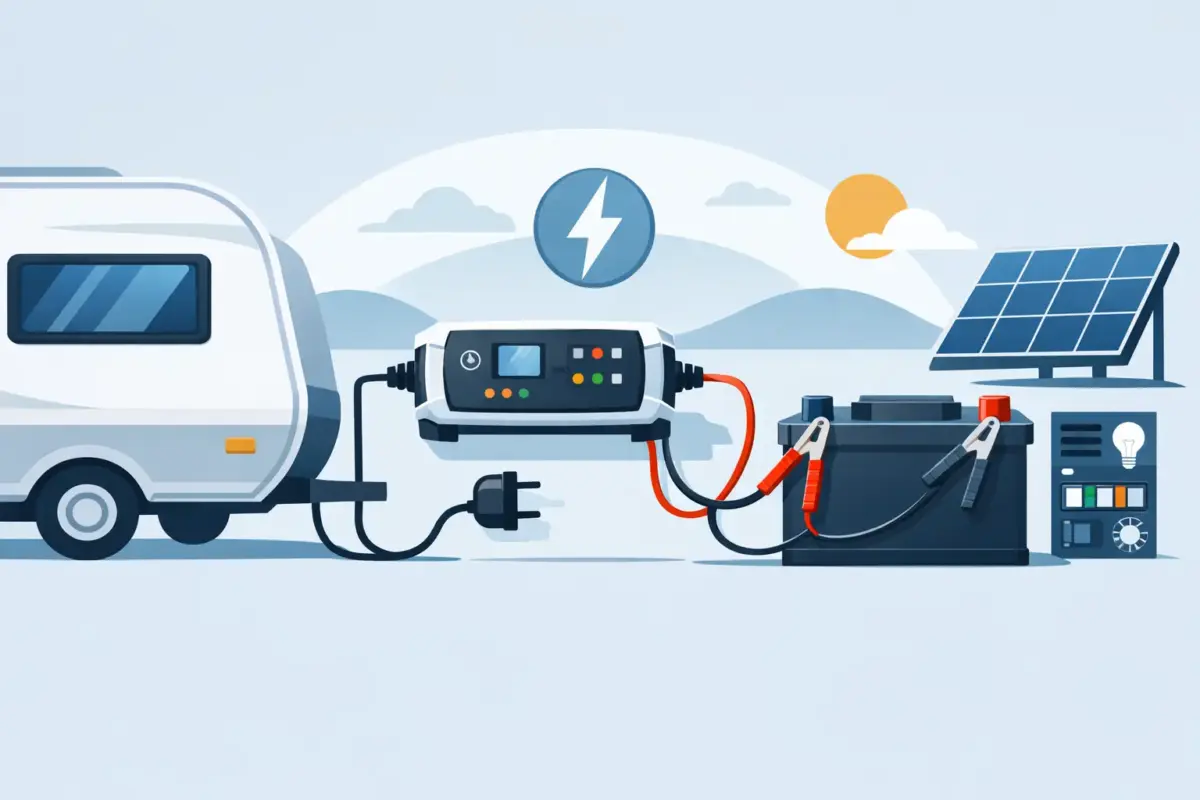
Check whether the batteries are wired as a single 12V battery, parallel 12V batteries, or a higher-voltage bank. Most Australian caravans use 12V house systems. When batteries are paralleled, connect the charger positive to the positive terminal at one end of the bank and the negative to the negative terminal at the opposite end. This helps share charging current more evenly across both batteries.
Plan the charger position before running cable
Mount the charger in a dry, protected location with adequate ventilation. Chargers generate heat, particularly when recovering a deeply discharged battery, so avoid a sealed cavity, a storage compartment full of soft gear or any area exposed to water. Follow the clearance requirements in the charger manual.
Keep the DC cable run as short as practical. Long cable runs create voltage drop, which can cause the charger to see an inaccurate battery voltage and reduce charging performance. A charger mounted close to the battery compartment is generally preferable, provided the location is ventilated and approved by the charger manufacturer.
Avoid mounting electrical equipment directly above flooded lead-acid batteries. Battery gases and acid vapour can damage terminals and electronics. Sealed AGM and lithium batteries reduce this concern, but sound mounting and ventilation practice still apply.
Choose cable, terminals and protection to suit the current
The cable must be sized for the charger’s maximum output current and the total cable length, not just the distance from charger to battery. Measure both the positive and negative paths. A 20A charger with a short run may suit smaller cable than a 40A or 50A charger, but there is no benefit in selecting cable by guesswork.
As a general rule, use quality automotive-grade copper cable with insulation suited to vehicle and caravan environments. Cable needs protection from abrasion, heat, moisture and movement. Run it through conduit or split tubing where needed, secure it at regular intervals, and fit grommets anywhere it passes through metal or sharp-edged panels.
The positive cable requires a fuse or circuit breaker close to the battery positive terminal. Its job is to protect the cable if it shorts to chassis or another conductor. The fuse rating must protect the cable while allowing the charger to operate at full output. It is not simply chosen to match the charger label.
Use correctly sized crimp lugs, heatshrink and stainless hardware where appropriate. Loose or poorly crimped terminals create resistance, heat and voltage loss. For a high-current charging circuit, a proper ratchet crimper is a better option than flattening a lug with pliers or a hammer.
How to wire a caravan battery charger on the DC side
With all power sources isolated, including solar, vehicle charging input and 240V supply, mount the charger and complete the DC connections. Check the manufacturer’s wiring diagram first, as some chargers have separate battery-sense terminals, temperature sensors or remote-control leads.
Connect the charger negative output to the house battery negative terminal or the main negative busbar. If the caravan uses a battery monitor with a shunt, make sure the charger negative is connected on the battery-system side of the shunt as specified by the monitor manufacturer. If it is connected directly to battery negative when it should pass through the shunt, charging current may not be measured correctly.
Run the charger positive output to the battery positive terminal or main positive busbar through the correctly rated fuse or breaker. Place the battery-end fuse as close to the battery as practical. This leaves only a very short section of unfused positive cable at the battery.
Do not use the caravan chassis as the negative return for a dedicated battery charger circuit unless the system has specifically been designed that way. A full-size negative cable back to the battery or negative busbar is more reliable and makes fault-finding easier.
Before making the final connection, confirm polarity with a multimeter. Positive to positive and negative to negative sounds obvious, but reversed polarity can damage a charger, battery management system, fridge control board or other connected equipment. Fit the negative connection first if following the equipment instructions, then make the fused positive connection last.
Treat the 240V input as a separate installation
Many portable caravan chargers have a standard 240V plug and can be connected to a protected outlet. Keep the plug, socket and lead dry, undamaged and properly supported. Never use a light-duty domestic extension lead as a permanent caravan installation.
If the charger is intended to be hard-wired to the caravan’s 240V system, that work is for a licensed electrician. The AC side may require correct circuit protection, RCD protection, cable routing, enclosure clearances and compliance testing. A safe 12V installation does not make an unsafe 240V connection acceptable.
A charger with an earth terminal or metal enclosure must be installed exactly as the manufacturer requires. Do not remove an earth connection to solve a nuisance fault or make a cable fit.
Integrate solar, DC-DC charging and loads properly
A caravan battery may receive charge from solar, a DC-DC charger connected to the tow vehicle and a 240V charger at the same time. That is usually acceptable when each device is designed for the battery chemistry and connected through properly protected circuits. Modern chargers regulate independently based on battery voltage.
The point that needs attention is battery management. A lithium battery with an internal BMS can disconnect during charging or at low temperature. Select a charger with the correct lithium profile and, where required, a temperature sensor or low-temperature charging protection. Do not assume every lithium battery can be charged below freezing conditions.
Your 12V distribution panel, inverter and major loads should normally connect through their own protected circuits or busbars, not piggybacked onto a charger terminal. A clean busbar arrangement makes the system easier to inspect, isolate and expand later. It also avoids overloading a terminal that was only designed for the charger lead.
Test the installation before relying on it
Once connections are tightened and protected, inspect the full run. Check that cable cannot rub on a drawer slide, pinch under a seat base or touch hot exhaust-style ducting from a heater. Confirm the fuse is fitted, all terminal covers are in place and no exposed positive conductor is left near earthed metalwork.
Reconnect the battery and switch on the charger at the 240V supply. Use a multimeter at the battery terminals to confirm that charging voltage rises to the level expected for the selected battery profile. A battery monitor can also confirm charging current, although current will taper as the battery reaches full charge.
After 10 to 15 minutes under charge, carefully check cable lugs, fuse holders and connections for unusual warmth. A warm charger body can be normal. Hot terminals, a burning smell, voltage that does not rise, repeated fuse failures or an error code are not. Isolate the system and find the cause before continuing.
A reliable caravan charging setup is not about adding the biggest charger available. It is about matching the charger to the battery, protecting every positive cable close to its power source, and using cable and terminations that will stand up to corrugations, heat and years on the road. If you are building or repairing the DC side, quality cable, lugs, fuse holders and connectors from a specialist 12V supplier such as Bluebar Industries make the job easier to get right.











