


 Cable Automotive / Marine




 Cable Lugs
 Cable Lug Assortment Kits
 Cable Lugs Straight Wall Closed
 Cable Glands
 Convoluted Split Tubing
 12/24v Products & Access




 Electrical Connectors





 Solar Powered Products



 LED Lights







 Tools











 Auto Parts & Categories



 Fittings








 Cleaning & Misc





 Clearance & Promotion
Latest News
How to Test Alternator Output With a Multimeter
Sep
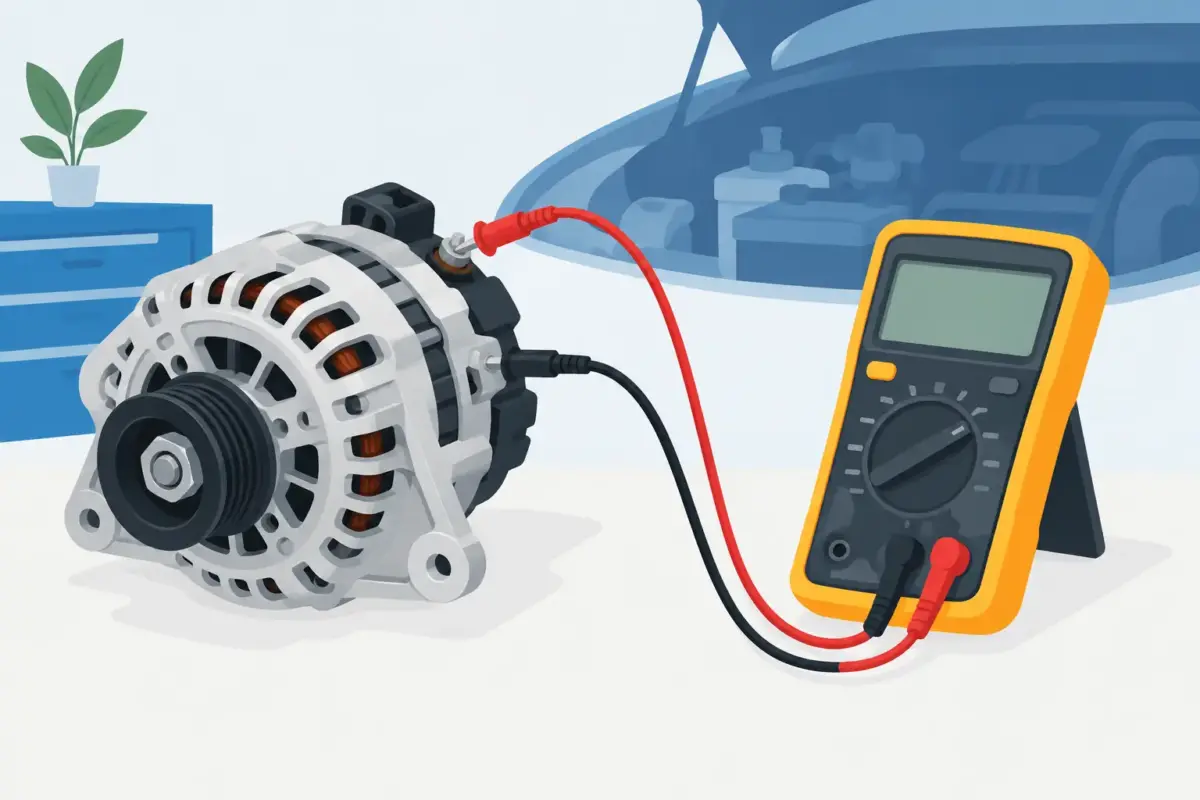
A flat battery at camp, a warning light on the dash, or accessories that cut out under load can all point to a charging problem. Knowing how to test alternator output with a multimeter helps separate an alternator fault from a tired battery, poor earth, damaged cable or an accessory system drawing more power than the vehicle can replace.
For most 12V and 24V vehicles, a basic digital multimeter is enough to make useful checks at the battery. The figures matter, but so does the way voltage behaves when the engine starts, electrical loads are switched on and cable connections warm up. A single reading rarely tells the whole story.
What you need before testing
Use a decent digital multimeter with DC voltage and AC voltage ranges, plus probes with clean, insulated tips. Set the meter to DC volts on a range above the expected system voltage – normally 20V or auto-range for a 12V vehicle, and 200V or auto-range for a 24V system.
Park on level ground, select Park or neutral, apply the handbrake and keep hands, leads and loose clothing well clear of belts, fans and pulleys. Test at the battery terminals themselves first, not on a cable lug or clamp where corrosion can hide a poor connection.
Avoid the old practice of disconnecting a battery terminal while the engine is running. Modern alternators, ECUs, battery monitors and accessories can be damaged by the voltage spike. A multimeter gives you better information without creating another fault.
How to test alternator output at the battery
Start with the engine off and all major electrical loads switched off. Put the red probe on battery positive and the black probe on battery negative. A healthy, rested 12V lead-acid battery will usually read around 12.6V. Around 12.2V indicates a partly discharged battery, which can affect the results of any alternator test.
A 24V system should generally show about 25.2V when fully charged and rested. If you have two 12V batteries in series, test each battery individually as well. One weak battery can cause starting and charging issues even when the combined voltage looks reasonable.
Check voltage with the engine idling
Start the engine and measure again across the battery terminals. A conventional 12V alternator commonly raises voltage to roughly 13.8V to 14.7V. On a conventional 24V setup, expect roughly 27.6V to 29.4V.
If voltage stays close to the engine-off reading, such as 12.4V on a 12V system, the alternator may not be charging. Check that the battery warning lamp behaves normally at key-on and goes out after starting. Also inspect the alternator belt, main charge cable, fuse links and earth straps before condemning the alternator itself.
A reading above about 15V on a 12V system or 30V on a 24V system deserves attention. Sustained overcharging can boil a conventional battery, shorten AGM battery life and damage sensitive 12V gear. The fault may be an internal regulator, external regulator or sensing circuit, depending on the vehicle.
Raise engine speed and add load
Bring the engine speed up to around 1,500 to 2,000 rpm and watch the meter. Voltage should remain stable or rise slightly. Then add a realistic electrical load: headlights, cabin fan, rear demister, driving lights or a 12V compressor if it is safe to do so.
A healthy system should hold charging voltage under normal load. It may dip briefly as the load comes on, then recover. If it drops steadily towards battery voltage, fluctuates heavily or only charges at high revs, investigate the alternator, belt drive and wiring.
Do not expect the voltage to stay at one fixed number. Alternator output changes with battery state of charge, engine speed, temperature and load. The useful question is whether the alternator can maintain the battery and vehicle loads without voltage falling away.
Smart alternators need a different interpretation
Many late-model 4WDs, utes and passenger vehicles use smart alternators controlled by the ECU. These systems can intentionally reduce charge voltage once the starter battery is full, sometimes sitting near 12.4V to 13.2V during light driving before lifting voltage again during deceleration, cold operation or increased demand.
That means a low-looking idle reading does not automatically mean the alternator has failed. Check voltage with more load applied, at a higher engine speed and after a short drive. A scan tool and vehicle-specific charging specifications are useful where the alternator is computer controlled.
This matters for touring setups. A smart alternator may not provide a reliable charge profile for an auxiliary battery through a basic isolator, particularly with lithium batteries. A correctly sized DC-DC charger is often the better option because it manages input voltage variation and provides the required battery charging profile.
Check for voltage drop in the charge circuit
An alternator can be working properly while resistance in a cable, fuse holder, isolator or earth strap prevents charge reaching the battery. Voltage-drop testing finds this problem far more effectively than a quick visual inspection.
With the engine running and electrical loads switched on, set the meter to DC volts. Place the red probe on the alternator B+ output terminal and the black probe on battery positive. You are measuring voltage lost in the positive charge path. Ideally, the result should be very low, generally under 0.2V to 0.3V on a sound system.
Next, measure the earth side by placing one probe on the alternator housing and the other on battery negative. Again, aim for a low result. A higher reading points to resistance in an earth strap, mounting point, battery terminal or cable connection.
On 24V trucks, plant and industrial equipment, the principle is the same, but cable lengths and current loads are often greater. Pay close attention to crimp quality, cable size, chassis earth points and heat-damaged fuse hardware. A connection that looks acceptable can fail under high current once it has been carrying charge for an hour.
Test alternator ripple voltage
Alternators produce AC current internally, which is converted to DC by rectifier diodes. A failed diode can leave excess AC ripple in the system, contributing to dimming lights, electrical interference, poor battery charging or repeated battery failures.
With the engine running, set the multimeter to AC volts and measure across the battery terminals. Many healthy systems show less than about 0.3V AC, although readings vary by meter and vehicle. A result approaching or exceeding 0.5V AC is worth investigating, especially if it rises with engine speed or electrical load.
This is a screening check, not a complete alternator bench test. Some inexpensive meters are inaccurate when measuring ripple from a vehicle charging system. If the reading is high or symptoms are persistent, an auto electrician can confirm the fault with a scope or dedicated charging-system tester.
Common results and what they usually mean
A battery that reads low before starting but charges normally once running may simply need charging or may be nearing the end of its service life. Load-test the battery rather than blaming the alternator.
No rise in voltage after starting can indicate a failed alternator, blown charge fuse, broken belt, poor excitation circuit, failed regulator or damaged main cable. Start with the obvious mechanical and connection checks.
Good voltage at the alternator but low voltage at the battery points to cable resistance, a poor terminal, failed fuse link or isolator issue. This is common in vehicles with aftermarket dual-battery wiring, winches, high-current lighting and long cable runs.
Voltage that is too high is not a sign of a strong alternator. It is a charging-control fault until proven otherwise. Stop relying on the system for long trips or sensitive accessories until it is repaired.
Keep the rest of the 12V system in the test
If you have added a canopy battery, fridge, inverter, solar input or trailer charge circuit, test the main starter system first. Then test voltage at the accessory battery and at the input and output of any isolator or DC-DC charger. A healthy alternator cannot overcome undersized cable, poor Anderson connector contacts or an incorrect charger setup.
For trade fit-outs and touring vehicles, use cable and connectors rated for the current, route them away from heat and abrasion, and protect the circuit close to the power source. Bluebar Industries stocks the practical cable, connectors, battery accessories and test tools needed to keep those charging paths serviceable.
A five-minute voltage check before a remote run can save a recovery call later. Record the engine-off, idle and loaded readings somewhere useful; when a fault appears, having a known-good baseline makes the next diagnosis much quicker.











