


Latest News
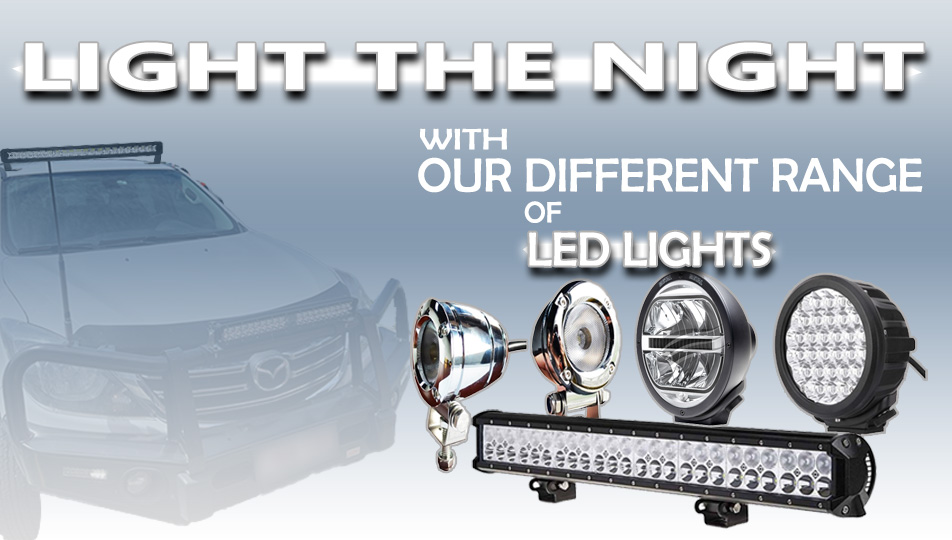
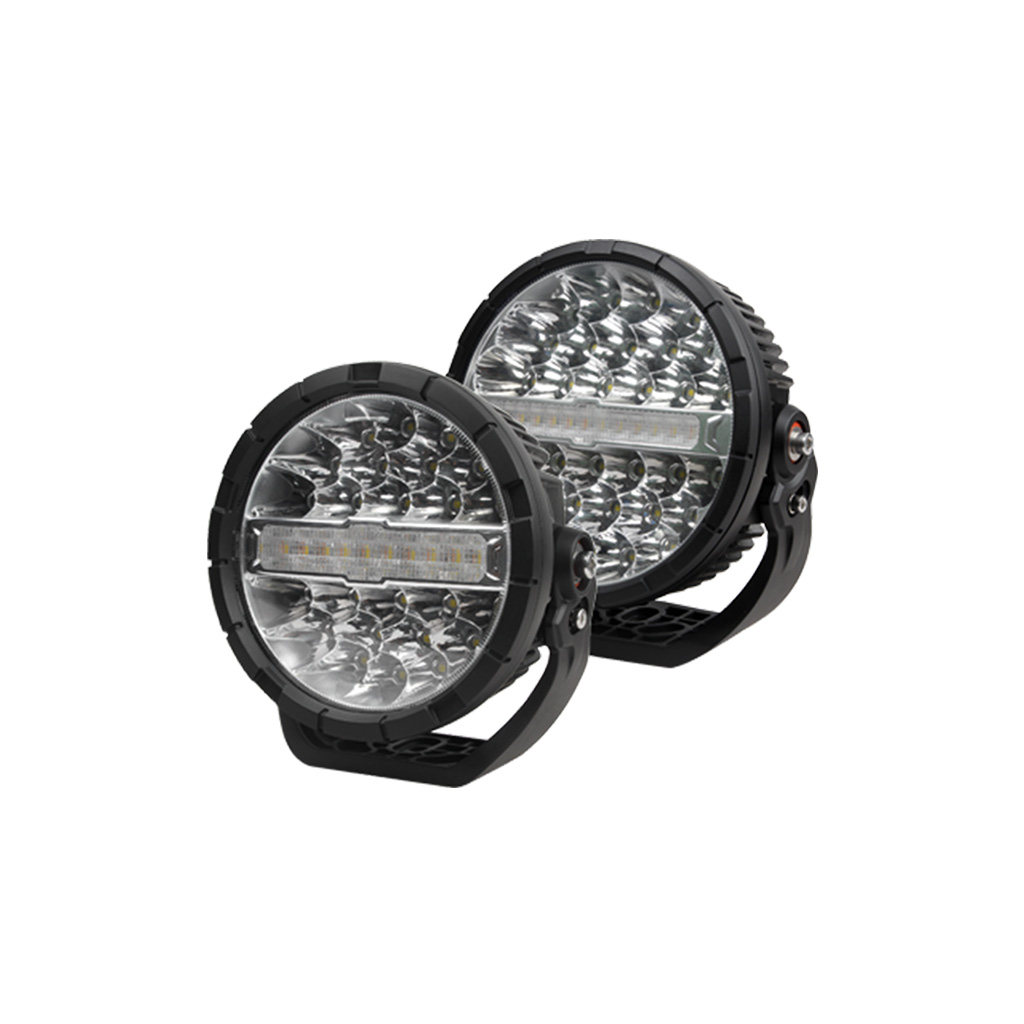
Choosing an LED Driving Lights Wiring Kit
Jun
A set of driving lights is only as good as the wiring behind it. Plenty of lighting faults blamed on the lamps themselves come back to a poor-quality LED driving lights wiring kit, undersized cable, weak relay performance or badly matched connectors. If you want lights that work properly on corrugated tracks, wet weather runs and long night drives, the wiring kit matters as much as the light output.
What a LED driving lights wiring kit actually does
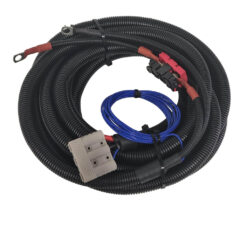
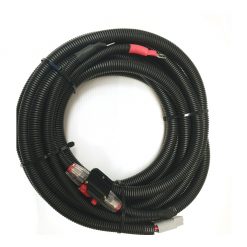
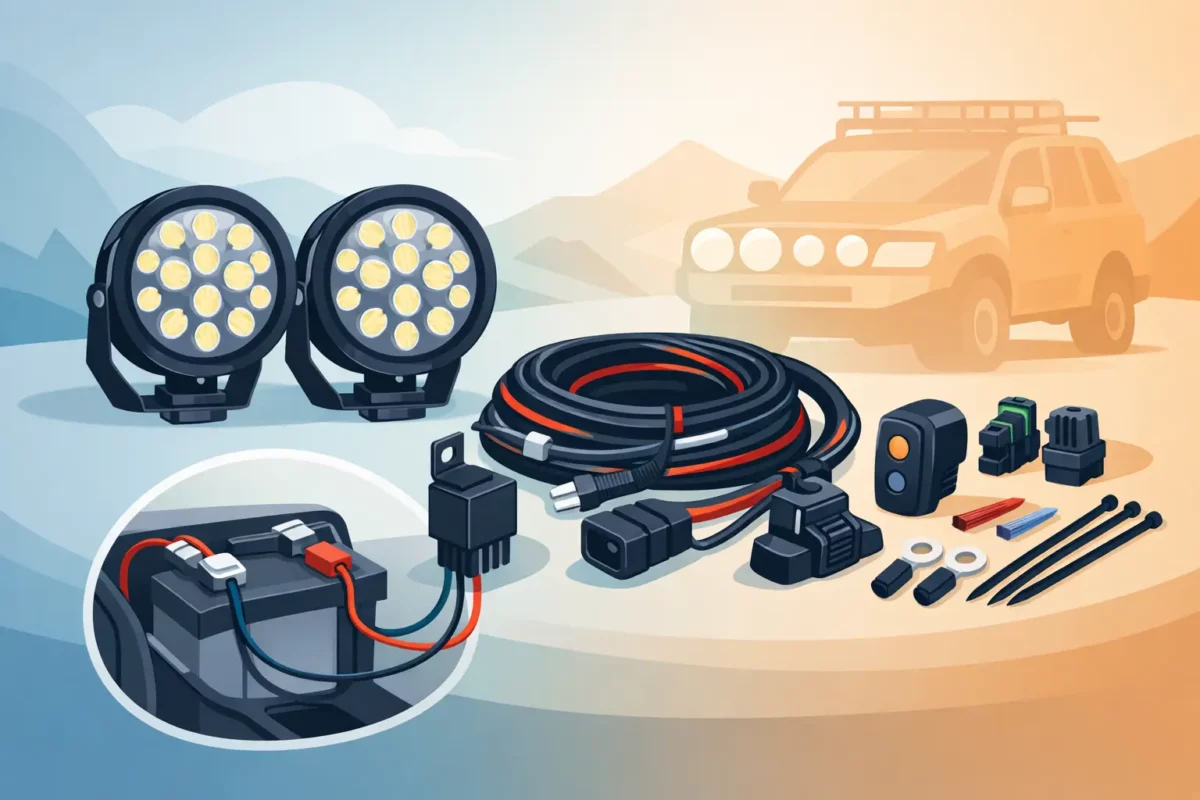
At its core, the kit gives your driving lights a safe, controlled power path from the battery to the lamps. That normally means a fused power feed, relay, switch wiring and connectors that let the lights turn on when they should and stay off when they should.
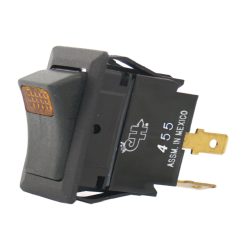
In a basic setup, the relay handles the current load so your vehicle’s factory switchgear does not have to. The fuse protects the circuit if something shorts or draws too much current. The switch side of the circuit provides the trigger, whether that comes from a dedicated dash switch, the high beam circuit, or a combination of both depending on how the system is set up.
That sounds simple, but the difference between a tidy, reliable install and a frustrating one usually comes down to cable quality, connector fit, insulation, and whether the kit is actually suited to the vehicle and the lights being fitted.
Why cheap kits cause problems
A lot of low-cost kits look fine in the packet. The trouble shows up after installation. Cable can be too thin for the current draw, insulation can feel brittle, relay holders can be loose, and terminals may not crimp well. On a road car that only sees occasional use, you might get away with that for a while. On a 4WD, touring rig, work ute or fleet vehicle, those weak points turn into voltage drop, heat, intermittent faults and early failure.
Driving lights are sensitive to voltage. If the cable run is too light or the connections are poor, the lights may still turn on but not perform at their rated output. That means less usable light down the road and more stress on the wiring. In harsh Australian conditions – dust, vibration, water crossings and engine bay heat – small quality issues get exposed quickly.
For trade installers, the real cost of a cheap kit is call-backs. For DIY owners, it is doing the job twice.
How to choose the right LED driving lights wiring kit
The best kit is not always the biggest or the most expensive. It needs to suit the system voltage, current draw, mounting layout and how the vehicle will actually be used.
Match the kit to 12V or 24V
This is the first filter. Many 4WDs, SUVs and utes run 12V systems, while trucks, plant and some commercial applications run 24V. The relay, switch and any integrated components need to be compatible with the system voltage. If you are wiring lights on a truck or industrial vehicle, do not assume a standard 12V harness will be suitable.
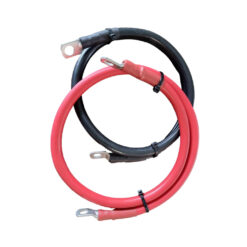
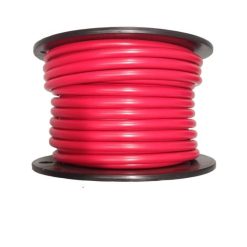
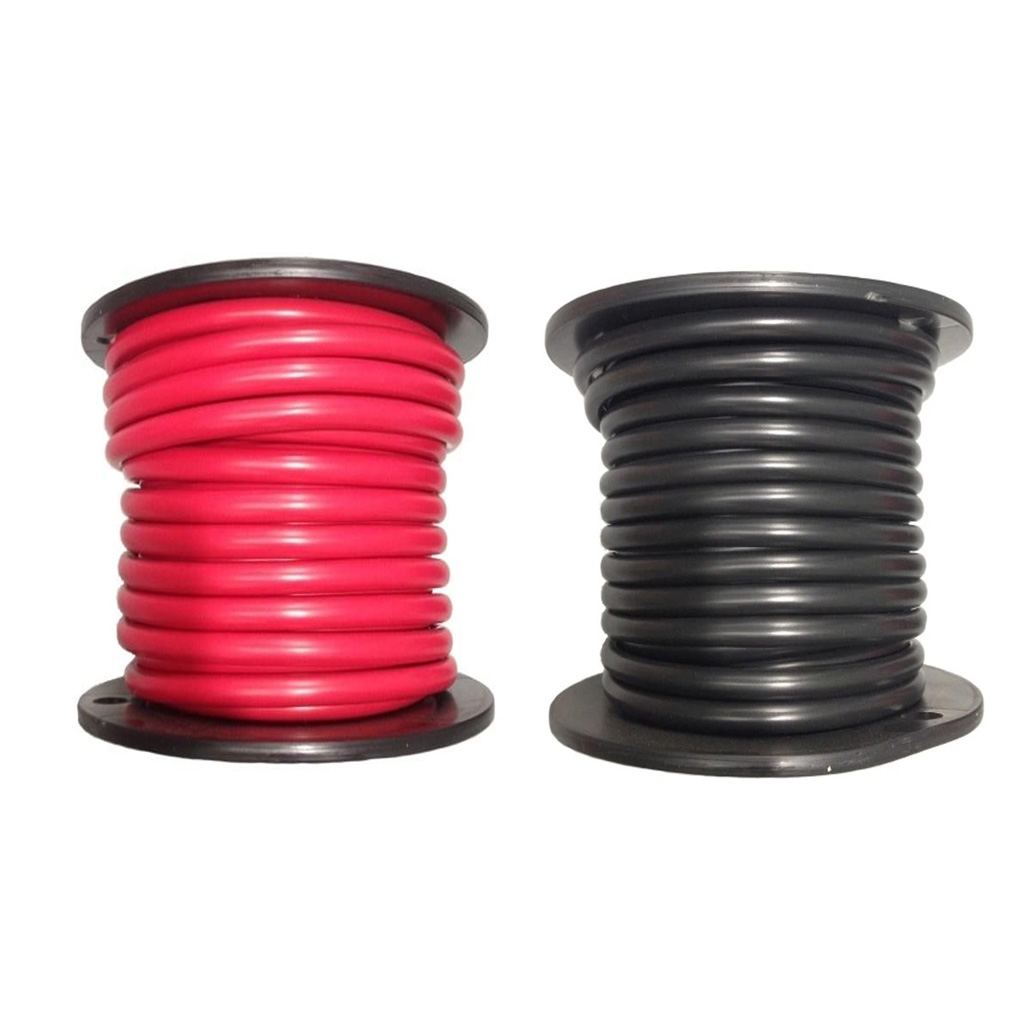
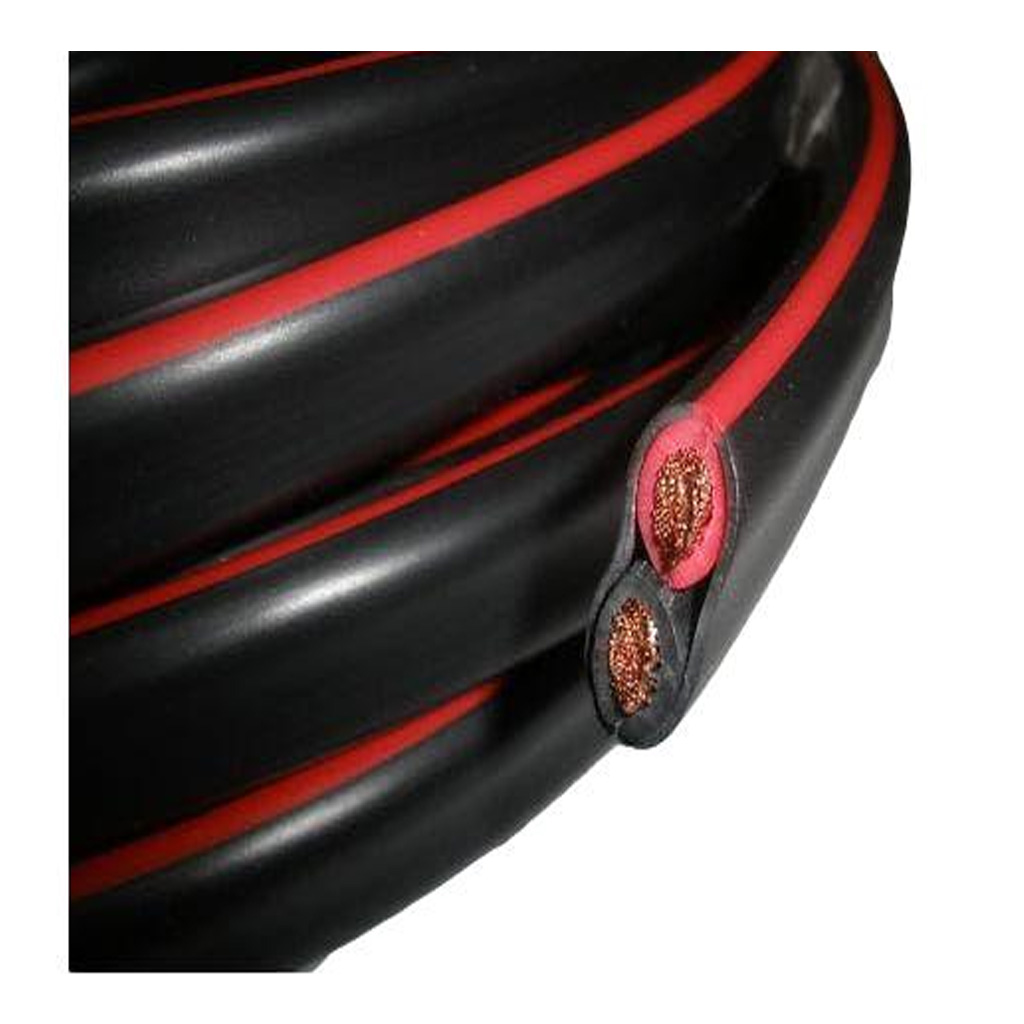
Check cable size, not just the packaging
Cable gauge matters. A pair of compact LED driving lights may draw modest current, but larger light bars or high-output spotlights can still place real demand on the circuit. Add the cable length from battery to relay to lights, and voltage drop becomes a practical issue.
A good kit should use cable sized for the expected load with a bit of headroom. If you are running larger lights or a longer cable route, it can make sense to step up cable size rather than rely on a generic harness. This is especially relevant on touring vehicles with crowded engine bays, bull bars, battery trays and accessory systems that push the run length out further than expected.
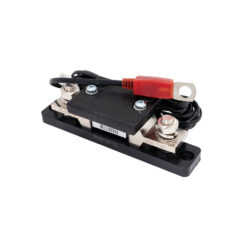
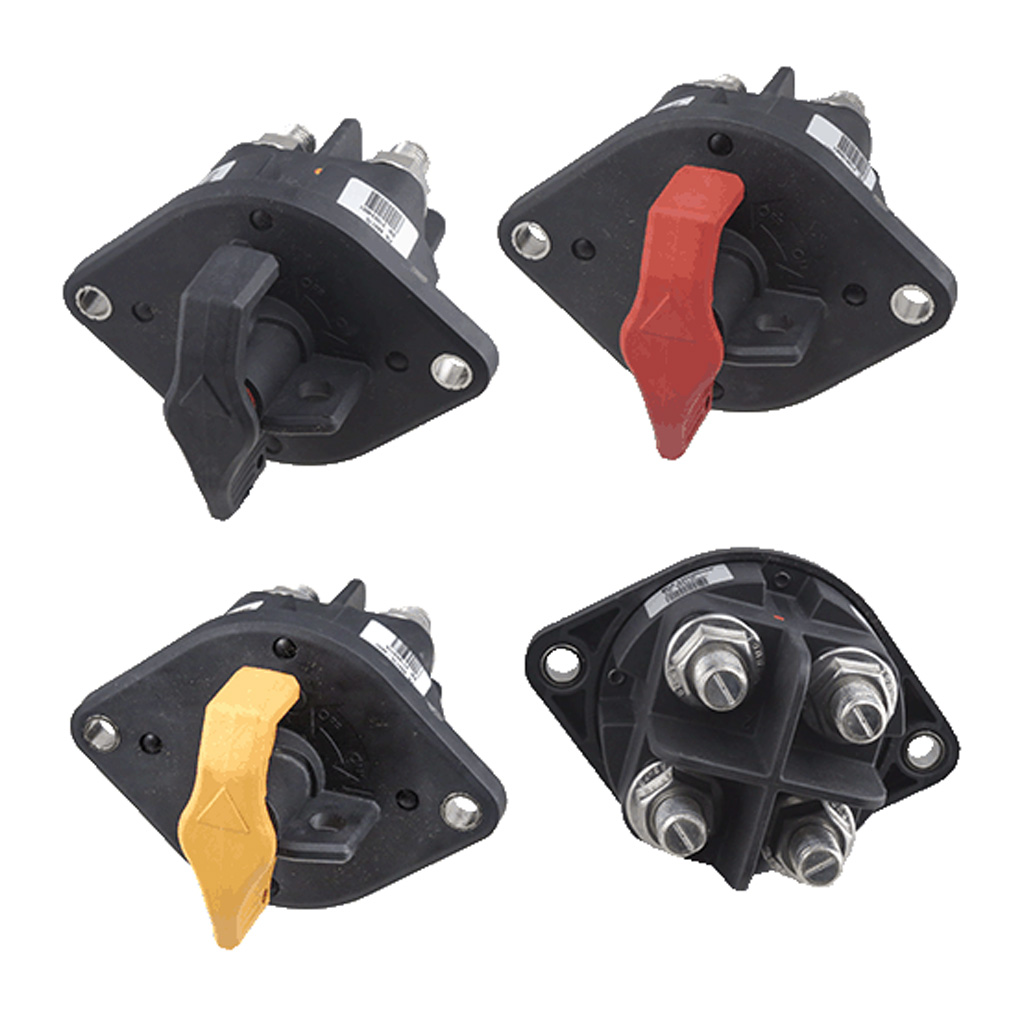
Look at relay and fuse quality
The relay is the control point that switches the higher-current feed to the lights. A poor relay can stick, fail early or become unreliable under vibration and heat. The fuse and holder should also be fit for purpose, mounted securely and rated correctly for the load.
Too small a fuse will nuisance-blow. Too large a fuse reduces protection. The right balance depends on the actual current draw of the lights and the cable capacity in the harness.
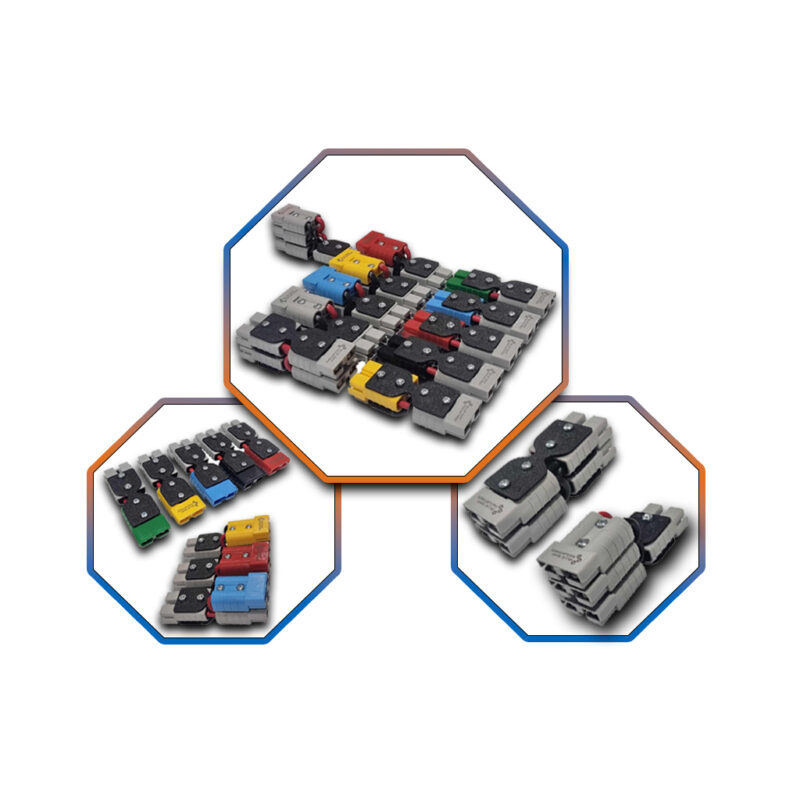
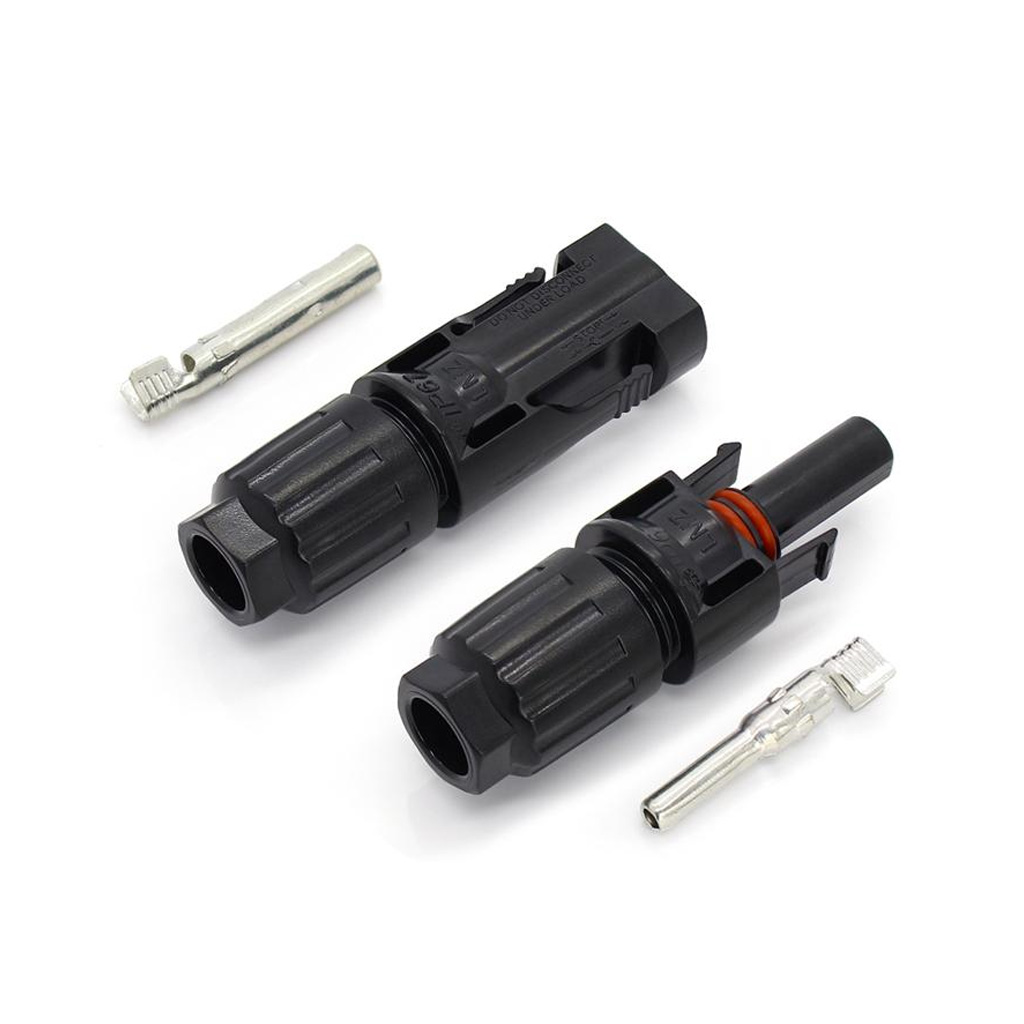
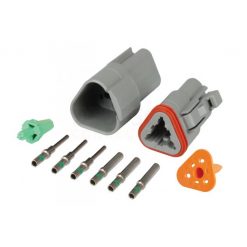
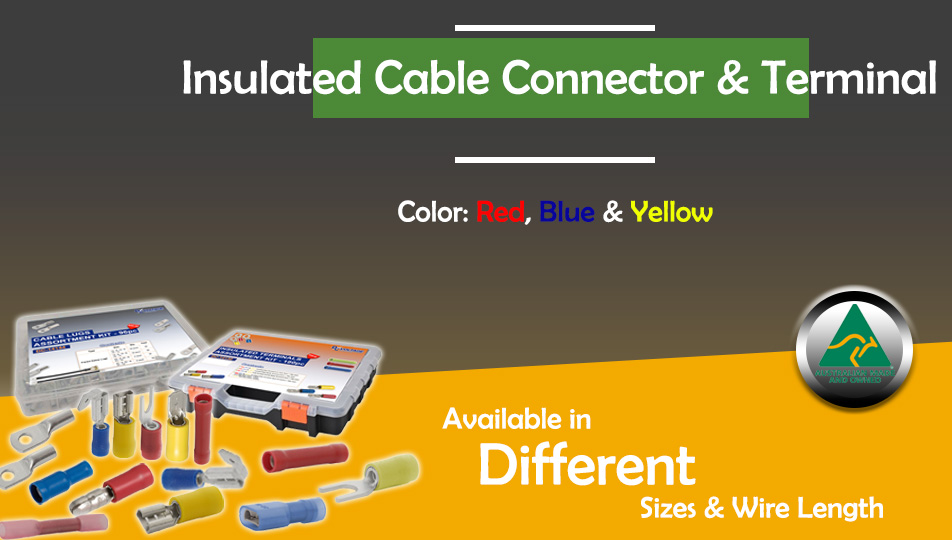
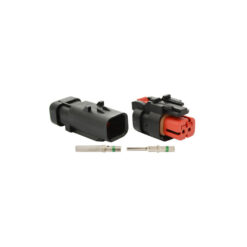
Make sure the connectors suit the install
Not every job uses the same lamp plugs or terminal style. Some kits are designed around a common plug-and-play layout, while others are better as a starting point for a custom install. If you are fitting lights to a bar with limited access, or integrating with existing switch panels, battery systems or waterproof connectors, the connector style matters more than people expect.
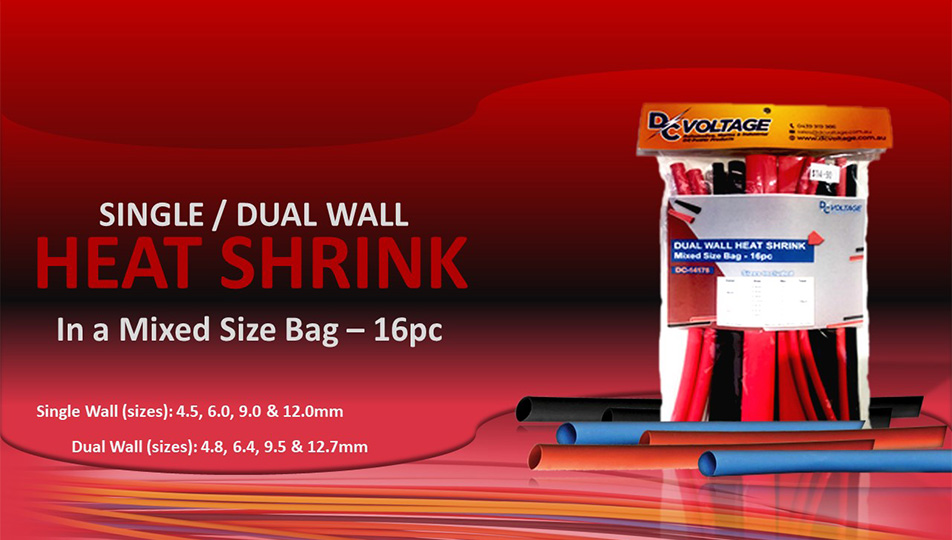
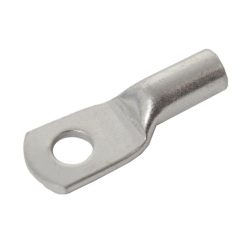
This is where specialist supply helps. A generic kit might cover the basics, but real-world installs often need matching terminals, split tubing, heatshrink, fuse protection, cable ties or upgraded connectors to finish the job properly.
High beam integration and switching
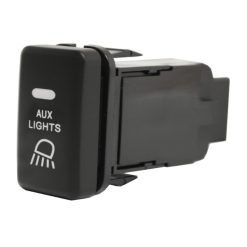
Most driving light installs in Australia are set up so the lights operate with high beam and can also be isolated with a separate switch. That gives you legal and practical control. The wiring kit needs to support that trigger arrangement cleanly.
On older vehicles, picking up the high beam trigger can be straightforward. On newer vehicles with CAN bus systems, smart lighting controls or voltage-sensitive circuits, it can be less simple. In those cases, you may need an interface or an alternate trigger method rather than tapping directly into a factory wire and hoping for the best.
That is one of the biggest it-depends points with modern vehicles. The lights themselves may be easy to mount, but the switching side can vary from simple to awkward depending on the platform.
Weather resistance matters more off-road
If the vehicle leaves the bitumen, the harness should be treated as an exposed component, not an afterthought. Water, dust and mud work their way into weak joins and cheap fuse holders. Corrugations shake unsupported cable until insulation rubs through. Heat near the engine bay can harden low-grade materials and shorten service life.
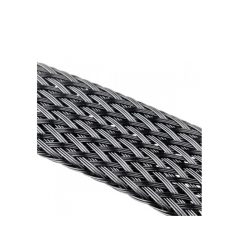
A dependable LED driving lights wiring kit should have decent insulation, secure relay mounting, and protection where the cable passes around sharp edges or moving components. Loom tubing, heatshrink and proper cable support are not cosmetic extras. They help prevent failures that usually happen well away from the workshop.
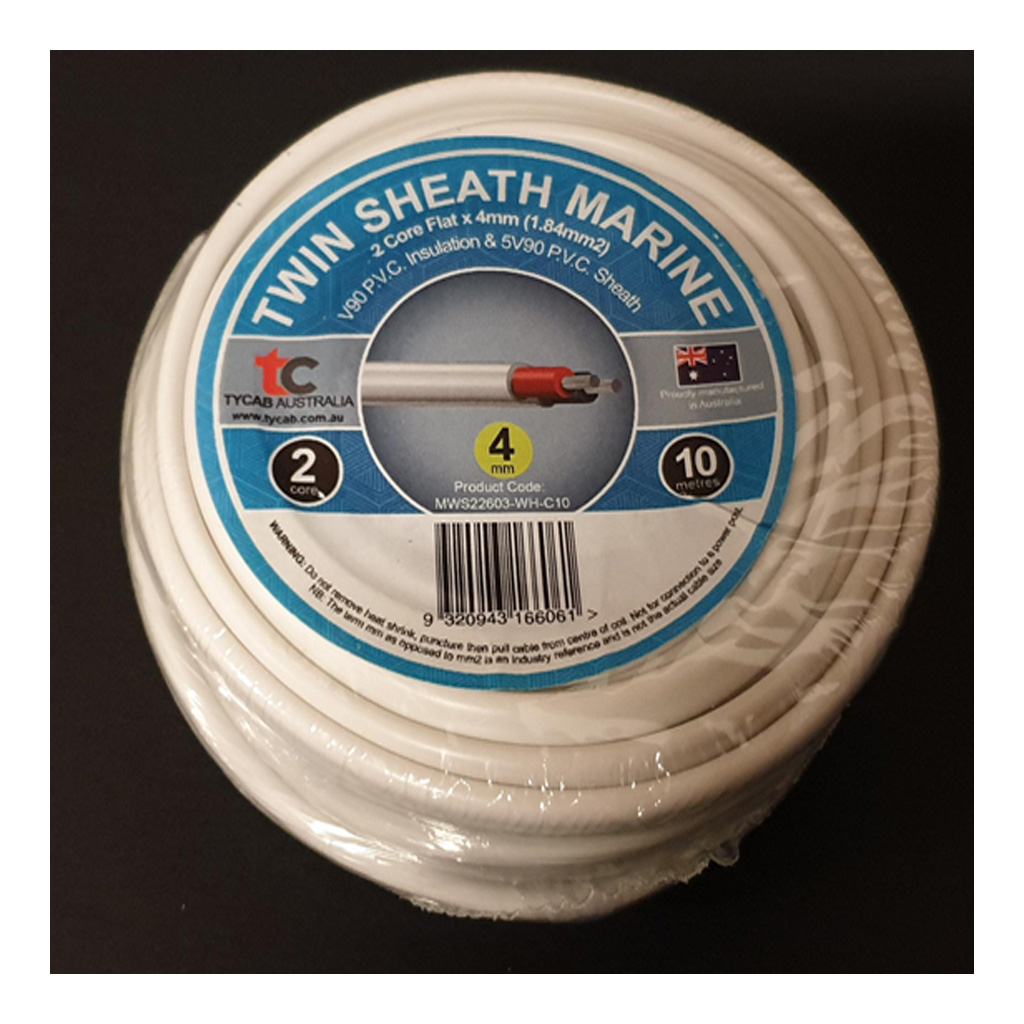
Marine and coastal users should be even more careful. Salt exposure is hard on terminals, so corrosion resistance and sealed connections become a bigger priority than they would be on a weekend road car.
DIY fit-up or trade install?
A straightforward twin-light setup on a 12V 4WD can be a reasonable DIY job if you understand basic automotive wiring, fuse protection and safe cable routing. The key is not rushing it. Good mounting, clean earth points and proper crimping make a big difference.
Where people come unstuck is assuming all kits are truly universal. They are not. Bull bar layout, battery location, switch blank size, high beam trigger access and vehicle electronics all affect the job.
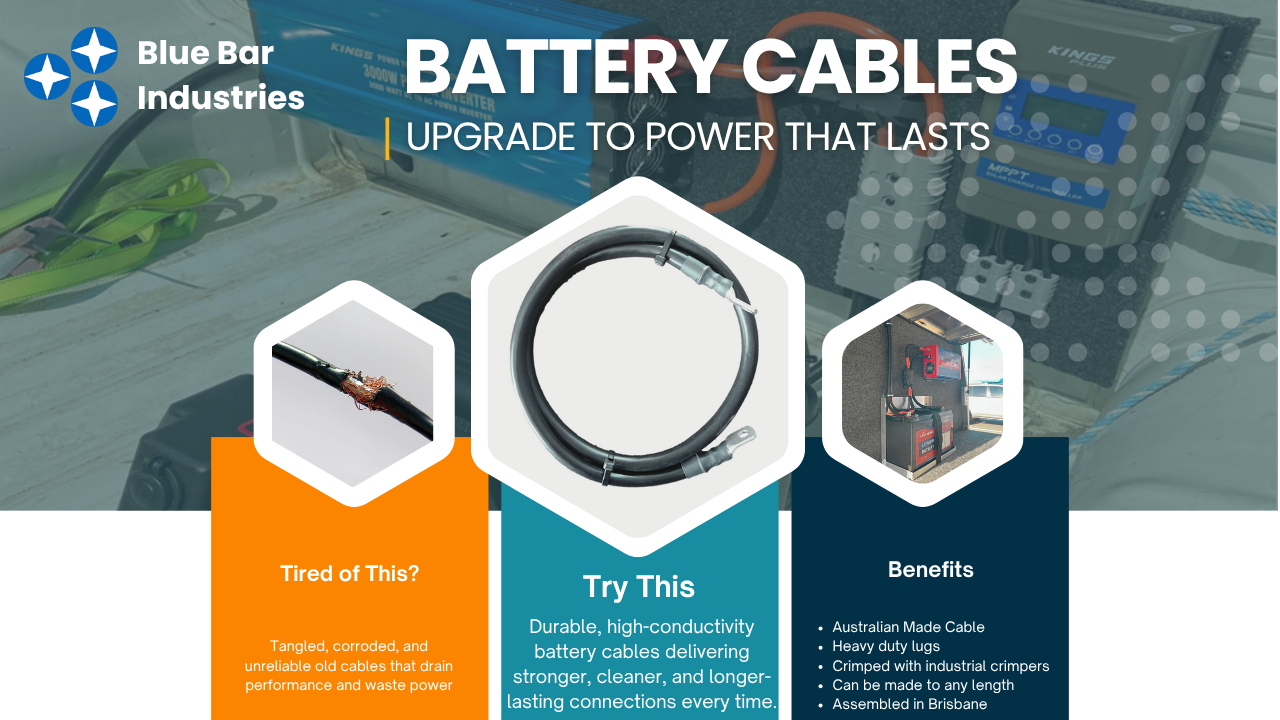
For workshops and auto sparkies, the goal is usually efficiency and reliability. That often means using a quality harness as the base and then finishing the install with application-specific cable, terminals, conduit or connectors. Bluebar Industries works well in that space because the range extends beyond the harness itself, so you can source the extra protection and connection gear needed to do the job properly.
Signs a wiring kit is worth buying
A decent kit should feel fit for purpose before it is even installed. The cable should not feel flimsy. Relay holders should grip properly. Fuse holders should close securely. Terminals should crimp cleanly and connector mouldings should not feel loose or thin.
It is also worth checking whether the kit suits the wattage or amp draw of your intended lights, whether the switching arrangement matches your vehicle, and whether the cable lengths make sense for your mounting position. A lot of frustration comes from buying a harness that is technically compatible but awkward in practice.
If you are wiring lights on a caravan tug, touring wagon, ute or truck that already has dual batteries, solar inputs, air compressor wiring or other accessories in the engine bay, allow for a bit more complexity. Space gets tight quickly, and tidy cable management becomes part of long-term reliability.
The wiring kit should match the job, not just the lights
It is easy to focus on beam pattern, lumens and housing style, but reliable driving lights start with reliable power delivery. A good harness protects the circuit, supports proper switching and helps the lights perform as intended. A poor one can leave even quality lamps underperforming or failing when you need them most.
If you are choosing an LED driving lights wiring kit, think beyond the label. Look at voltage, cable size, relay quality, fuse protection, connectors and the reality of the vehicle it is going into. Getting those details right is what turns a box of parts into a setup you can trust on dark highways, back tracks and early starts.