


Latest News
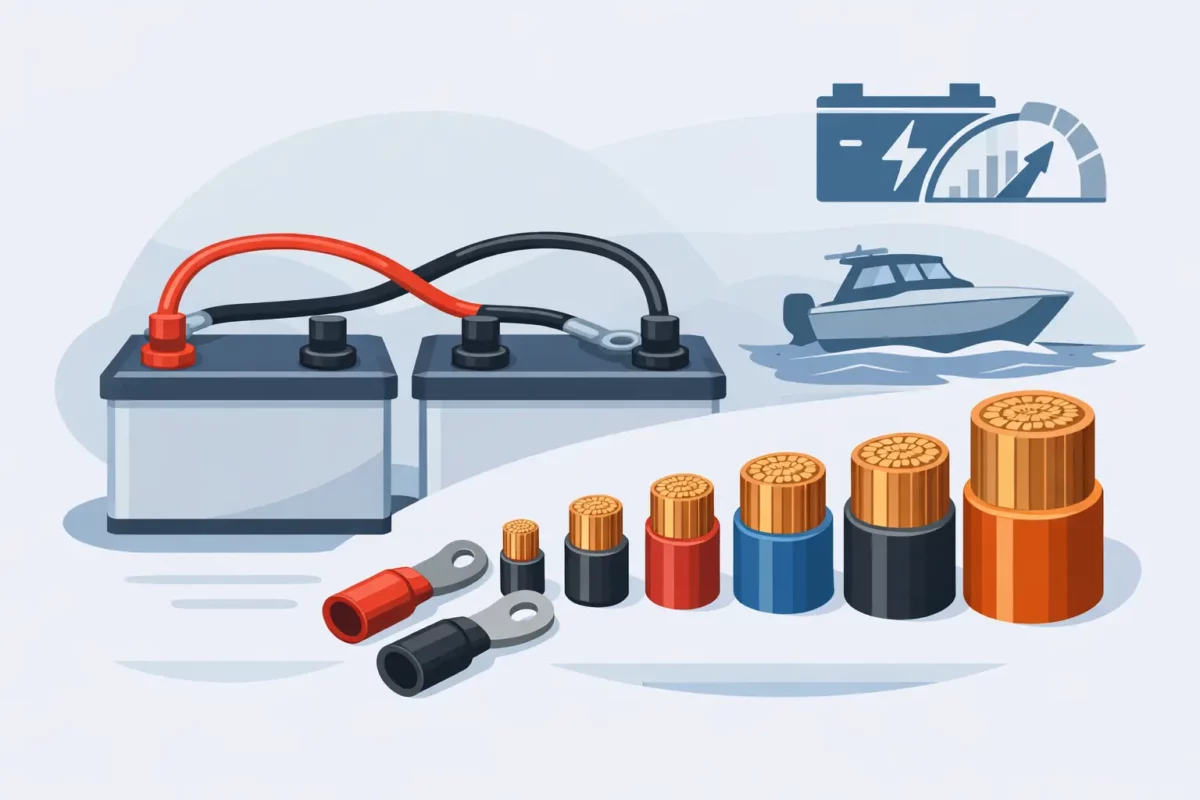
Dual Battery Cable Size Chart Explained
May
If your fridge cuts out, your charger underperforms or your aux battery never seems to reach a proper full charge, cable size is one of the first things to check. A dual battery cable size chart gives you a starting point, but the right answer depends on current draw, cable run length, system voltage and how much voltage drop your setup can tolerate.
In real-world 12V and 24V installs, undersized cable is a common cause of poor performance. The battery might be fine, the charger might be fine and the connectors might be fine, but if the cable can’t carry the load efficiently, the whole system suffers. That matters whether you’re wiring a touring 4WD, caravan, work ute, marine fit-out or a trade vehicle with multiple accessories.
Dual battery cable size chart for common setups
The chart below is a practical guide for copper automotive cable in typical dual battery applications. It assumes good-quality cable, sound terminations and a sensible maximum voltage drop for charging and accessory circuits. Total cable run means the full positive and negative path combined.
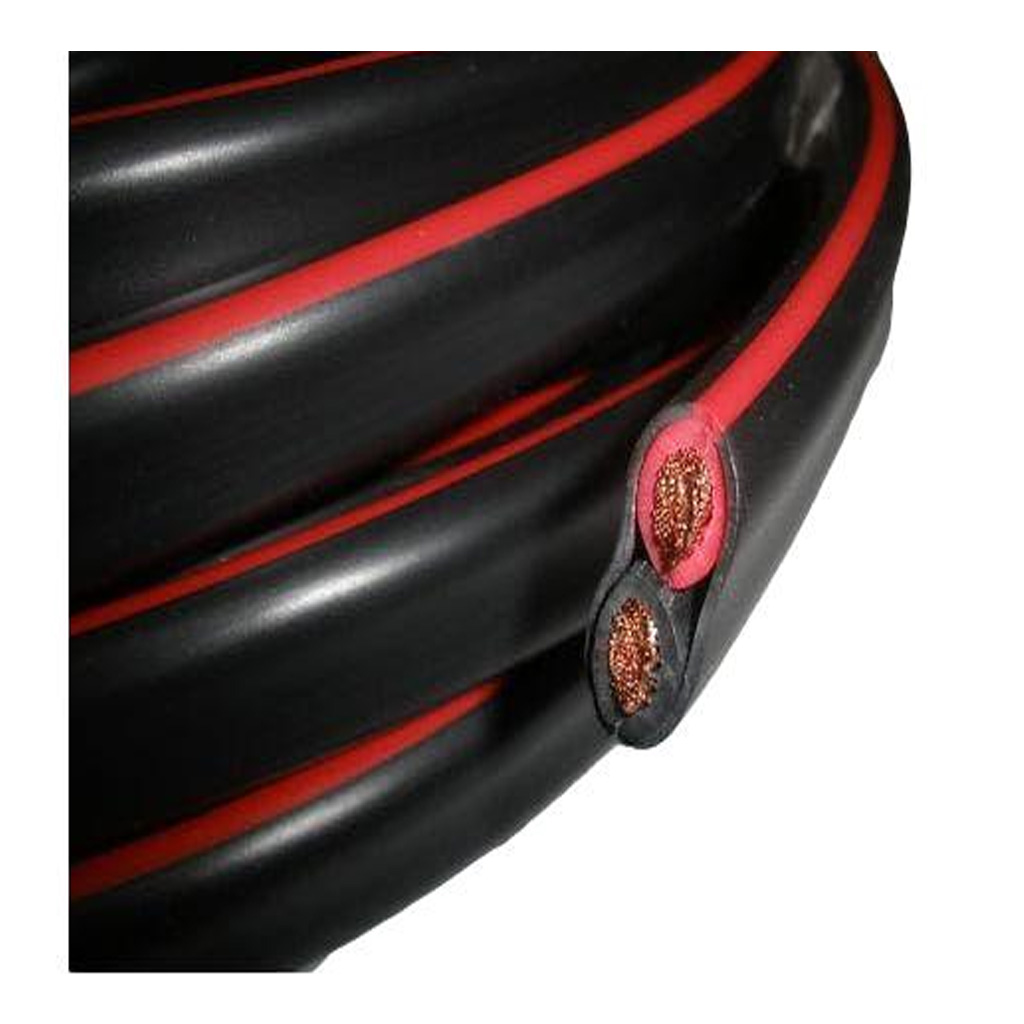
| Current | Total cable run up to 3m | Total cable run up to 5m | Total cable run up to 8m | Total cable run up to 10m | |—|—:|—:|—:|—:| | 20A | 6mm² | 8 B&S | 8 B&S | 6 B&S | | 30A | 6 B&S | 6 B&S | 4 B&S | 2 B&S | | 40A | 6 B&S | 4 B&S | 2 B&S | 0 B&S | | 50A | 4 B&S | 2 B&S | 0 B&S | 00 B&S | | 80A | 2 B&S | 0 B&S | 00 B&S | not usually practical without very heavy cable | | 100A | 0 B&S | 00 B&S | not usually practical without very heavy cable | not usually practical without very heavy cable |
This chart is a guide, not a rule that suits every install. If you are feeding a DC-DC charger, running a winch-style load, charging lithium, or dealing with long runs to a caravan or canopy, you may need to go heavier than the chart suggests.
How to read a dual battery cable size chart properly
Most wiring mistakes happen because people focus on amps and ignore length. A 40A load over a short engine bay run is one thing. The same 40A sent from a crank battery at the front of a vehicle to an aux battery in the rear, then through connectors and protective conduit, is a different job altogether.
The key figure is voltage drop. In a 12V system, even a small loss matters. Drop 0.5V in the cable and your auxiliary battery or charger sees less voltage than it needs. That can slow charging, reduce output and create faults that look like battery or accessory issues.
On 24V systems, the same percentage voltage drop is less severe in absolute terms, so cable sizing can sometimes be more forgiving. Even so, current, distance and heat still matter. Heavy-draw circuits should never be sized by guesswork.
Why cable size matters more in 12V systems
Low-voltage DC systems are less tolerant of resistance than many people expect. Every metre of cable adds resistance. Every connector, fuse holder, isolator and earth point adds a little more. On paper the system can look fine. In service, especially under heat, vibration and dust, those small losses stack up.
That is why larger cable is often a better investment than trying to save a few dollars on wire. Heavier cable reduces voltage drop, supports more reliable charging and usually runs cooler under load. It also gives you a bit more margin if the vehicle later gets a fridge, inverter, compressor or solar input added to the same system.
For Australian touring setups, long runs are common. A wagon with a battery in the rear quarter, a ute with a canopy system, or a caravan feed from the tow vehicle can quickly push beyond the range where light cable performs properly.
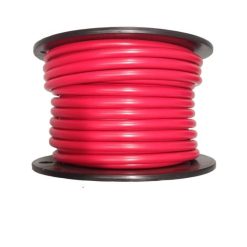
Common cable sizes and where they fit
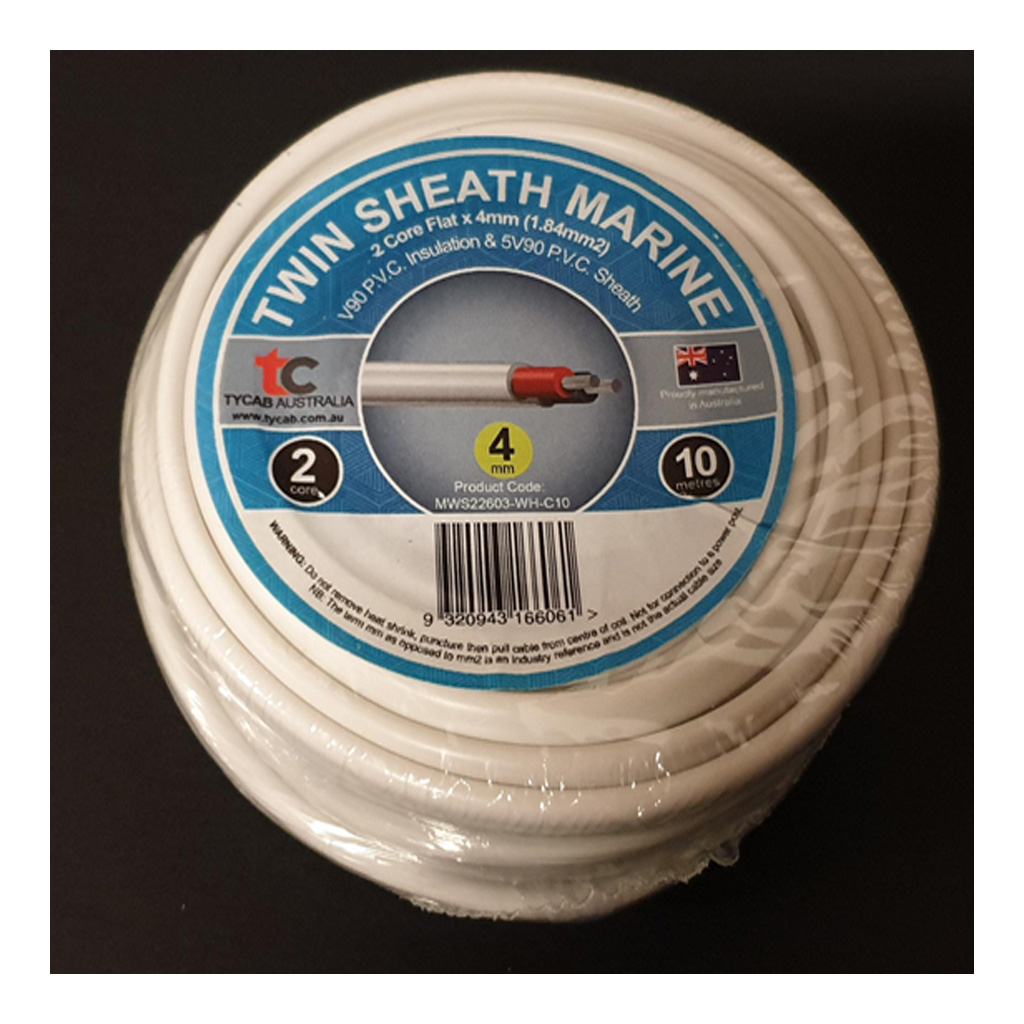
6mm² cable is often used for lighter accessory circuits and shorter low-current battery links, but it is rarely the best choice for serious dual battery charging over distance. It may be acceptable for small loads close to the source, though it can become marginal quickly once current rises.
8 B&S cable is a common step up for moderate loads and shorter charging runs. For some DC-DC charger feeds and lighter caravan charging applications, it can work well if the run is controlled and the terminations are sound.
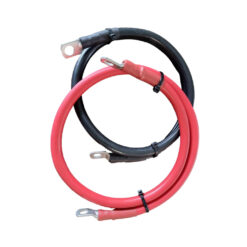
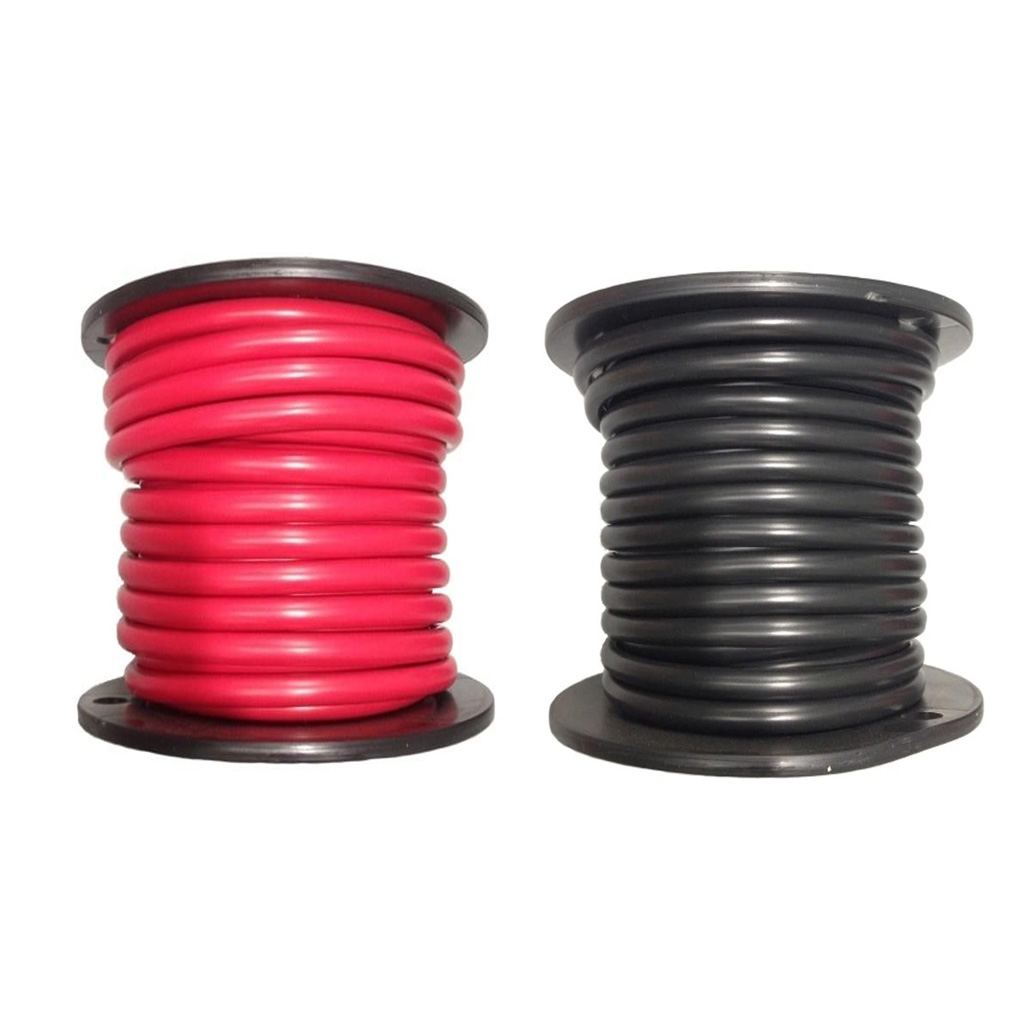
6 B&S and 4 B&S are often better choices for dual battery systems in touring vehicles. They suit higher current and longer runs more comfortably, which is why they are frequently specified in practical off-road and caravan setups.
2 B&S, 0 B&S and 00 B&S are heavy cable options used where current is substantial, run length is long or voltage drop needs to be kept very low. They are more demanding to route and terminate, but they solve problems that smaller cable simply cannot.
Don’t forget the return path
One of the biggest traps in dual battery wiring is sizing the positive cable properly and then relying on a poor-quality chassis earth. In some vehicles that works well enough. In others it creates inconsistent charging and hard-to-trace voltage loss.
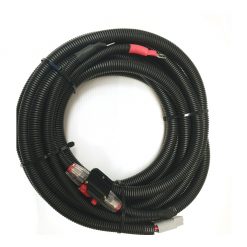
Running a dedicated negative cable back to the source battery is often the better approach, especially for rear-mounted batteries, canopies, caravans and marine installs. It gives you a known path, removes doubt around paint, corrosion and body joints, and makes voltage-drop calculations more realistic.
If you use chassis earth, treat it like a critical connection. Clean back to bare metal, use proper hardware, protect it from corrosion and check it under load. A bad earth can waste the advantage of heavy positive cable.
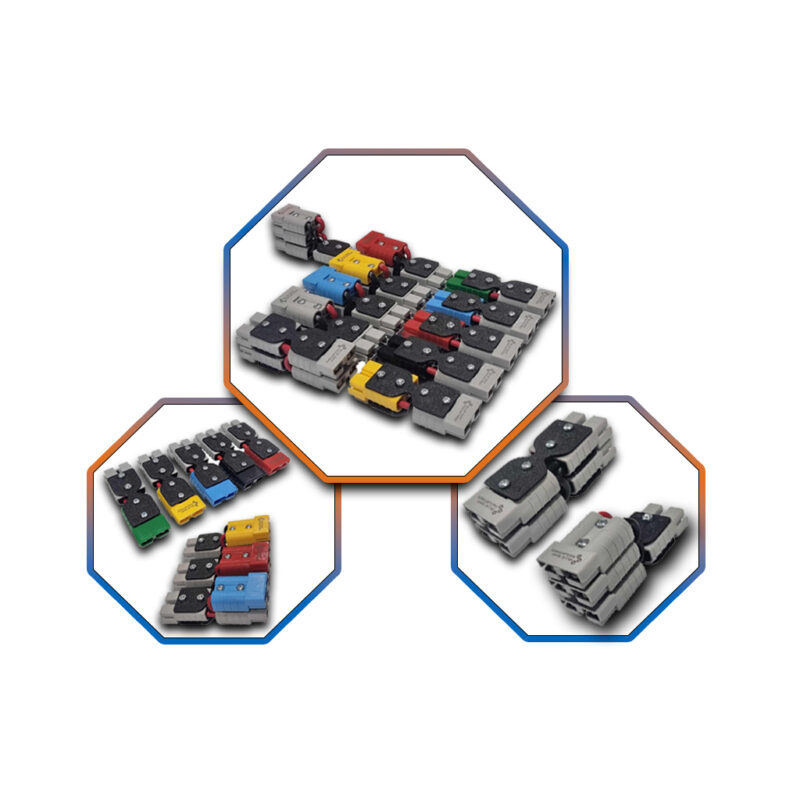
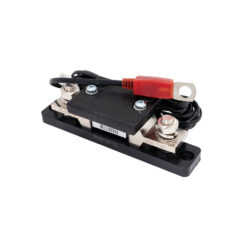
Connector and fuse limits still apply
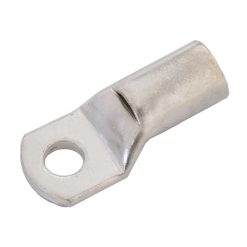
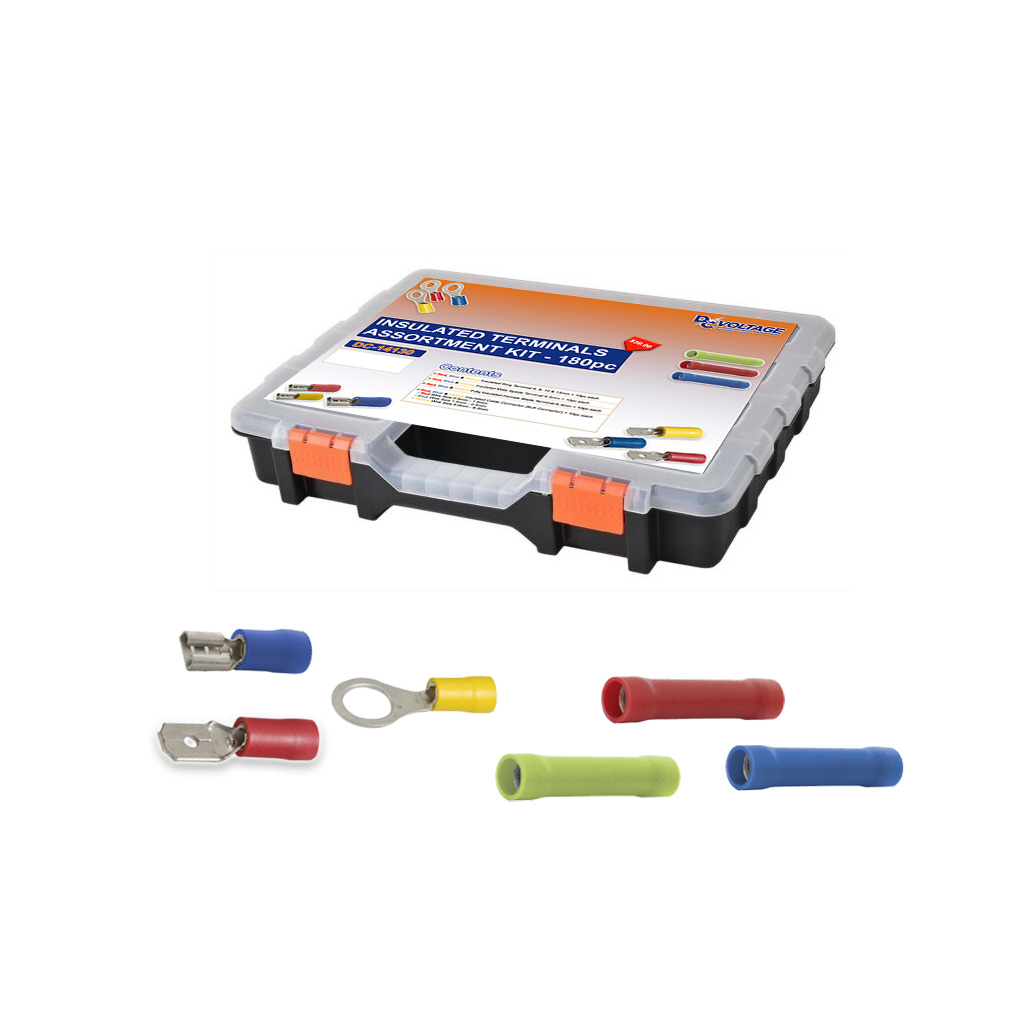
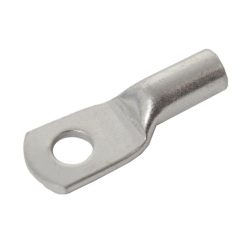
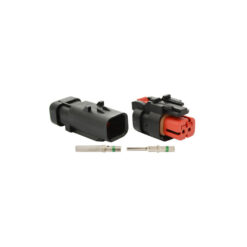
Cable size alone does not determine system capacity. The fuse, breaker, Anderson plug, lugs and battery terminals all need to suit the current as well. There is no point running heavy cable if the connector in the middle becomes the bottleneck.
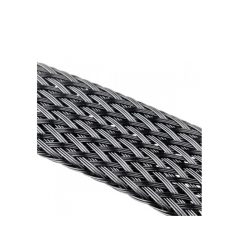
This matters a lot in caravan and canopy systems where power often passes through multiple connection points. Every join is a potential loss point. Good connectors, correct crimping and sensible protection are part of the same job.
It is also worth remembering that some components have practical cable entry limits. A charger or fuse block may only accept cable up to a certain size. In those cases, system design matters just as much as raw cable diameter.
When you should go up a size
If your setup sits near the edge of a chart recommendation, going up one cable size is usually the safer call. That applies when the cable run is long, the install environment is hot, the battery type is sensitive to charging voltage, or future upgrades are likely.
Lithium systems are a good example. They often accept charge aggressively, and many owners expect quick recovery from alternator or DC-DC input. Any unnecessary voltage loss becomes more noticeable. The same applies to vehicles powering fridges, lighting, pumps and inverters from the same auxiliary bank.
Trade vehicles and mine-spec style setups also benefit from margin. Reliability matters more than shaving a little cost out of the harness.
A practical way to choose the right cable
Start with the maximum current the circuit will actually carry, not the number you hope it carries. Then measure the full cable path, including both positive and negative runs if you are using a dedicated return. After that, choose a cable size from a dual battery cable size chart that keeps voltage drop under control for your application.
If the circuit is for charging, be conservative. Charging circuits are less forgiving than simple lighting or low-draw accessories. If the system will be exposed to corrugations, water, heat or chemical exposure, choose cable insulation and protection that suits the environment as well.
Good cable selection is only part of the job. Proper lugs, quality connectors, abrasion protection and clean terminations are what make the size on paper perform in the vehicle.
For anyone building or upgrading a dual battery system, the best result usually comes from treating the cable as a core component, not an afterthought. Get that part right and the rest of the system has a much better chance of doing its job when you are a long way from the nearest workshop.