


 Cable Automotive / Marine




 Cable Lugs
 Cable Lug Assortment Kits
 Cable Lugs Straight Wall Closed
 Cable Glands
 Convoluted Split Tubing
 12/24v Products & Access




 Electrical Connectors





 Solar Powered Products



 LED Lights







 Tools










 Auto Parts & Categories



 Fittings








 Cleaning & Misc





 Clearance & Promotion
Latest News
How to Wire Anderson Plug Correctly
Jun
A loose crimp or reversed polarity is all it takes to turn a simple power lead into a fault-finding job. If you want to know how to wire Anderson plug connectors properly, the goal is straightforward – get a low-resistance connection, correct polarity and enough cable capacity for the current your setup will actually carry.
Anderson-style plugs are common across 4WD, caravan, camping, trailer, solar and workshop setups because they are simple, durable and easy to disconnect. But the connector is only as good as the cable, terminals and assembly method behind it. Done right, it will handle regular vibration, dust and repeated connection cycles. Done badly, it can heat up under load, drop voltage or fail at the worst time.
What matters before you wire an Anderson plug
Before cutting cable or reaching for the crimper, check three things – connector size, cable size and current draw. This is where a lot of DIY jobs go wrong.
Not every Anderson plug suits every load. The common grey 50A style used in automotive and touring applications is popular for battery charging, fridge feeds, portable solar and trailer power. But there are also higher-current variants and housings that suit different cable outside diameters and contact sizes. If the contact is too large for the cable, or the cable is too large for the housing, the fit won’t be right.
Cable size matters just as much as the plug itself. A lead feeding a battery in the back of a ute over several metres needs different cable than a short solar adaptor lead. If you undersize the cable, the connector may be fine but the circuit still suffers from voltage drop and heat. In 12V systems especially, small losses matter.
Tools and parts you’ll need
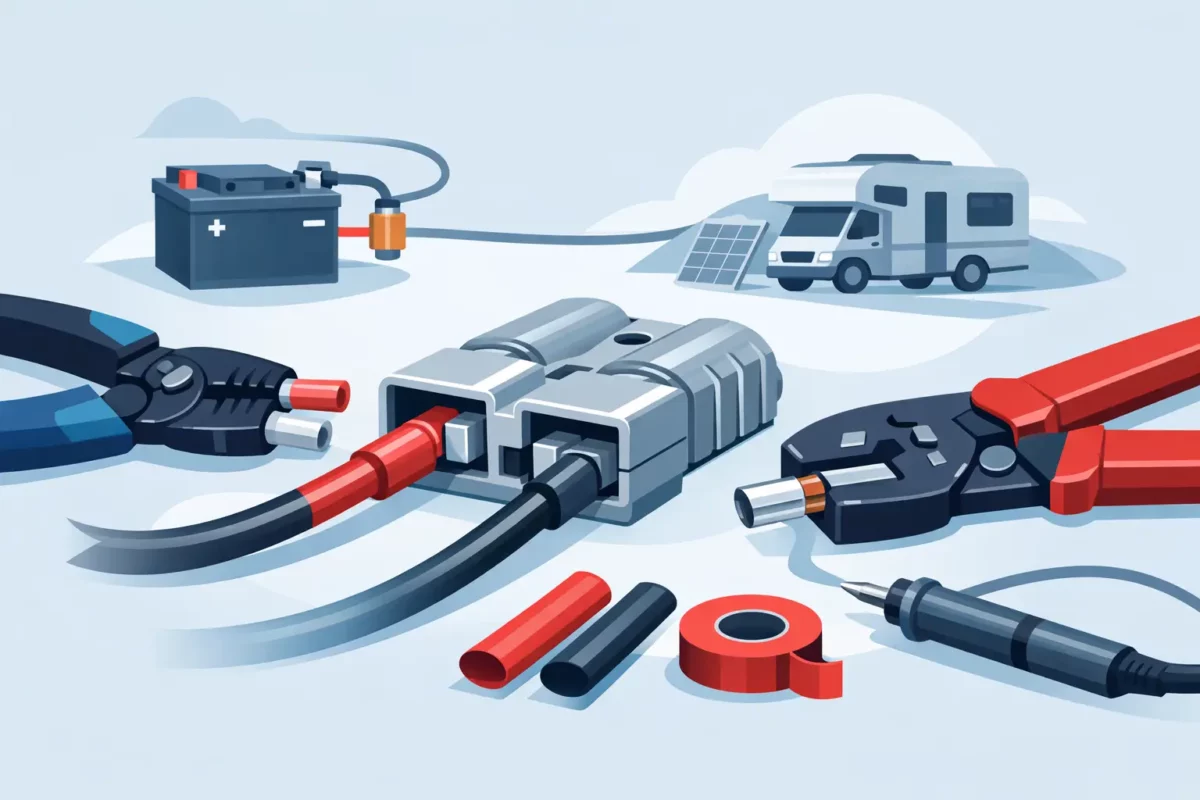
For most jobs, you’ll need the Anderson housing, the matching contacts, suitable twin or single-core cable, a quality cable stripper, side cutters, a proper hex or indent crimper suited to the terminal size, and a multimeter for final testing.
Solder gets mentioned often, but for this style of connector a correct crimp is generally the better option. In high-vibration automotive and off-road environments, a proper mechanical crimp gives a more consistent result than an overheated or poorly flowed solder joint. Some installers still solder in specific situations, but if you want a dependable workshop-standard result, crimping is usually the safer call.
Heatshrink can also be useful behind the connector or along the lead for strain relief and identification, although it does not replace a good crimp.
How to wire Anderson plug step by step
The wiring process itself is simple, but accuracy counts at each stage.
1. Confirm polarity before you start
Most Anderson plugs used in 12V and 24V automotive applications are genderless housings that mate with the same style plug. That makes polarity critical. You need to decide which side is positive and which side is negative, then keep that orientation consistent with the rest of your system.
In Australian vehicle and trailer setups, consistency is more important than assumptions. If you are matching an existing lead on a caravan, trailer or dual-battery system, mirror the established polarity exactly. Never rely on wire colour alone without checking it.
2. Cut the cable to length
Measure the run properly and leave enough slack for routing, vibration and service access. Don’t leave excessive slack near moving parts, sharp edges or hot components. In engine bays, trailers and canopies, cable routing affects long-term reliability just as much as the connector does.
If the cable will be exposed, protect it with split tubing, conduit or abrasion sleeve where needed.
3. Strip the insulation carefully
Strip only enough insulation to suit the barrel depth of the Anderson contact. Too little and the conductor won’t seat fully. Too much and bare copper may remain exposed behind the terminal.
Try not to nick strands while stripping. Damaged strands reduce conductor area and can weaken the crimp. If you remove insulation and notice cut or uneven strands, trim it back and strip again.
4. Crimp the contacts
Insert the stripped conductor fully into the terminal barrel. Copper strands should go all the way in, with no loose strands outside the barrel. Then use a crimper that matches the contact size. This matters. A cheap, ill-fitting crimp tool often produces flattened or loose terminals that either won’t insert cleanly into the housing or will develop resistance under load.
A good crimp should feel solid, with the cable held firmly enough that you cannot pull it free by hand. If the terminal rotates on the cable or slides off, cut it off and do it again. Don’t try to salvage a bad crimp in a circuit that may carry real current.
5. Insert the contacts into the housing
Once both terminals are crimped, slide each contact into the correct side of the Anderson housing until it clicks into place. The contact should lock in and resist being pulled back out.
If it does not seat properly, stop and inspect the terminal orientation. Forcing it can damage the housing or locking spring. The contacts need to face the correct way to latch securely.
6. Check orientation and fit
Before putting the lead into service, compare the finished plug against the mating connector it is meant to connect to. This is the point where you catch reversed polarity before power is applied.
Physically matching the plug is not enough. Use a multimeter and confirm which contact is positive and which is negative at the source end and the plug end.
Common mistakes when learning how to wire Anderson plug assemblies
The most common issue is mismatching cable and contact sizes. A terminal designed for heavier cable will not crimp properly onto lighter cable, even if you can squash it enough to look acceptable. The second issue is poor tool choice. A lot of connector failures are really crimp failures.
Another regular problem is treating all Anderson connectors as interchangeable. Similar-looking plugs can have different current ratings, contact dimensions and cable suitability. If you are building leads for battery charging, inverter feeds or auxiliary power circuits, confirm the rating of the full assembly, not just the housing.
Polarity mistakes are also more common than they should be, especially when someone copies a lead without testing it first. In dual-battery, trailer and solar applications, one reversed plug can create expensive trouble quickly.
Cable size, voltage drop and real-world use
If you are wiring an Anderson plug for a fridge feed, battery charging line or portable solar input, current is only half the story. Cable length matters too. A long run from the cranking battery to the rear of a wagon or canopy can lose enough voltage to affect charging performance, even when the connector itself is fine.
That is why heavier cable is often worth it on longer runs. It costs more and is bulkier to route, but the payoff is lower voltage drop and better performance at the accessory end. On short adaptor leads, that trade-off may not matter much. On a charging circuit to a caravan or camper, it usually does.
For 24V systems, current may be lower for the same power draw, but the installation still needs to suit load, environment and routing. Mining, fleet and industrial users often need more attention to abrasion resistance, chemical exposure and serviceability than a weekend touring setup.
Testing after wiring
Once the plug is assembled, test it before connecting expensive gear. Use a multimeter to verify polarity and check for continuity. If possible, apply load and inspect for heat after a period of use. A properly wired Anderson plug should remain stable under normal operating current. Warmth under sustained load can happen in some high-draw situations, but noticeable heat is a warning sign to inspect the crimp, contact fit, cable size or overall circuit design.
It is also worth checking how firmly the plug mates with its counterpart. A secure fit helps maintain contact pressure over time, especially on corrugated roads and in trailer applications.
When to build it yourself and when to buy a ready-made lead
If you have the right cable, correct contacts and a proper crimp tool, making your own lead can be a practical option. It allows you to set exact cable length, choose the right sheath protection and match the lead to your installation.
But there are times when a ready-made lead makes more sense. If you only need one adaptor, do not have a suitable crimper, or need a known-good result quickly, a professionally assembled lead can save time and avoid rework. That is especially true for trade workshops, fleet maintenance or remote touring setups where reliability matters more than saving a few dollars on parts.
Bluebar Industries works with customers who need both options – loose components for custom builds and assembled leads for fast fit-up and dependable service.
A good Anderson plug connection should disappear into the background. No heat, no intermittent power, no guesswork at camp or on site. If you build it with the right cable, the right contact and the right crimp from the start, it will keep doing its job long after the rest of the install has stopped being new.











