


 Cable Automotive / Marine




 Cable Lugs
 Cable Lug Assortment Kits
 Cable Lugs Straight Wall Closed
 Cable Glands
 Convoluted Split Tubing
 12/24v Products & Access




 Electrical Connectors





 Solar Powered Products



 LED Lights







 Tools










 Auto Parts & Categories



 Fittings








 Cleaning & Misc





 Clearance & Promotion
Latest News
Winch Wiring Safety Guide for Australian 4WDs
Oct
A winch can draw several hundred amps when the load comes on. That is enough current to turn an undersized cable, poor crimp or loose terminal into a serious heat source very quickly. A proper winch wiring safety guide starts with this fact: the electrical side of a recovery winch is not ordinary accessory wiring. It needs appropriately rated cable, secure connections, correct protection and careful routing from the battery to the winch.
Whether you are fitting a 12V winch to a touring 4WD, wiring a 24V unit on a work vehicle, or replacing damaged leads on plant, the same principle applies. Build the circuit for the real current draw and the conditions it will face – vibration, water, mud, heat and rough tracks included.
Start with the winch rating, not a cable guess
The winch motor label and manufacturer documentation are the starting point. Check the system voltage, maximum current draw, recommended cable size and any specified circuit protection. Current draw rises sharply under a heavy pull, particularly when the drum is nearly empty and the line load is highest.
Cable sizing is about more than the number printed on the sheath. Length matters. A cable run from a battery mounted under the bonnet to a front bar may be short, while a rear-mounted battery on a tray, canopy or service body requires a much longer positive and negative run. More length means more voltage drop and more heat for a given cable size.
Use flexible, fine-strand automotive or welding cable rated for the application rather than light-duty battery cable or general-purpose electrical wire. The cable insulation also needs to cope with engine-bay temperatures, abrasion and exposure to oil and weather. For 24V systems, do not assume a smaller cable is automatically suitable. Follow the winch maker’s requirements and assess the full circuit length, terminals and duty cycle.
Winch wiring safety guide: protect the entire circuit
A winch is normally supplied with heavy positive and negative leads, a control box or contactor, and a remote-control circuit. The main power cables should run as directly as practical between the battery and winch, with no unnecessary joins, distribution blocks or undersized isolators in the path.
The positive cable must be protected against accidental short circuits. If it rubs through on a bull bar bracket or gets crushed in a collision, an unfused battery cable can continue feeding fault current until the battery is flat, damaged or disconnected. Route both cables where they are protected, but give particular attention to the positive lead.
A high-current circuit breaker or fuse can be fitted where it is compatible with the winch manufacturer’s advice. This is not an area for a standard accessory fuse holder. Winches have very high start-up and stall currents, so protection must have the correct continuous-current, interruption and surge capability for the specific winch. An incorrectly selected breaker may nuisance-trip during recovery or fail to provide useful fault protection.
A battery isolation switch is often a practical addition, especially on touring vehicles and work rigs where the winch is exposed to mud, salt air or long periods of storage. It lets you isolate the main winch feed when the vehicle is unattended or when working on the wiring. The switch must be designed for the full DC load. A light-duty battery switch that is adequate for a fridge circuit is not necessarily suitable for a winch.
Keep battery connections clean and direct
Connect the winch to the battery bank specified by the vehicle and winch manufacturer. In most installations, the main negative lead should return directly to the battery negative terminal or to an approved high-current earth point. Relying on the chassis alone can create voltage drop, unreliable performance and difficult-to-find faults, particularly on painted, corroded or aluminium components.
Avoid stacking a pile of terminals on one battery post. It can prevent proper clamping and make it easier for a high-current connection to work loose. Use correctly rated battery terminals, studs or busbars where needed, keeping the winch connection secure and accessible for inspection.
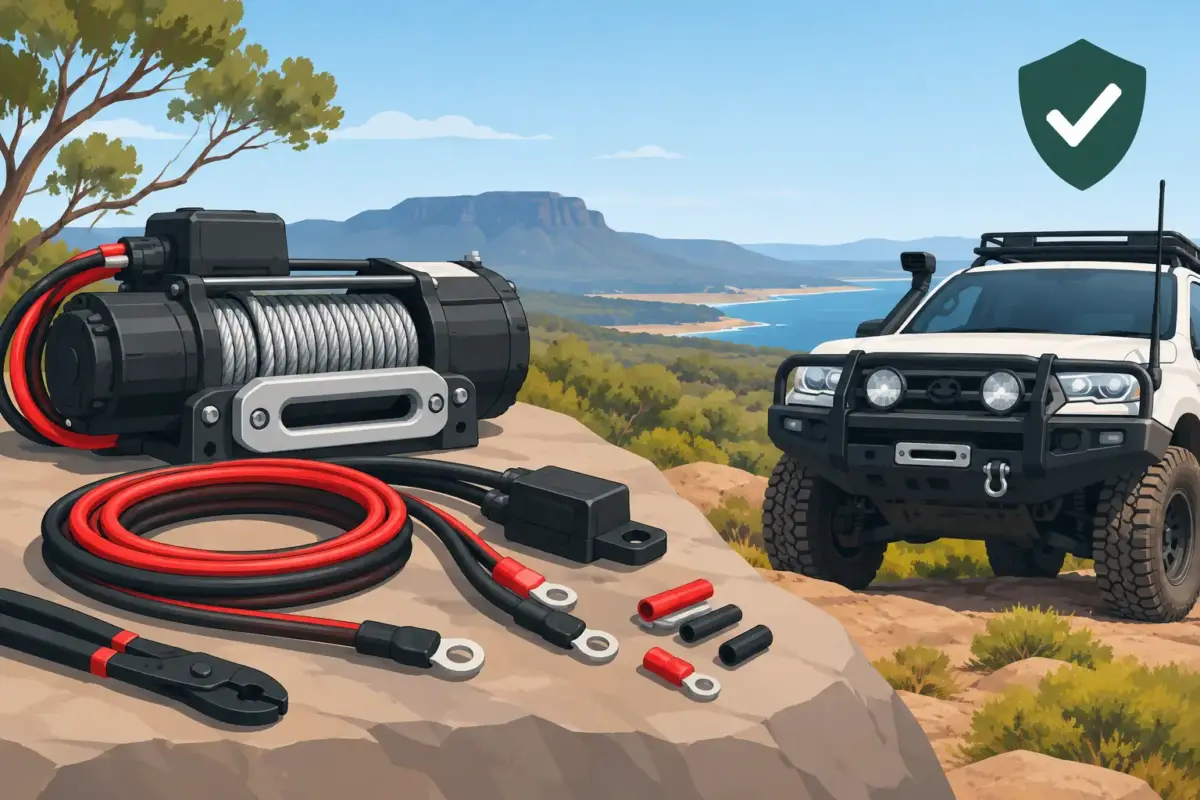
Every termination needs a crimp matched to the cable size and lug type. Use a proper heavy-duty crimping tool, not pliers or a hammer. A good crimp is mechanically firm and electrically low-resistance. Cover it with adhesive-lined heatshrink where appropriate to limit moisture entry and add strain relief. Loose lugs, green corrosion, heat-discoloured insulation and melted heatshrink are all signs that a connection needs immediate attention.
Route cable for movement, heat and abrasion
The neatest cable path is not always the safest one. Keep winch cables away from exhaust components, sharp edges, steering shafts, fan belts, suspension movement and areas where the bull bar or body flexes. Leave enough slack for engine movement and bar movement, but not so much that cable can sag onto hot or rotating parts.
Where cable passes through metal, use a correctly sized rubber grommet or protective gland. Add split conduit, braided sleeve or heavy-duty cable protection anywhere the sheath could rub. Secure the run at regular intervals with clamps suited to the environment. Cable ties can assist with organisation, but they should not be the only support for a heavy cable run exposed to vibration.
Pay attention behind the grille and around the winch cradle. This area collects water, dust and stones, and a cable may rub only when the vehicle twists off-road. Turn the steering from lock to lock, check bonnet clearance and inspect the route with the suspension at normal ride height. On a tray or canopy installation, also allow for movement between the cab, body and chassis.
Fit the control box and remote wiring properly
The contactor or control box carries the switching load for the winch. Mount it where it is protected from direct water spray, stone impact and excessive heat, while still allowing access for service. If it is relocated from the winch housing, use cable and terminals rated for the additional length and current.
Control wiring draws far less current than the main motor cables, but it still needs protection from rubbing and water ingress. Secure remote socket wiring and inspect the plug for dirt, bent pins or loose terminals. A faulty pendant, wireless controller or control box can cause unexpected winch operation, so disconnect or isolate the winch before diagnosing control faults.
Do not power a winch through a dual-battery isolator, DC-DC charger output, solar controller, cigarette socket or light-gauge auxiliary wiring. These circuits are designed for different loads. A winch should have a dedicated high-current path to the appropriate battery bank.
Test before the first recovery
Once the installation is complete, test it in a controlled area before relying on it in sand, mud or on a remote track. With the winch isolated, recheck polarity, lug tightness, cable clamping and protection around every pass-through point. Confirm the free-spool clutch works and that the rope winds onto the drum in the correct direction.
Reconnect power, stand clear of the rope and briefly operate winch-in and winch-out with no load. Listen for contactor chatter, slow motor operation or unusual clicking. After a short run, switch off and feel near each terminal carefully for abnormal heat. Do not touch exposed conductive parts or moving rope. Any hot connection, voltage-drop symptom or intermittent operation should be fixed before the winch is loaded.
During a real recovery, keep the engine running where appropriate to support battery voltage, but never treat the alternator as the winch power source. Watch duty-cycle limits, allow the motor to cool when required and keep people clear of the recovery line. Electrical reliability and recovery safety work together.
Inspect the wiring as part of vehicle maintenance
Winch wiring deserves the same regular attention as brake wiring, battery leads and trailer connections. Check it after water crossings, hard off-road trips, impact damage and any work around the bar or battery. Look for crushed conduit, rubbed insulation, corroded lugs, loose mounting hardware and cable ties that have cut into the sheath.
For trade vehicles and fleet equipment, record inspections and replace suspect components early. A cable that still works in the workshop may fail under maximum load when the vehicle is bogged, angled on a track or supporting a work recovery.
Quality cable, correctly sized lugs, dependable connectors, proper protection and a suitable crimping tool cost far less than repairing a burnt harness or losing a recovery option when it matters. Bluebar Industries supplies the practical 12V and 24V components needed to build and maintain high-current vehicle wiring properly. Take the time to inspect the full winch circuit before the next trip – the best time to find a weak connection is while the vehicle is parked safely at home.











