


Latest News
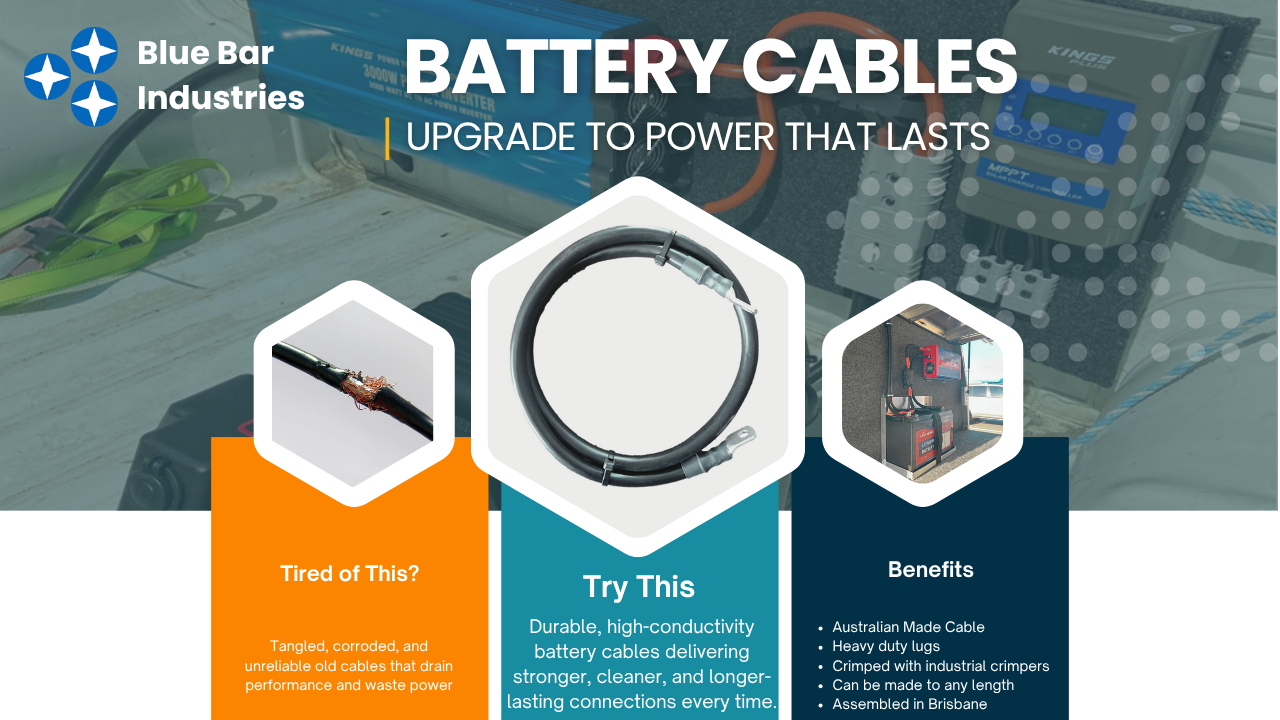
How to Install Dual Battery Systems Properly
Jun
A fridge that cuts out overnight or a starter battery that is flat at camp usually means the same thing – the power system was never set up for the load. If you are working out how to install dual battery equipment in a 4WD, caravan tow vehicle or work ute, the goal is simple: keep your cranking battery protected while giving accessories a reliable power source.
A good dual battery setup is not just about adding a second battery and a few cables. Cable size, charging method, battery type, fuse protection and mounting position all affect how well the system performs. Get those details right and the setup will handle touring, site work and weekend use far better in harsh Australian conditions.
What a dual battery system actually does
In most vehicle setups, the starting battery is designed to deliver a short burst of current to crank the engine, then recover quickly from the alternator. That is very different from the job of an auxiliary battery, which is there to run loads like fridges, lights, pumps, inverters or charging points over longer periods.
A dual battery system separates those two jobs. The cranking battery stays reserved for starting, while the auxiliary battery supplies the accessories. The key part is the charging and isolation method. When the engine is running, the system charges the auxiliary battery. When the engine is off, the auxiliary battery is isolated so it cannot flatten the starter.
Before you install a dual battery system
Before buying parts, work out what the auxiliary battery will be asked to do. A simple setup powering a fridge and a couple of USB outlets is different from a touring rig running a compressor fridge, camp lights, a diesel heater and inverter. The bigger the load and the longer the runtime, the more battery capacity and charging performance you will need.
You also need to decide where the battery will live. Under-bonnet installs save space but expose the battery to heat and vibration, so battery choice matters. Tray, canopy, cargo area and caravan drawbar installs can suit larger batteries, but cable runs get longer and voltage drop becomes more of an issue.
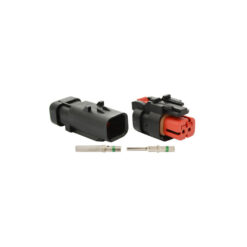
This is where many problems start. People often undersize cable, skip fuse protection or choose connectors that are not suited to current draw or environmental exposure. In a proper install, every part of the circuit needs to match the job.
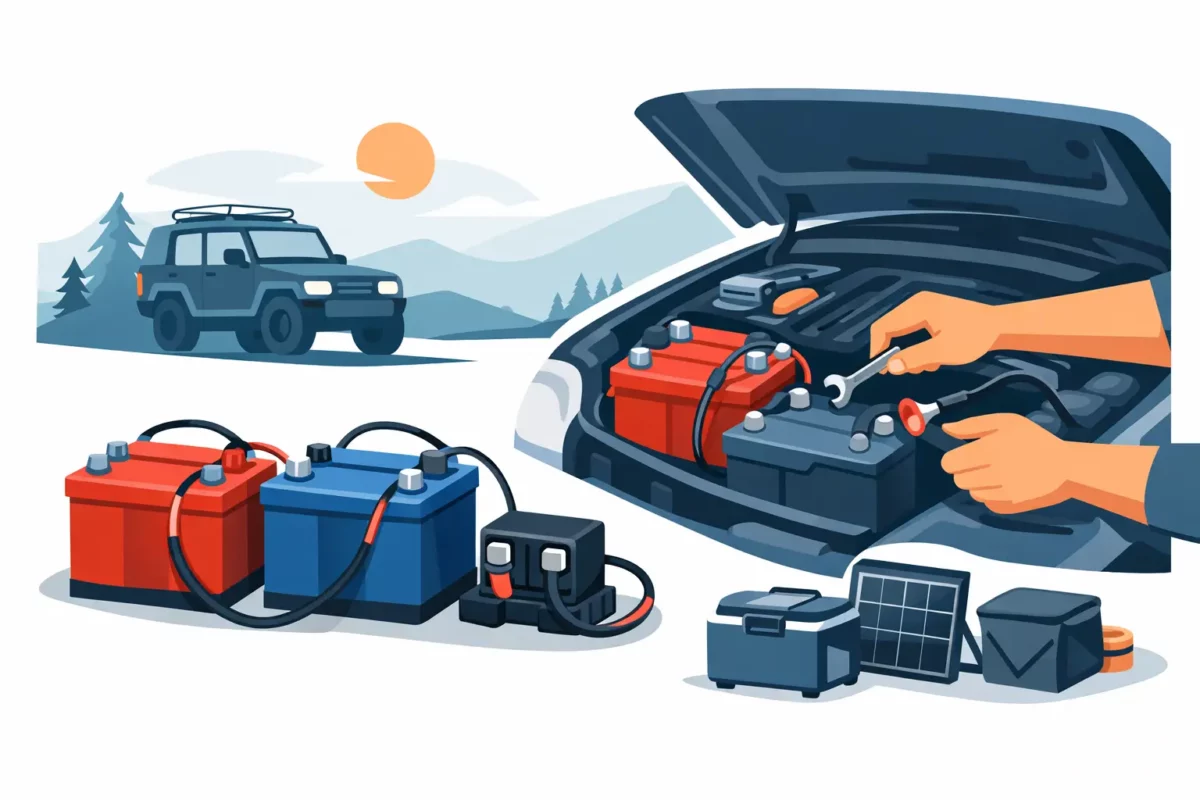
The main components you will need
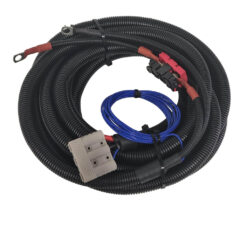
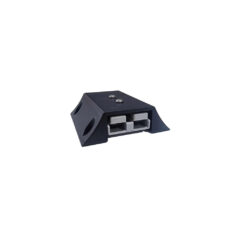
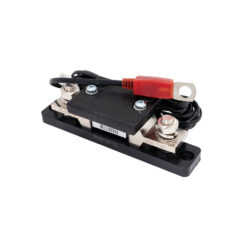
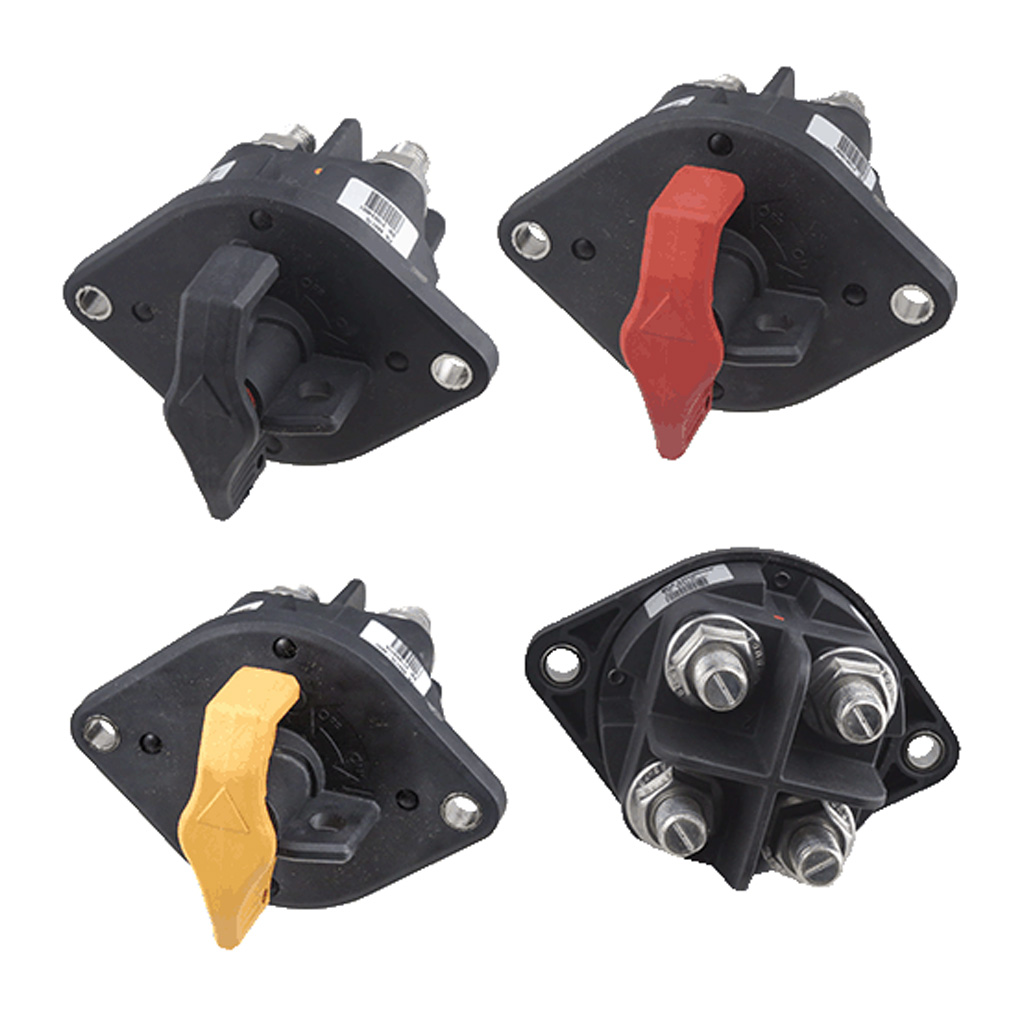
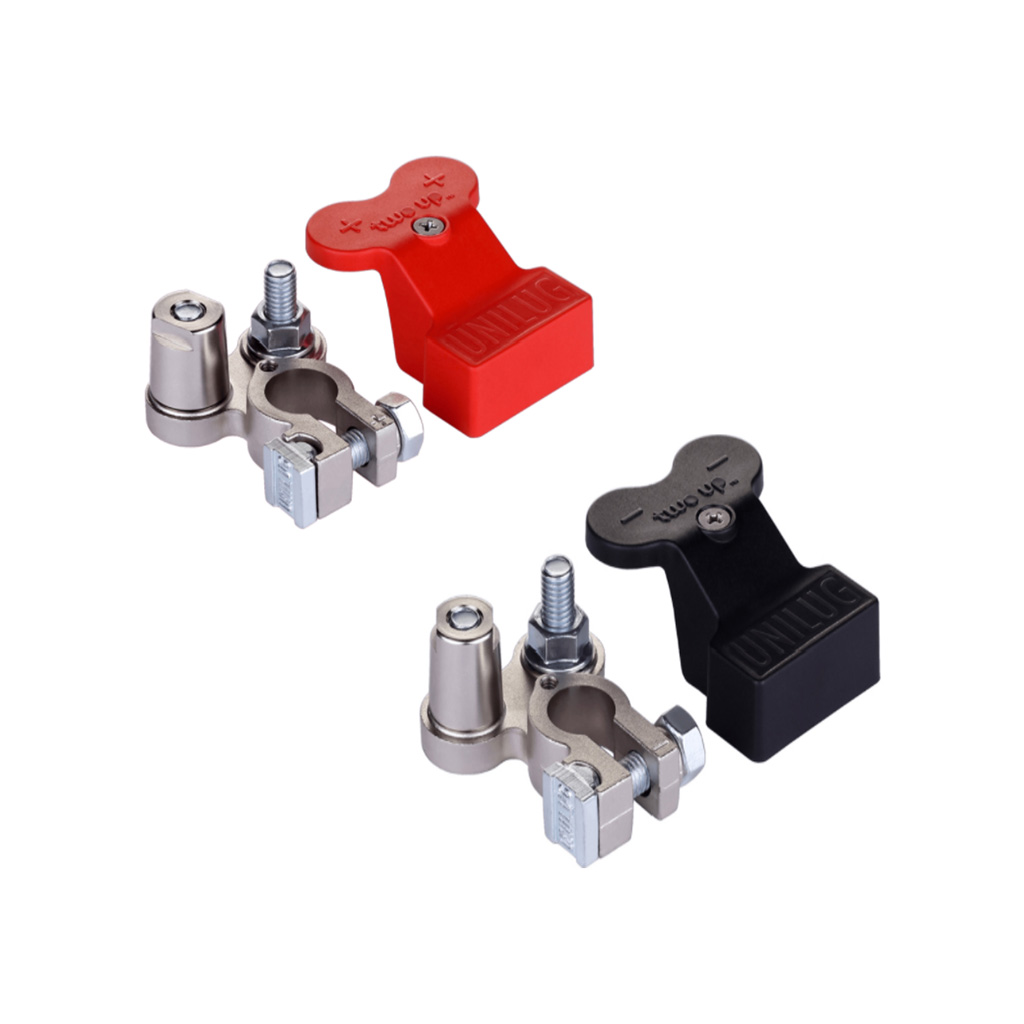
Most dual battery installs use the same core parts. You will need an auxiliary battery, a battery tray or mounting system, heavy-duty cable, fuse or circuit protection at both battery ends, suitable lugs or connectors, and an isolation or charging device.
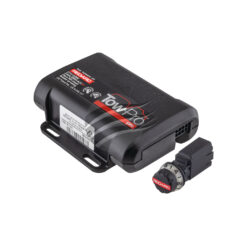
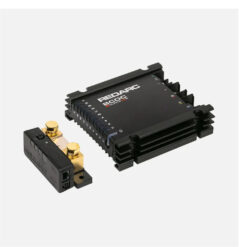
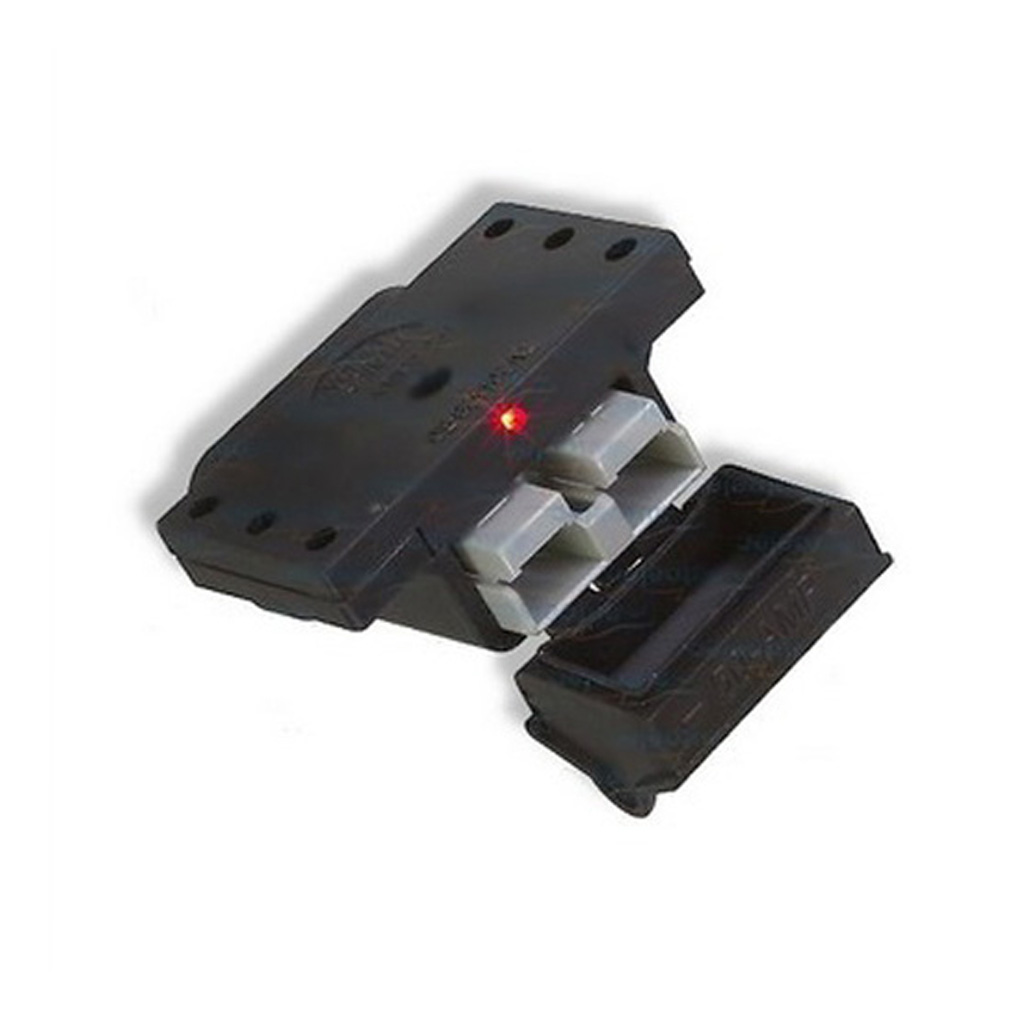
For charging, there are two common approaches. A voltage sensitive relay, often called a VSR, suits many basic alternator-driven systems where the auxiliary battery is mounted fairly close to the starting battery. A DC-DC charger is usually the better option where the vehicle has a smart alternator, the cable run is longer, the battery chemistry needs controlled charging, or solar input will also be used.
Neither option is automatically right every time. A VSR is simpler and often cheaper, but it relies more heavily on alternator voltage and cable quality. A DC-DC charger costs more and adds complexity, but it gives better charge control and is often the better choice in modern vehicles and remote auxiliary battery positions.
How to install dual battery wiring safely
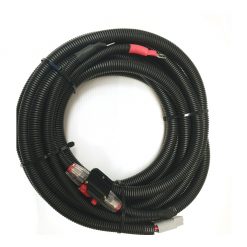
Start by disconnecting the negative terminal on the cranking battery before any work begins. Plan the cable route first, not halfway through the install. Cables should be protected from heat, sharp edges, steering components, suspension travel and moving belts. Use conduit, grommets, P-clamps and abrasion protection anywhere the cable could rub or be exposed.
Mount the auxiliary battery securely in an approved tray or battery box. It must not move under vibration or hard braking. If it is inside a canopy, cargo area or enclosed compartment, make sure the battery type is suitable for that location and any ventilation requirements are considered.
If you are fitting a VSR, mount it close to the cranking battery where practical. Run appropriately sized positive cable from the starter battery to a fuse mounted close to the battery, then to the isolator, and from there to the auxiliary battery positive through another fuse near the auxiliary battery. The negative return should be just as carefully considered. In some installs, a solid chassis earth is acceptable. In others, especially with longer runs or sensitive charging requirements, a full negative cable back to the source is the better option.
If you are fitting a DC-DC charger, mount it in a position suited to the product’s cooling and environmental rating. Many are installed near the auxiliary battery to reduce voltage drop on the output side. The input cable from the cranking battery still needs to be sized correctly and protected with a fuse close to the source. Output cable to the auxiliary battery also needs fuse protection and correct terminations.
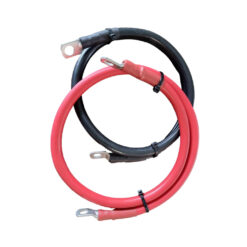
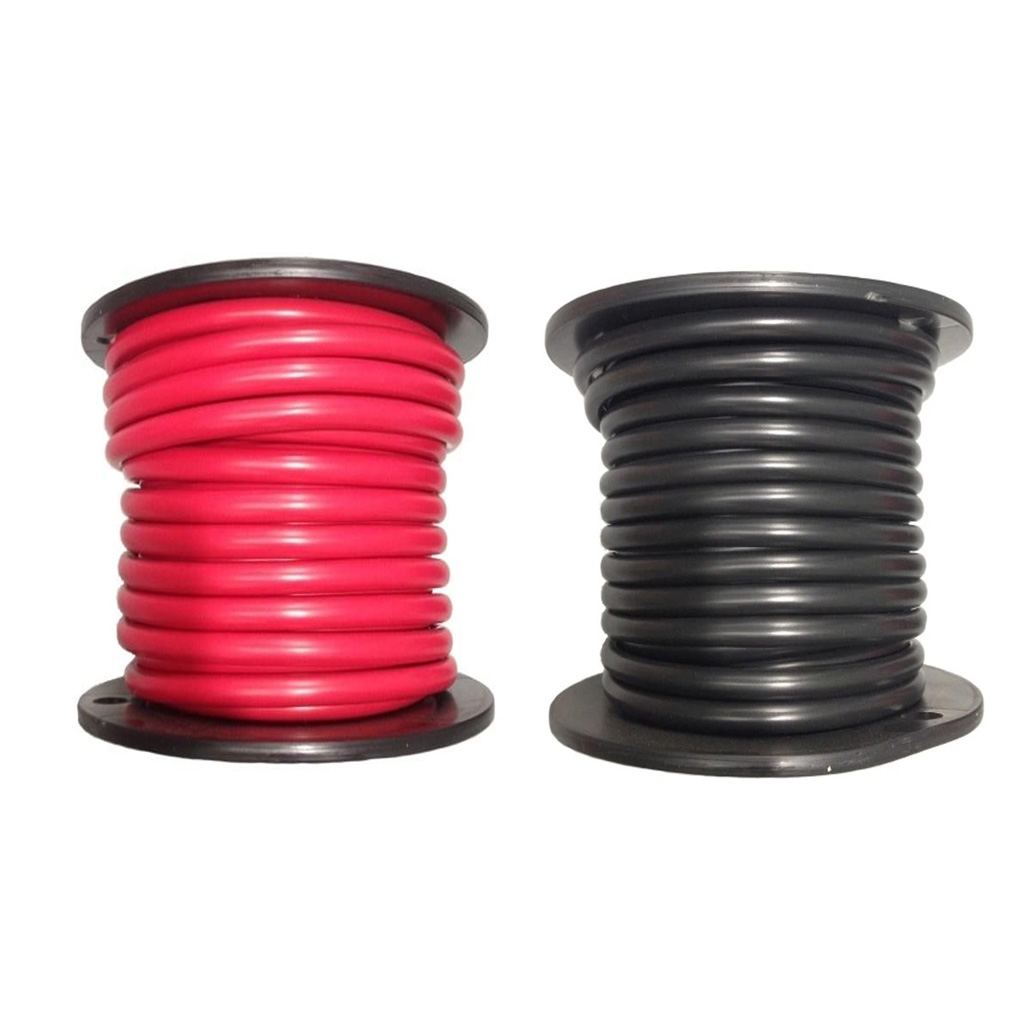
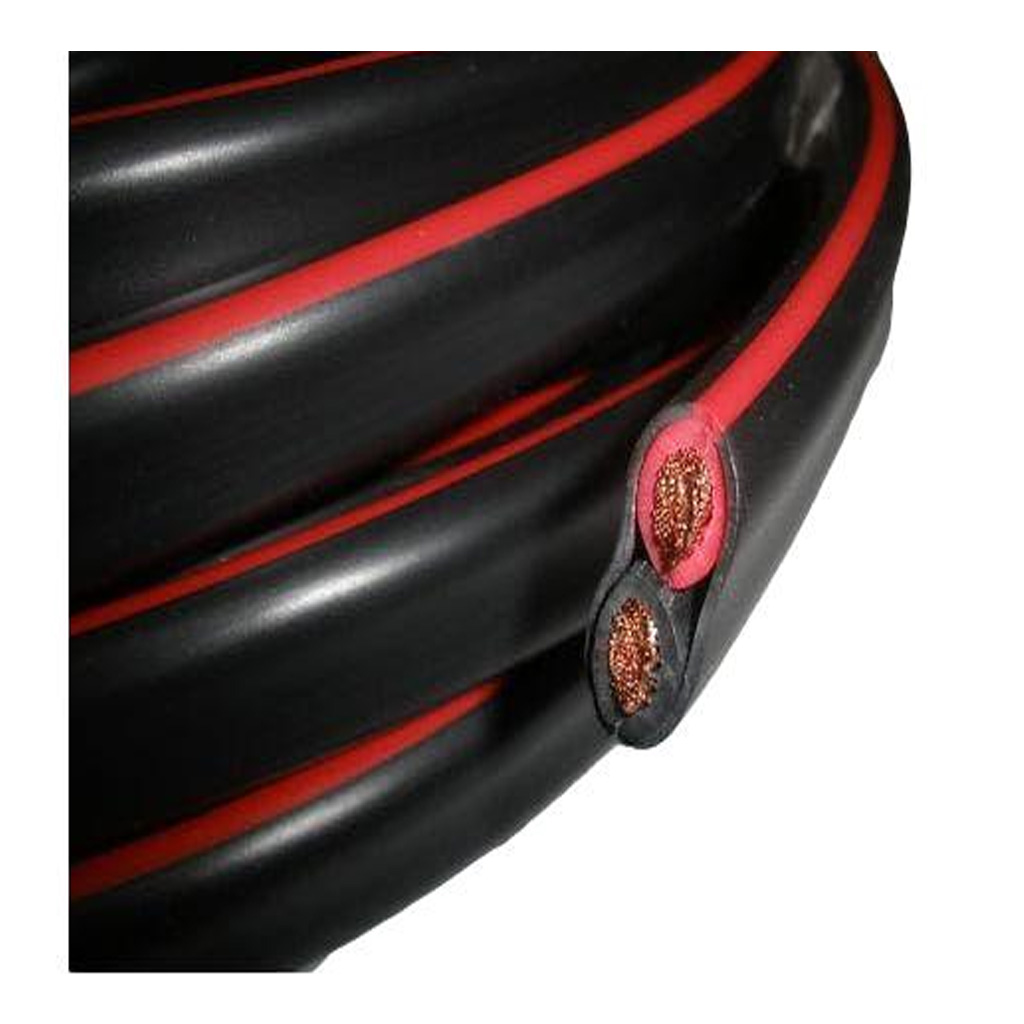
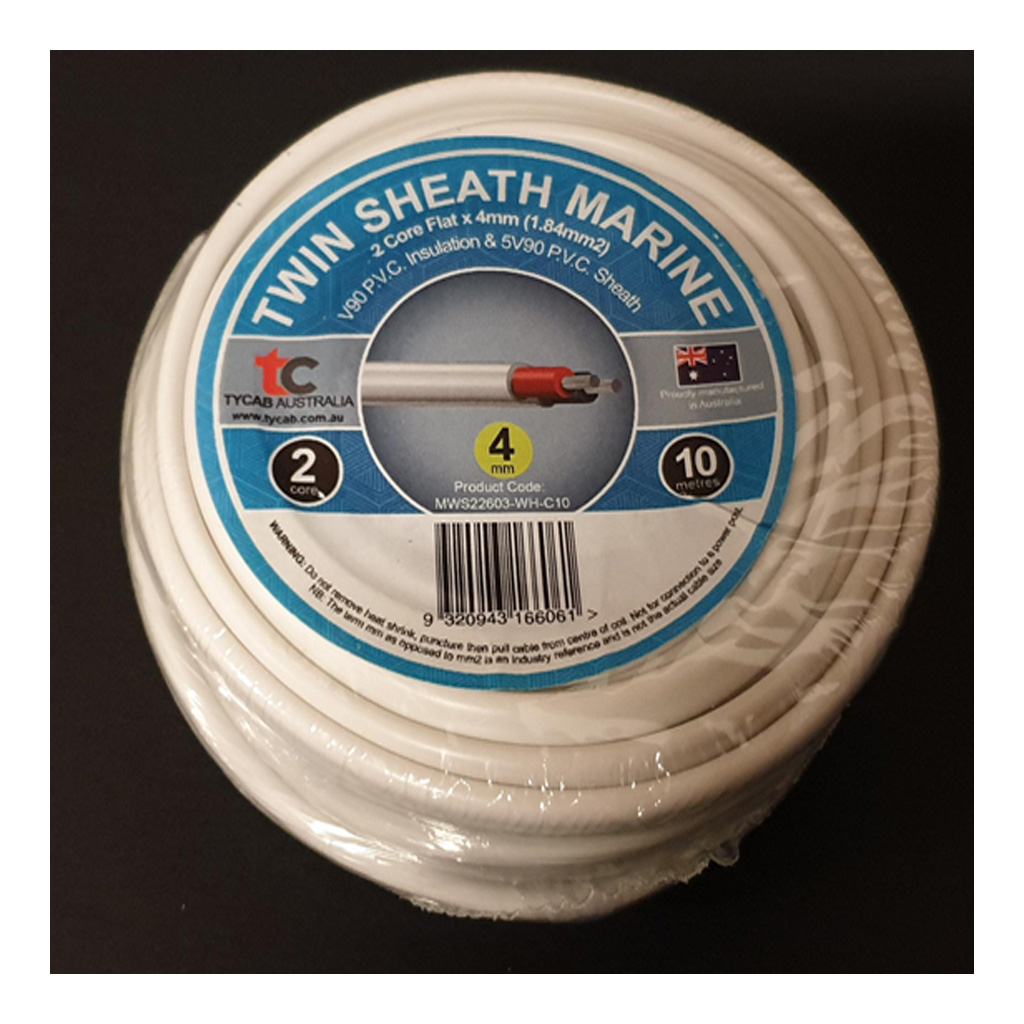
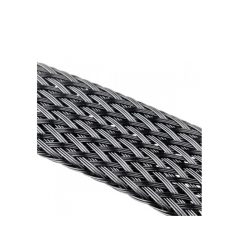
Cable size matters more than most people think
A dual battery system can only perform as well as its cabling allows. Too much voltage drop means slower charging, poor accessory performance and wasted capacity. That becomes more obvious in long cable runs to canopies, trays and caravans.
There is no one-size-fits-all cable for every job. The right size depends on current draw, cable length and charging method. A short engine-bay setup may tolerate a different cable size than a ute with the auxiliary battery mounted at the rear. The practical point is simple: size cable for the real load and distance, not just what is easy to fit.
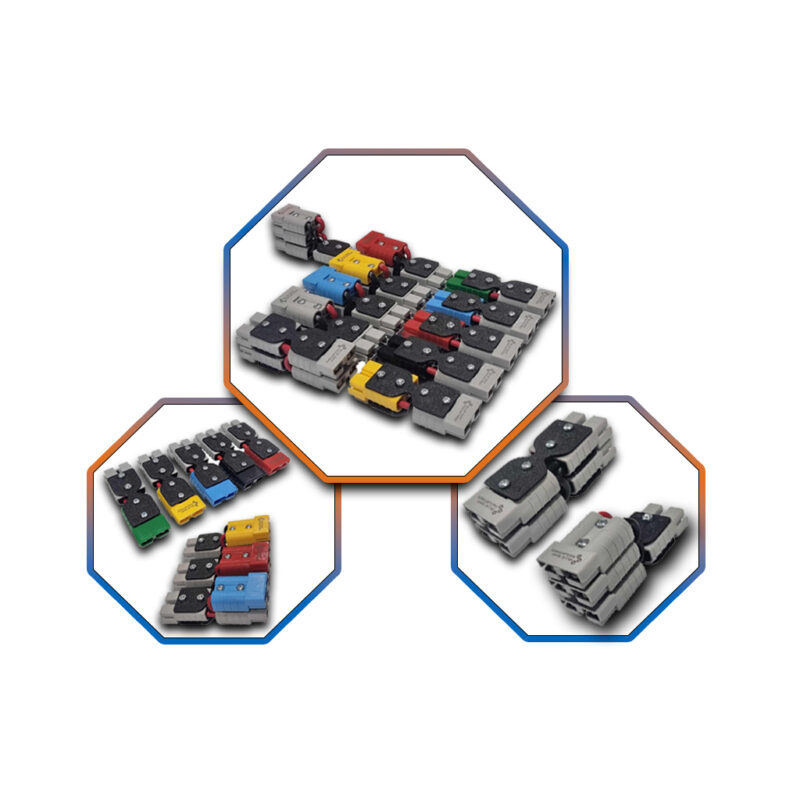
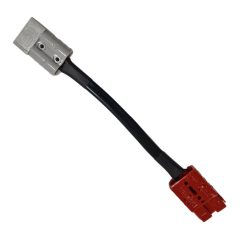
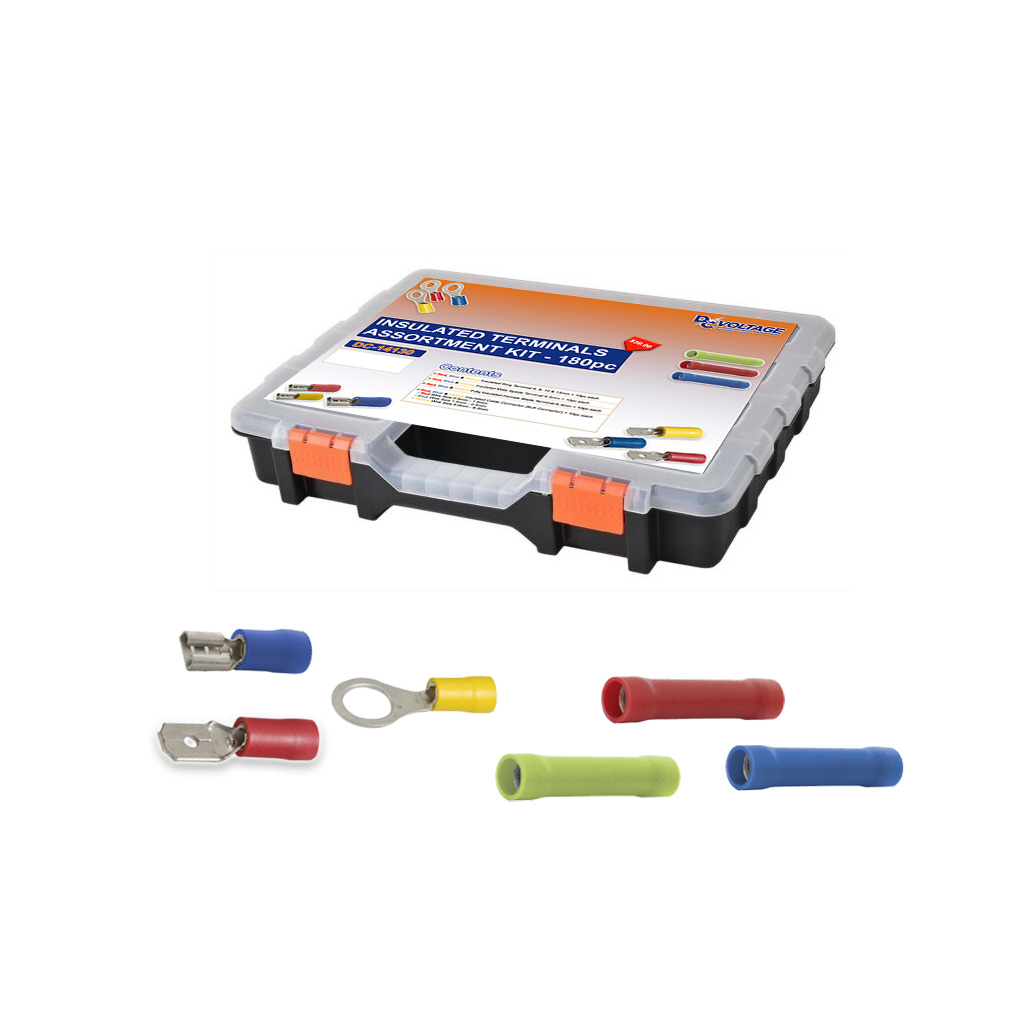
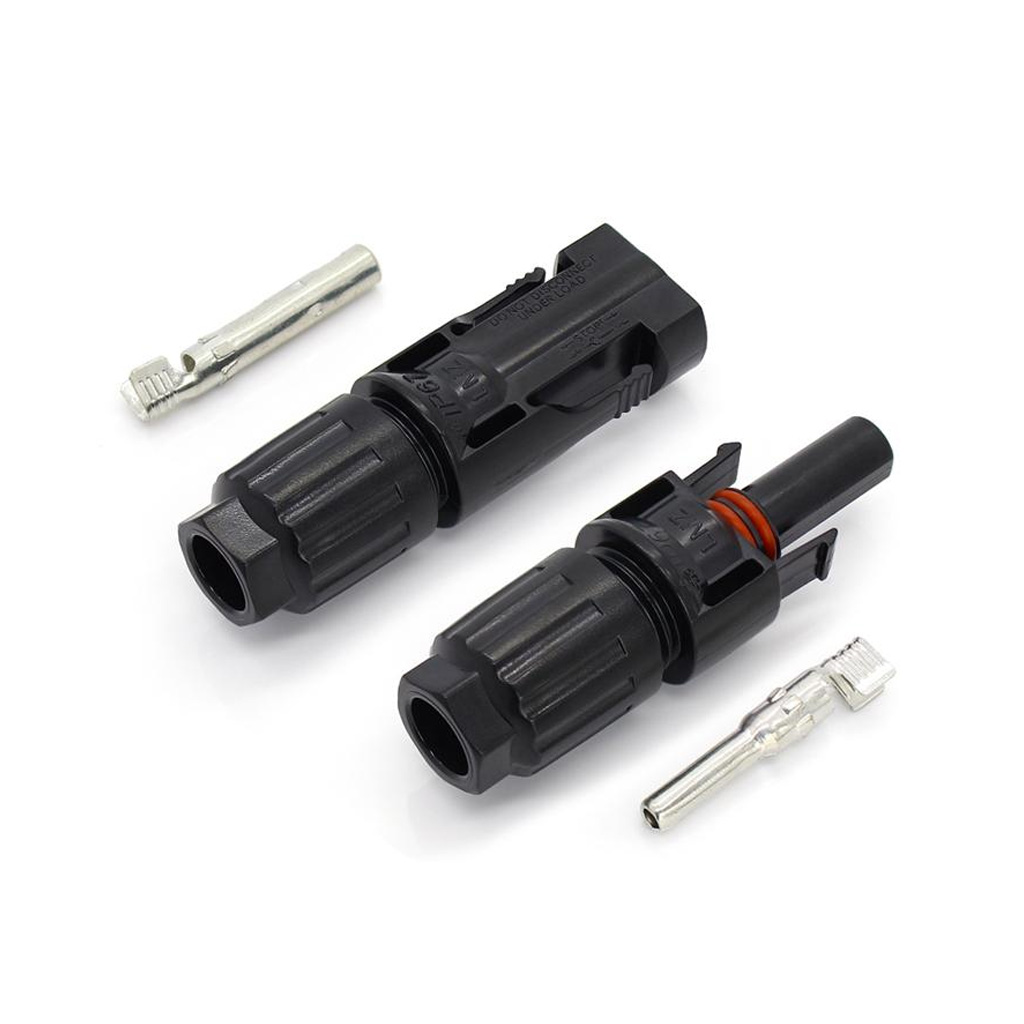
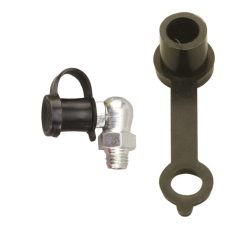
The same applies to lugs, connectors and fuse holders. A quality connector with proper crimping is not cosmetic – it prevents heat, resistance and intermittent faults. Trade and touring vehicles live with dust, vibration, water and corrugations, so connections need to be built accordingly.
Battery type and charging compatibility
Not all batteries should be charged the same way. AGM, calcium, flooded lead acid and lithium each have different charging characteristics, mounting considerations and price points. If you choose the wrong charging device or settings, battery life can drop quickly.
AGM is still common in 4WD and caravan auxiliary setups because it is familiar and reasonably tolerant in many applications. Lithium offers major weight savings and deeper usable capacity, but it needs compatible charging equipment and a proper understanding of the battery’s protection system. Under-bonnet heat can also be a deciding factor, depending on the battery type and manufacturer specifications.
If the vehicle has a smart alternator, this matters even more. Modern charging systems do not always maintain the voltage a simple relay-based setup wants to see. In that case, a DC-DC charger is often the safer choice.
Accessory distribution and load planning
Once the auxiliary battery is in place, think beyond the main charge circuit. Accessories should be fed from a properly fused distribution point rather than having multiple loose connections stacked on battery posts. That keeps the install neater, makes troubleshooting easier and improves safety.
A fridge circuit should be sized for low voltage drop. Lighting and USB outlets can often use lighter cable, but still need protection matched to the load. If an inverter is part of the system, current draw rises quickly, and both cable size and fuse selection become more critical. This is where many DIY installs fall over – the battery is installed correctly, but the accessory side is not.
Testing the system after installation
Once everything is terminated and secured, reconnect the battery and test the system before tidying the final loom. Check for correct voltage at the cranking battery, charger or isolator input, and auxiliary battery terminals. Start the vehicle and confirm the auxiliary battery is receiving charge as expected.
Then test the system with real loads. Run the fridge, switch on lights and verify that voltage remains within a sensible range. Feel for any heat at connectors, fuse holders or cable joins. Heat usually means resistance, and resistance means trouble later.
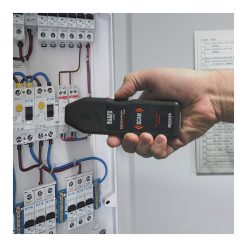
A multimeter is essential here. Guesswork is what leads to flat batteries on day two of a trip.
Common mistakes to avoid
The most common mistakes are predictable: undersized cable, no fuse near the battery, poor earths, cheap connectors and charging gear that does not suit the vehicle or battery chemistry. Mounting a battery in a location that exposes it to too much heat, dust or movement is another regular issue.
There is also the temptation to overbuild or underbuild. A very basic system may be fine for occasional camping, but it will struggle if the load list grows. On the other hand, not every setup needs a large lithium bank and high-amp charger. Build for the actual use case, with enough margin for reliability.
For anyone sourcing parts, this is where using a specialist supplier helps. Bluebar Industries supports both trade and DIY buyers with the kind of cable, connectors, battery accessories and workshop gear that make the difference between a tidy install and an ongoing fault-finding exercise.
A dual battery system should make the vehicle more dependable, not more complicated. If every cable is sized properly, every circuit is protected, and the charging method suits the vehicle and battery, the setup will do its job quietly in the background – which is exactly what you want when you are a long way from the nearest town.